Felted Valentine’s Day Garlands


DSC04977

My newest fascination is with wool felt balls. Why? Because they are adorable, inexpensive, and make my home festive. I bought 200 in multiple colors just before Christmas to string for garland for the tree. I loved the garland SO much that I decided to purchase more in Valentine’s day hues.

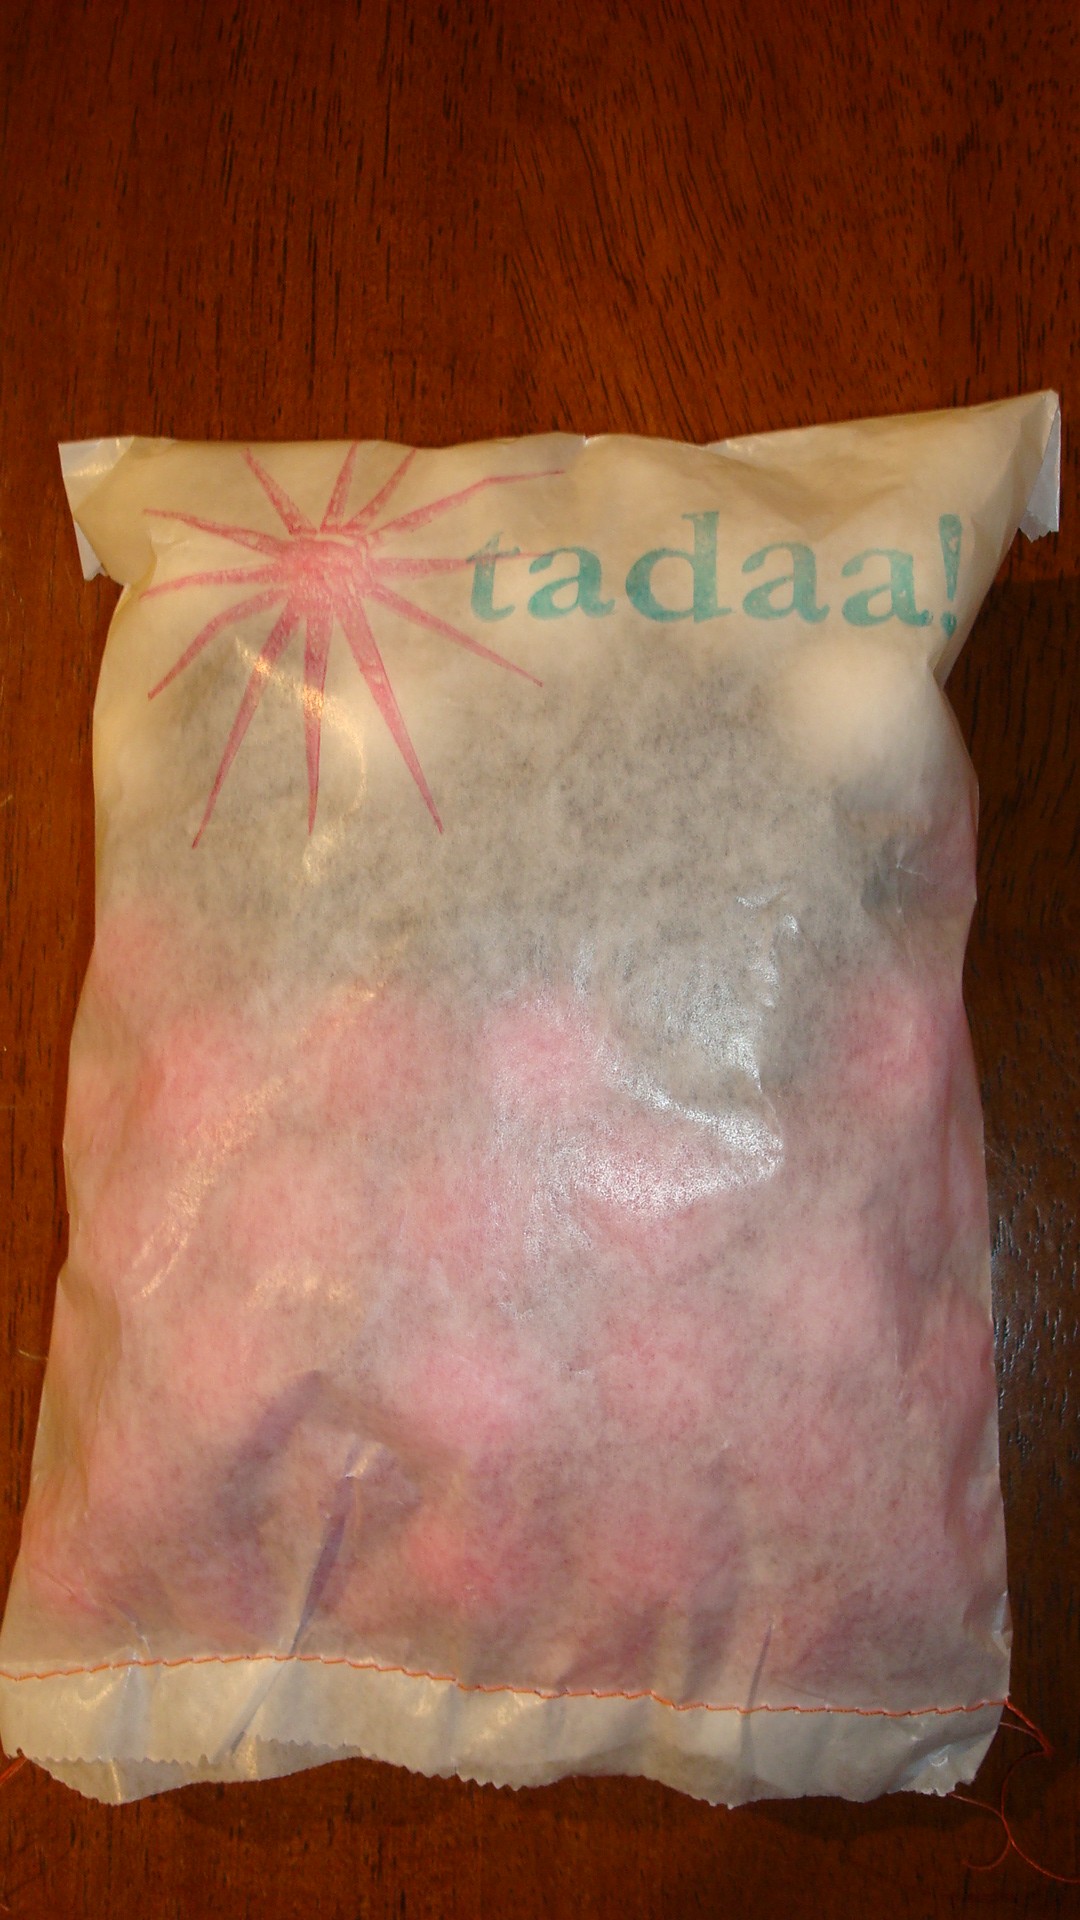
I ordered the felt balls online from TaDaaStudios and I have to say, the packaging is adorable.

DSC04974

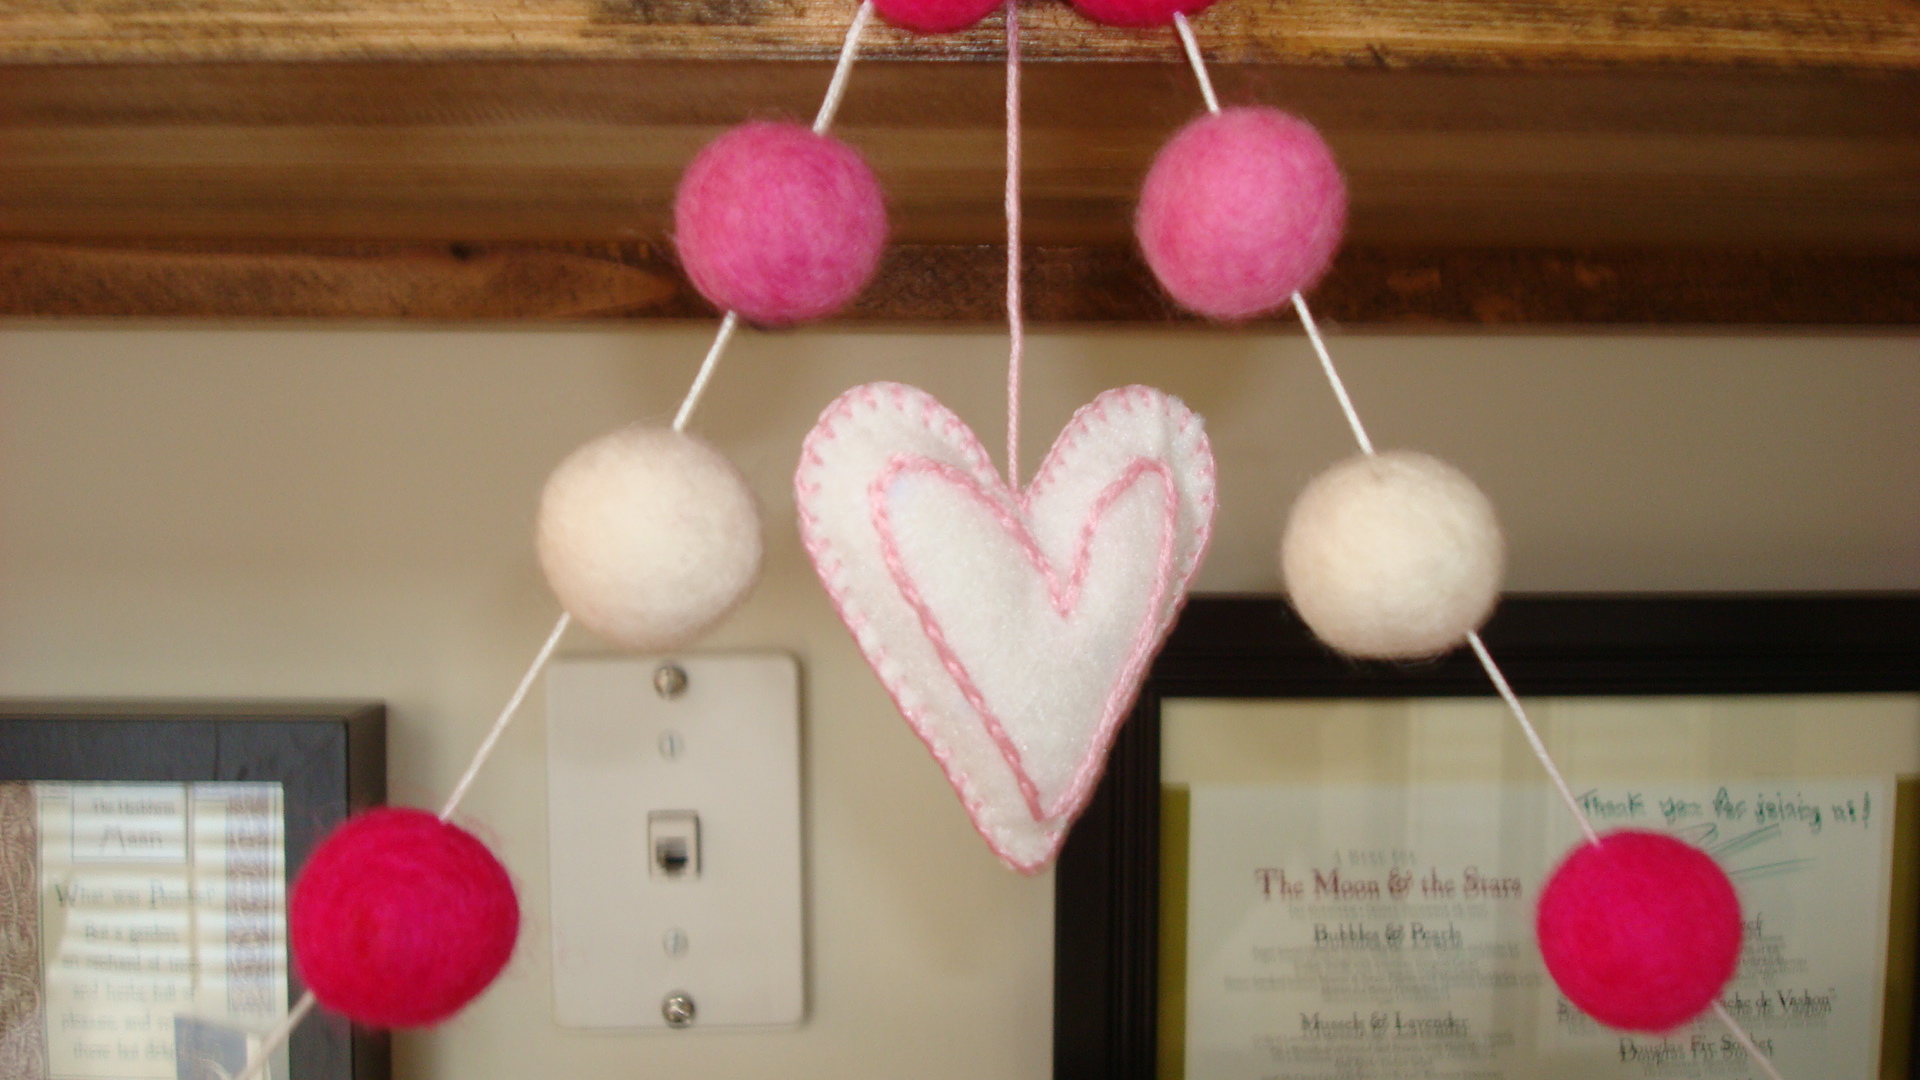
I strung up a few shades of pink with white and hung them in the kitchen…

DSC04995

DSC04998
Detail of the embroidered heart
DSC05003
Side view of the garland draping on the bakers rack

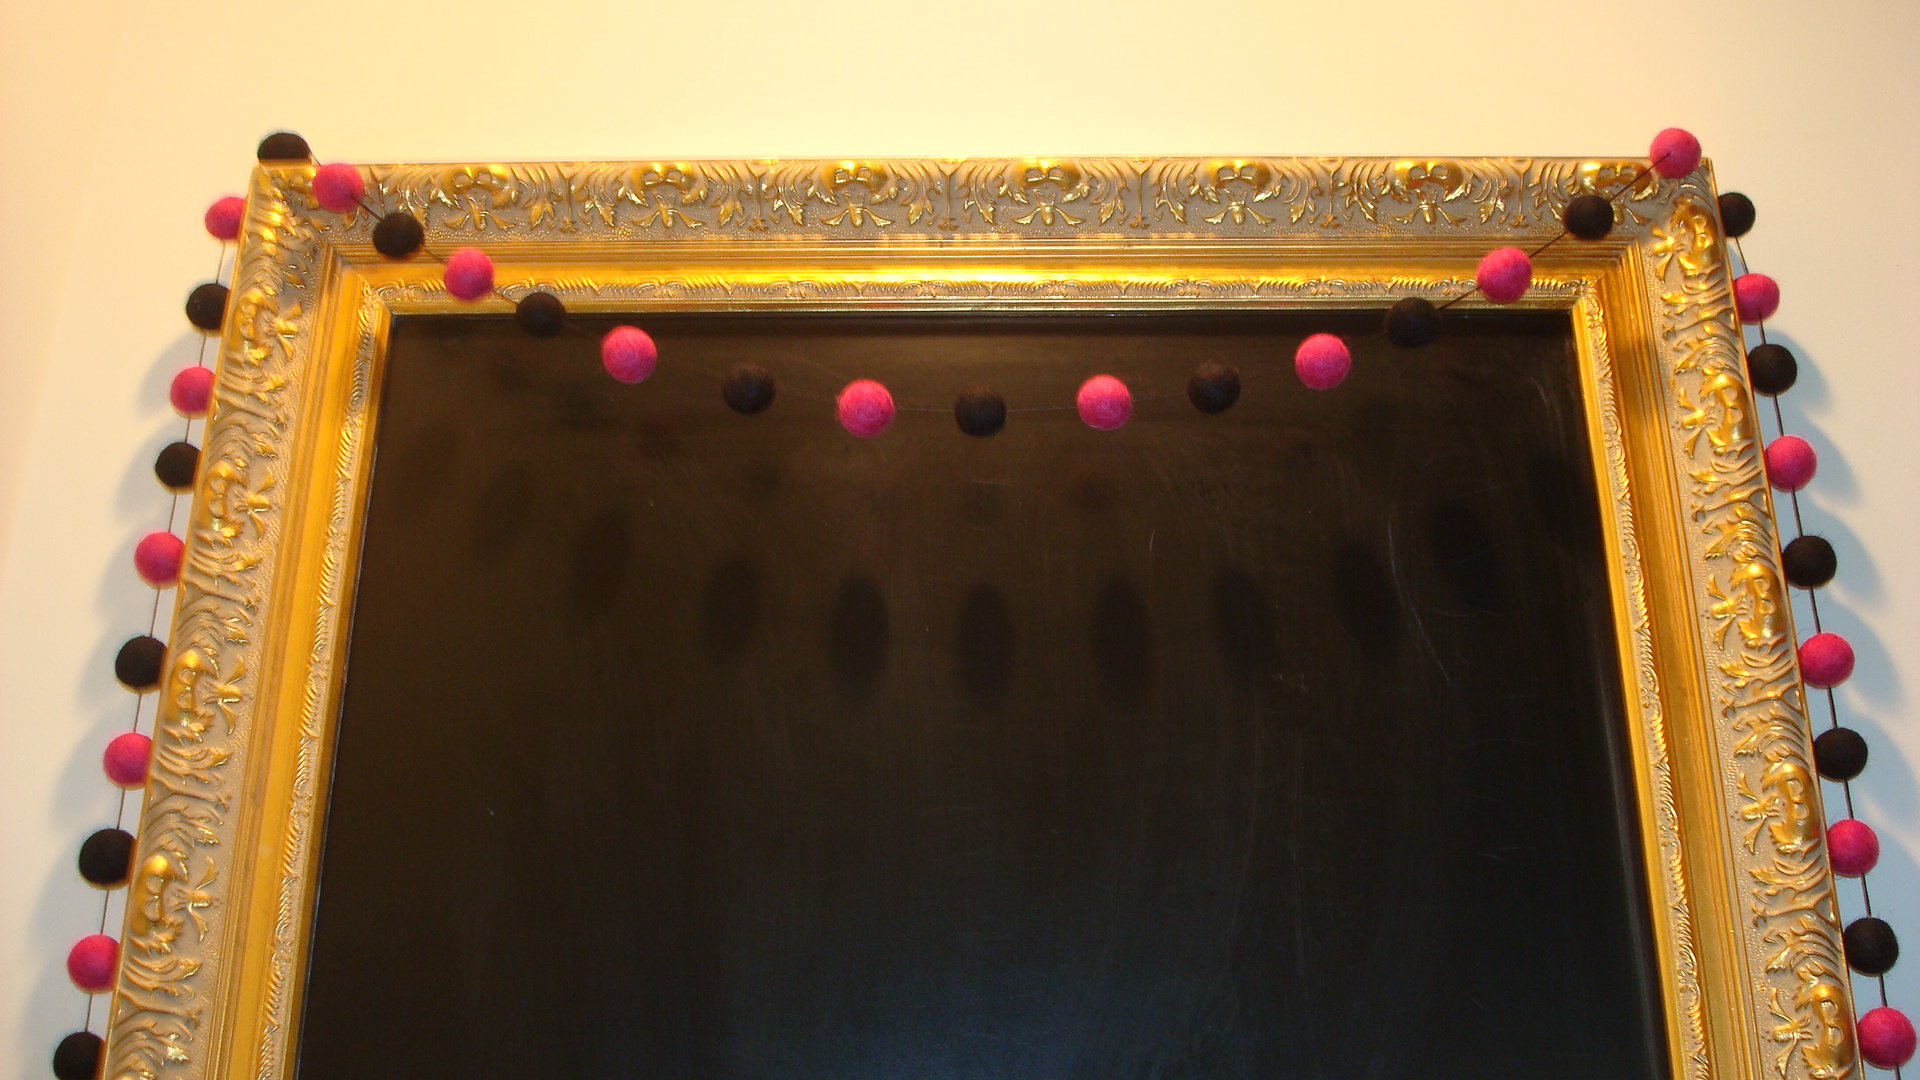
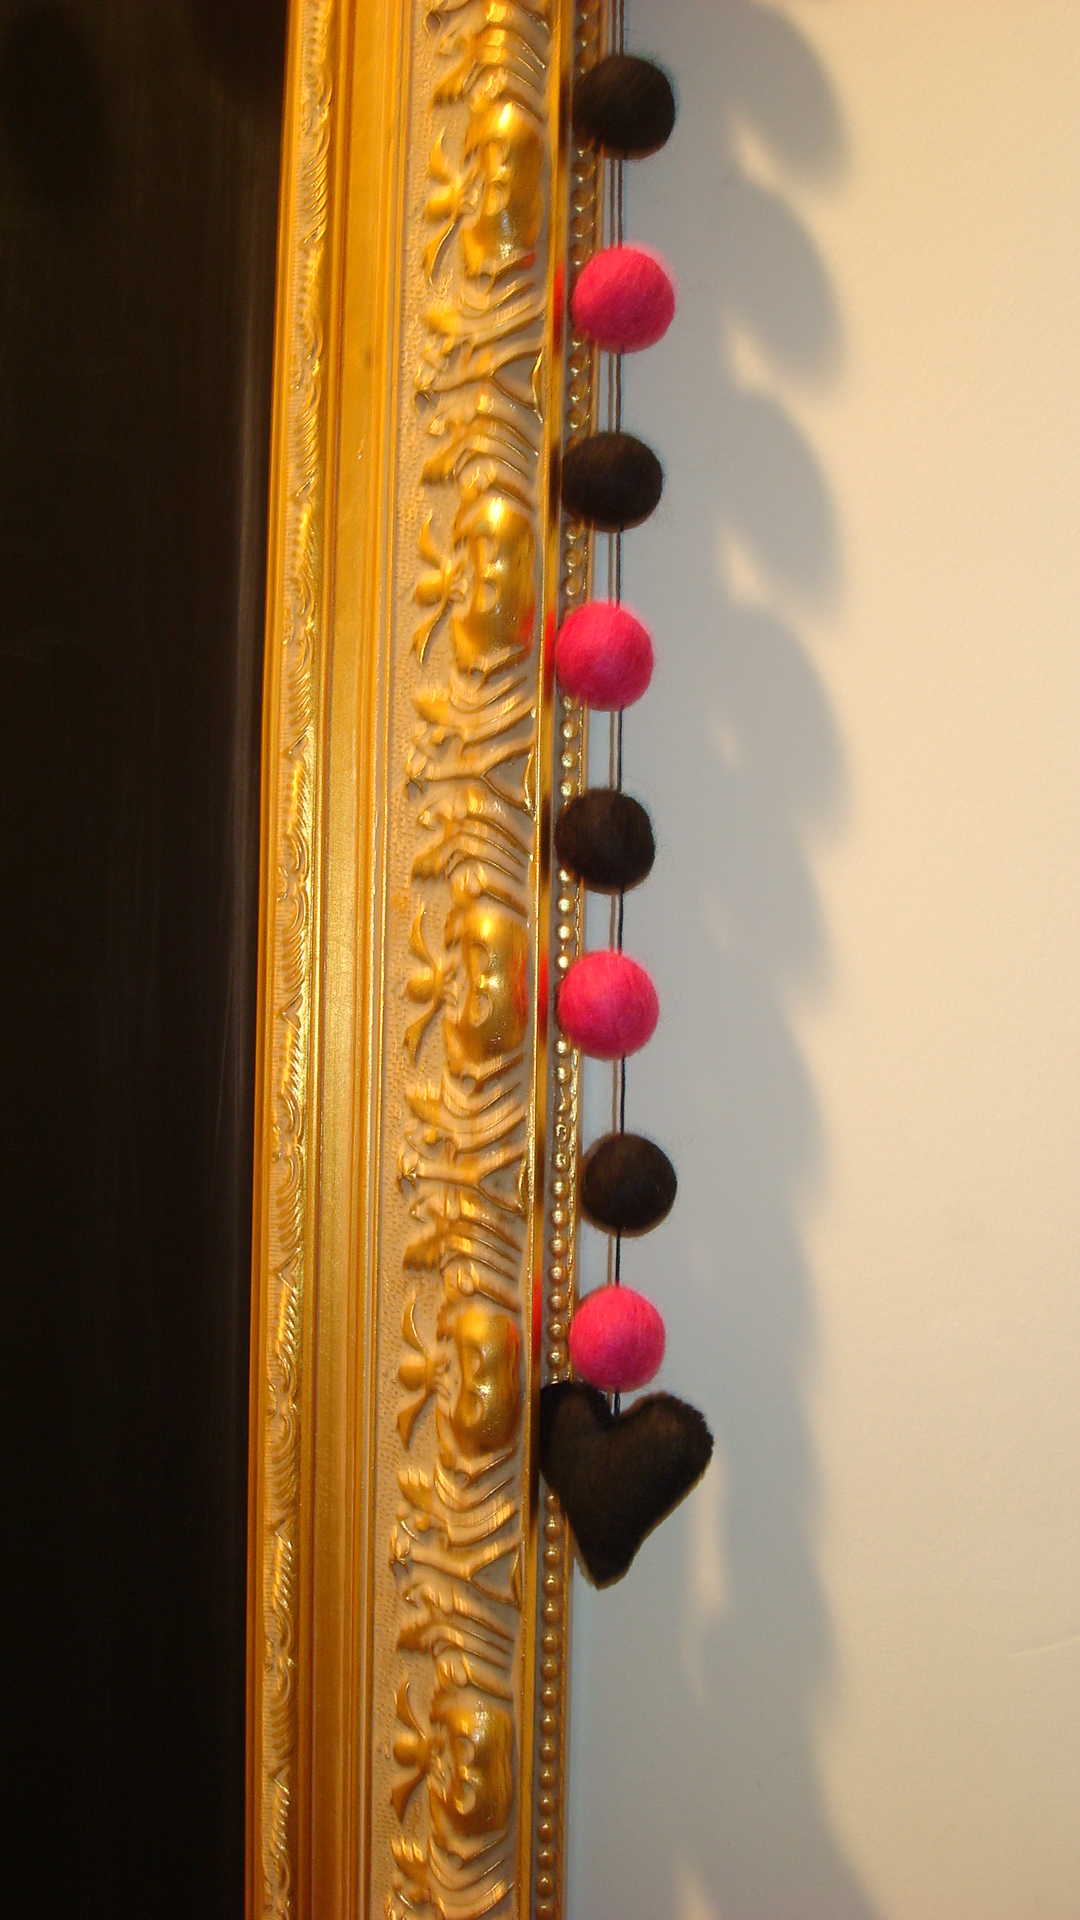
…and on the menu board…

DSC04988

DSC04990

…and I can’t help myself, so I’ll share with you AGAIN, my fabulous felt Valentine’s Day calaveras (skulls) from last year–though I couldn’t do them justice being housed in Amman.

DSC04983

DSC04986

…and since I’m on a roll, I’ll just add one last Valentine’s day touch in the kitchen…another embroidered tea towel.

DSC04993

Happy pre-Valentine’s day and stay tuned for my next Easter garland.

Home Sweet Gingerbread Home


DSC04942

Last year for Christmas we were in Cairo…this year Alexandria–not Egypt, but Virginia. As a result, last Christmas Eve, we promised to do next year’s Christmas BIG…well, not that big, but anything is bigger than last year. What a difference a year can make.

Check it out…I’m pretty pleased…but now I have more pressing things to do, like unpack our final shipment of furniture and such from Jordan that arrived yesterday.

Here are the steps:

1. I created a template from thin cardboard, fashioned after a picture of our house.

DSC04917

The bay window on the third floor in my attempt at perspective.

DSC04919

2. Make the gingerbread dough. I used Martha Stewart’s recipe here. http://www.marthastewart.com/342245/molasses-gingerbread-cookies

This picture is really just to show off my new mixer.

3. Roll out the dough; place template pieces over dough to cut out shapes; bake.

4. Here’s my favorite part. I smashed up butterscotch candy to melt into the windows so that they would light up.

DSC04926
butterscotch candies
DSC04930
Place smashed candy into window and bake at 350 degrees, watching closely until melted.
DSC04935
Perfectly melted window
DSC04933
…and some more windows…

5. Assemble all of the pieces.

DSC04938

6. Assemble the house using royal icing as the glue. This step got a little dicey with no one to help hold the roof into place, resulting in a slight slope.

7. And the finished product…

DSC04942
Taken in full light…
DSC04943
…and in the dark, but with the flash you can barely tell there’s light behind the windows…

DSC04949

DSC04950
Side view of the Necco roofline
DSC04951
I cut out a square on the back of the house and placed a battery operate tea light like this one into the center to illuminate the stained butterscotch glass windows.

DSC04943