Day of the Dead Sugar Skulls


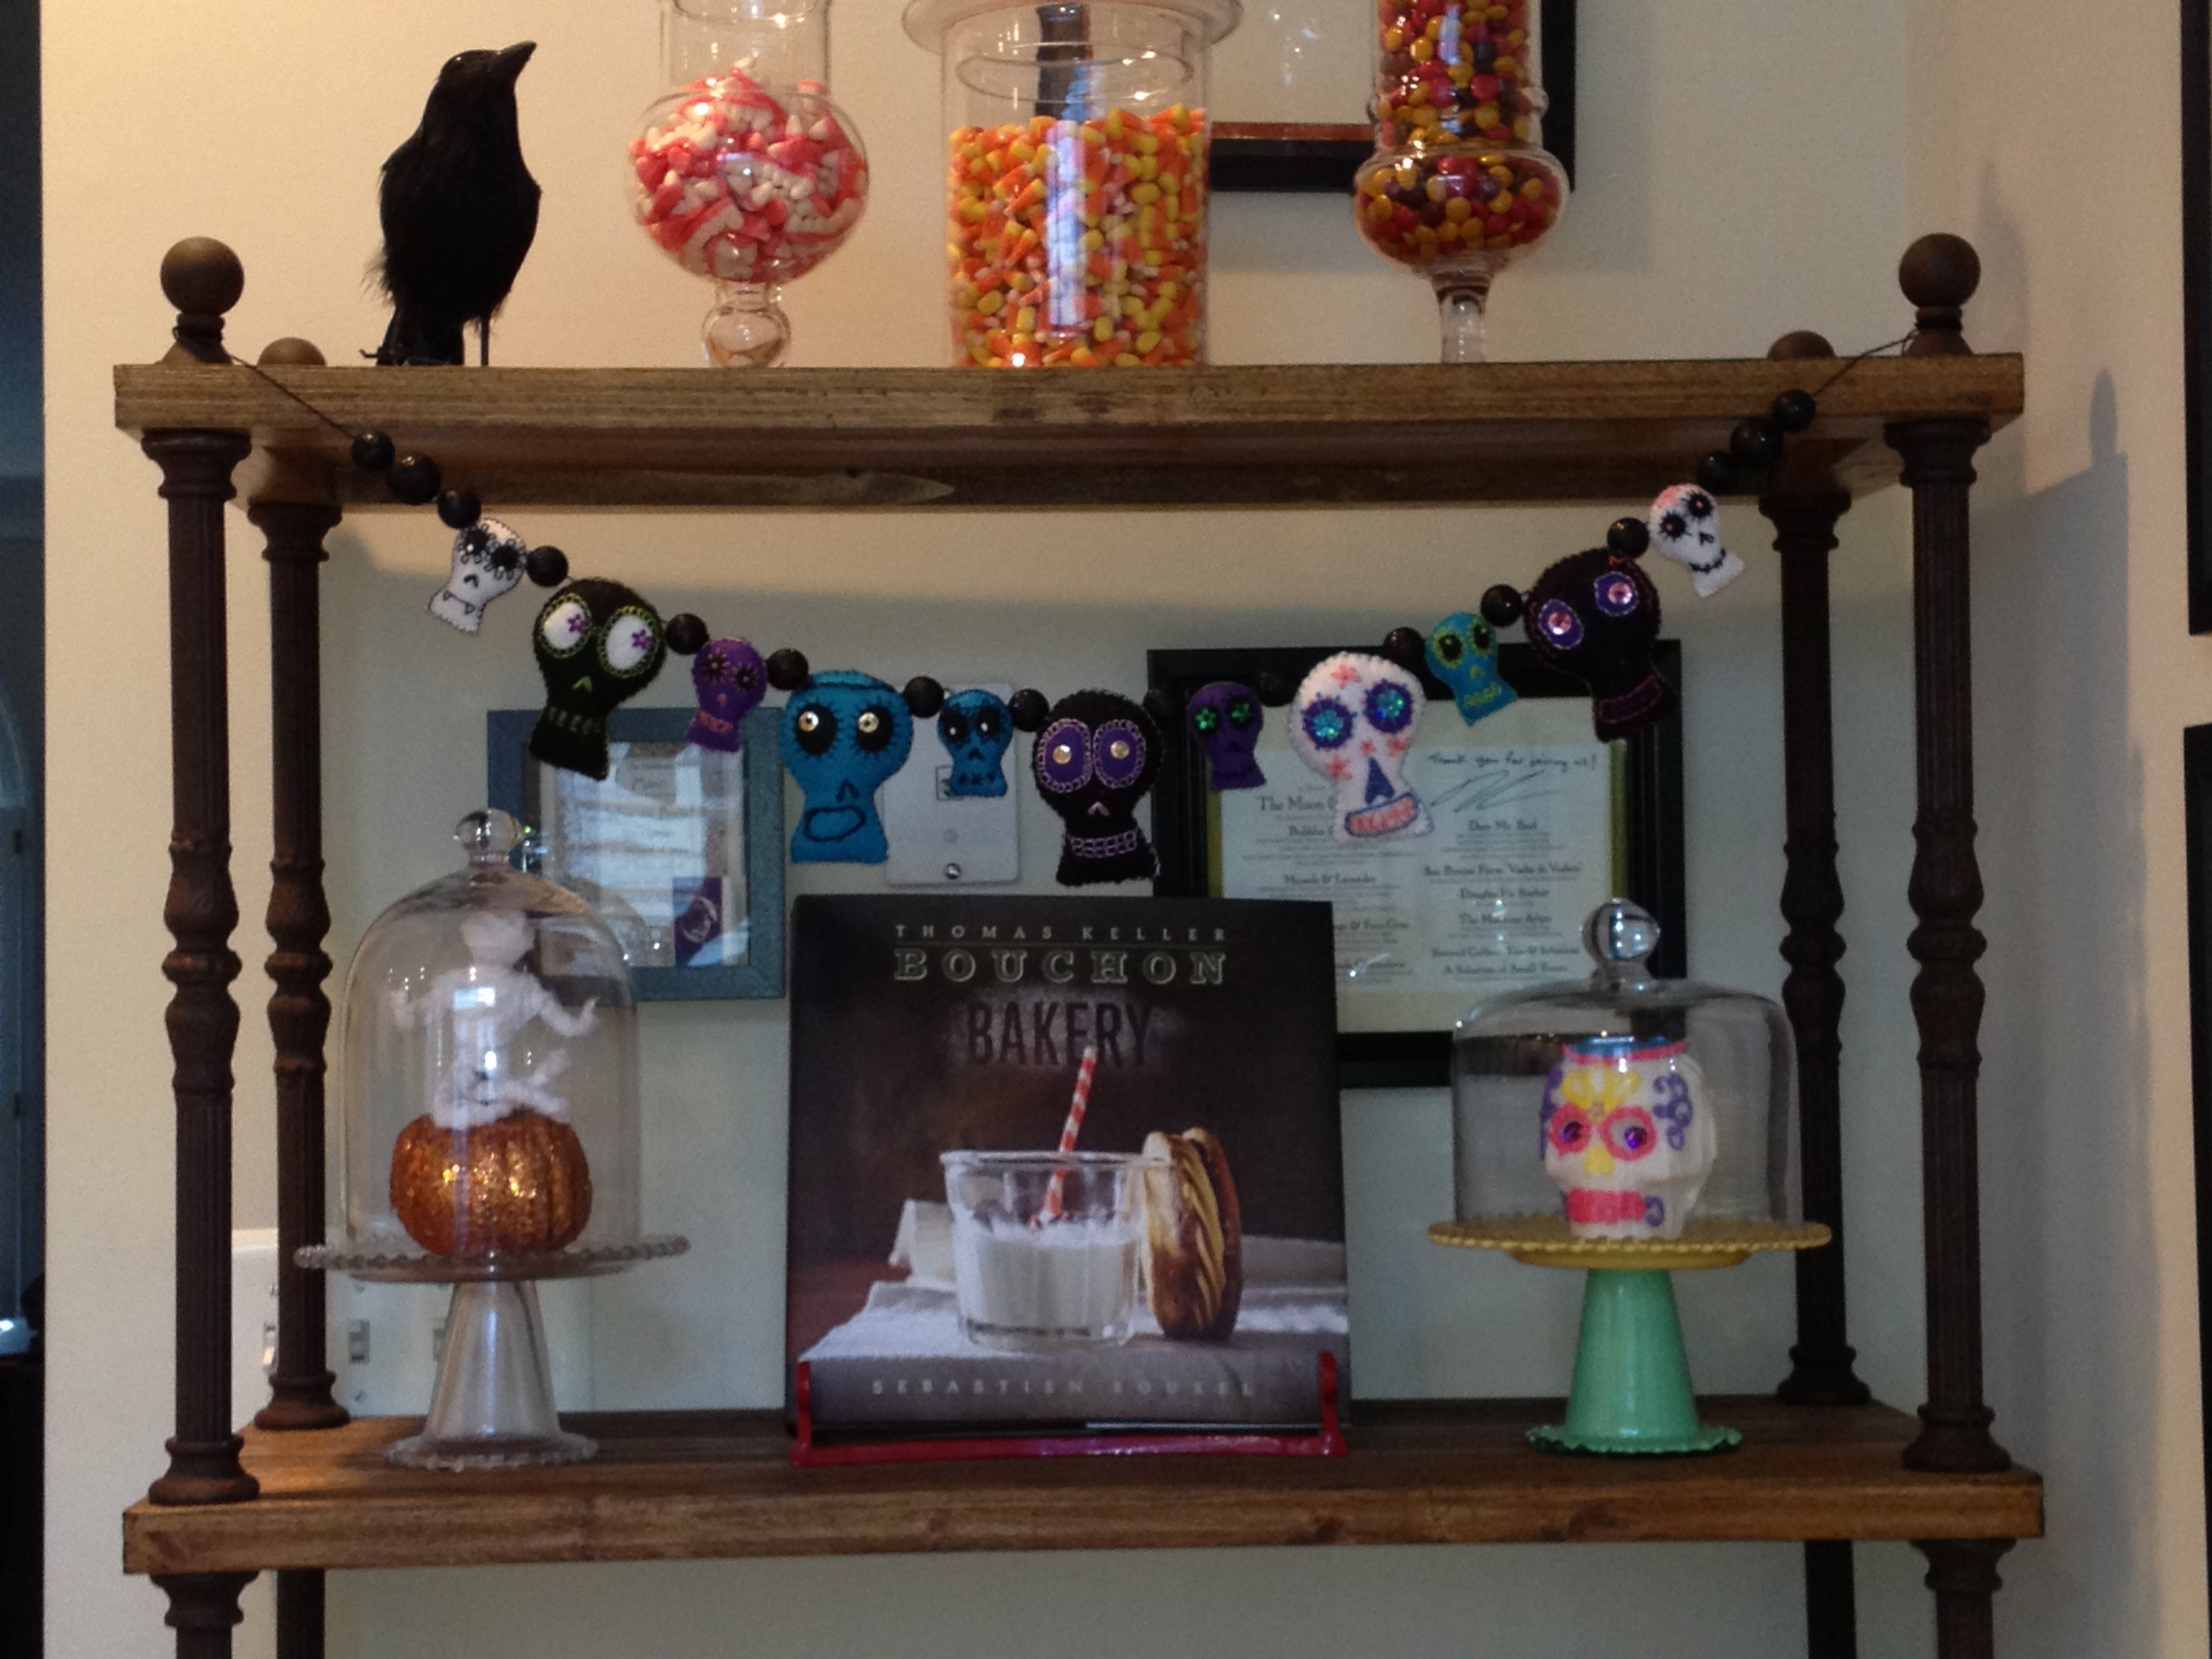
Day of the Dead Mexican Sugar Skulls

skullcloseup

When we used to live in Orange County, California, my sister and I (and later Raj), would occasionally make the trek up to Olvera Street, the oldest part of downtown Los Angeles, via the train. It was an annual trip at the end of September that signaled the beginning of Halloween decorating season and an excuse to buy Day of the Dead items. If you’ve never been to Olvera Street, you need to go. It  makes a great day trip to eat authentic Mexican food and to stroll around cool and hip shops full of Day of the Dead figurines, sugar skulls, and lots more. A few years back, I tried to find a local shop or bakery in Virginia that sold sugar skulls and/or Pan de Muerto (Day of the Dead bread), but with no such luck, I’ve had to create my own.

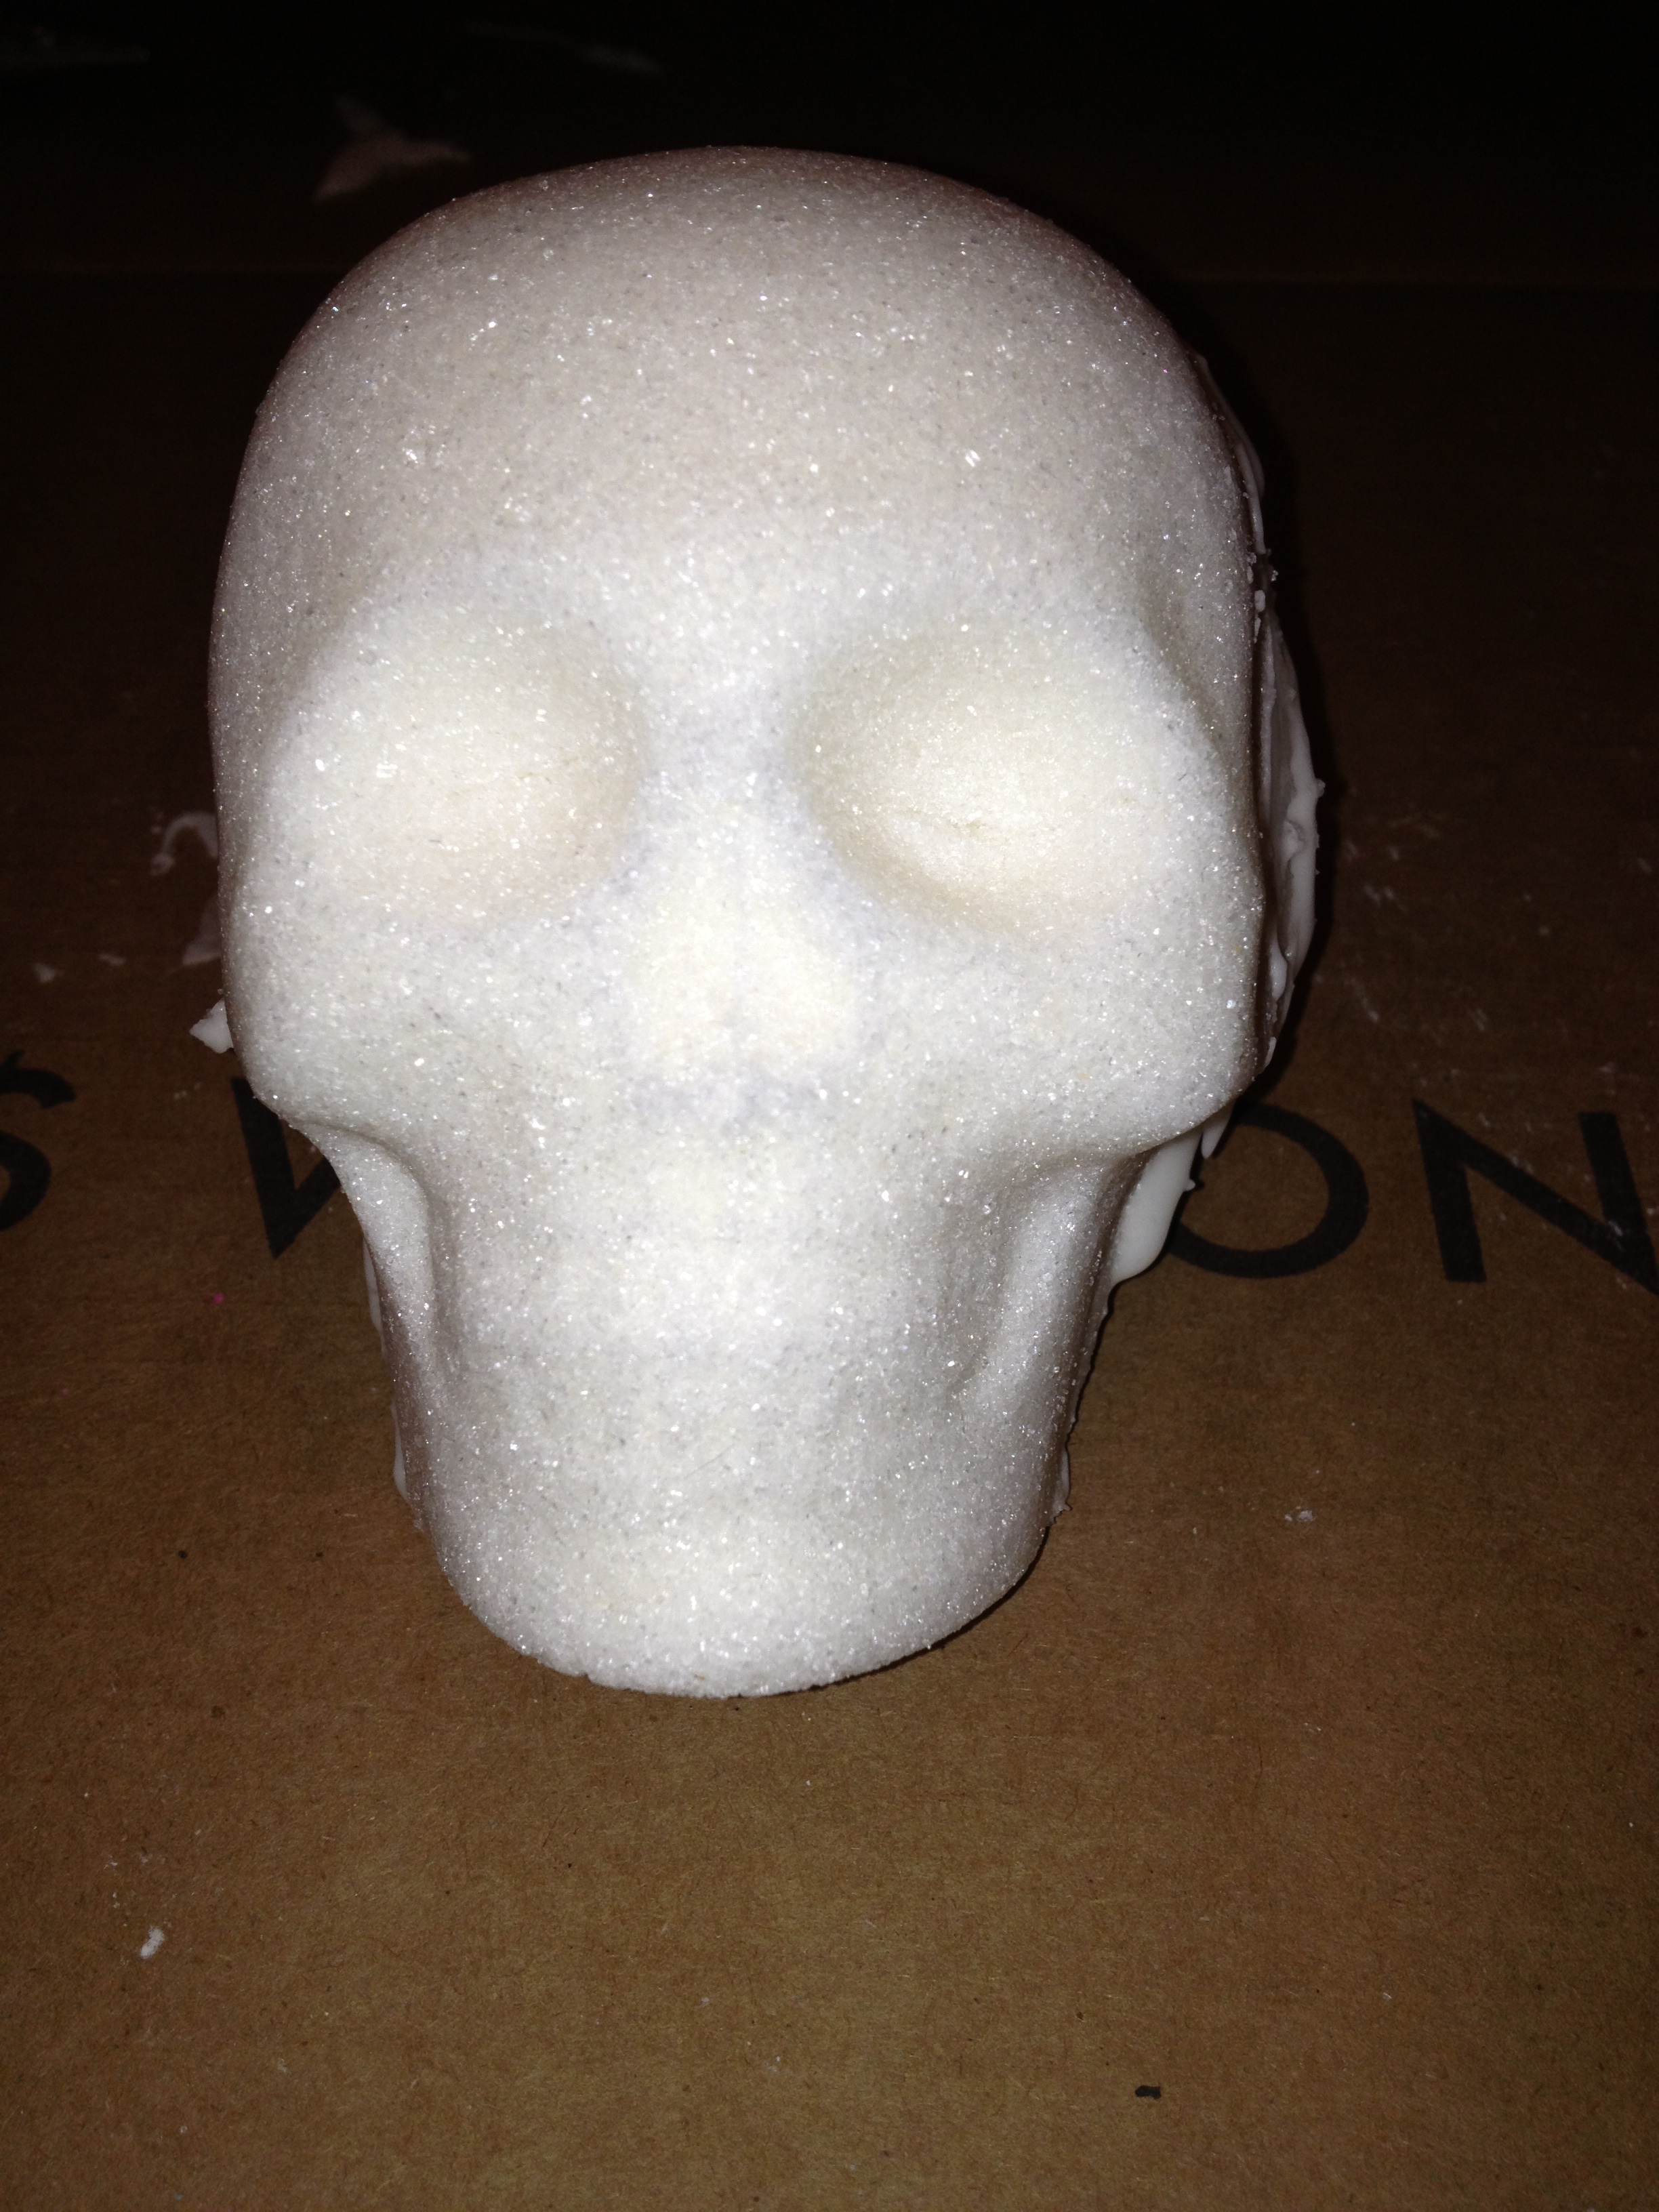
Making your own sugar skulls is really easy, but it does take time and LOTS of granulated sugar. I only made four large skulls and two smalls ones and used  5 pounds of granulated sugar for the skulls and 2 pounds of powdered sugar for the Royal Icing, but your hard work will pay off AND they last for years!

bigtrio

Sugar Skulls

Ingredients

  • 5 pounds granulated sugar
  • 1/4 cup meringue powder (a must; it helps the sugar stick together)
  • 3 tablespoons of water

Directions

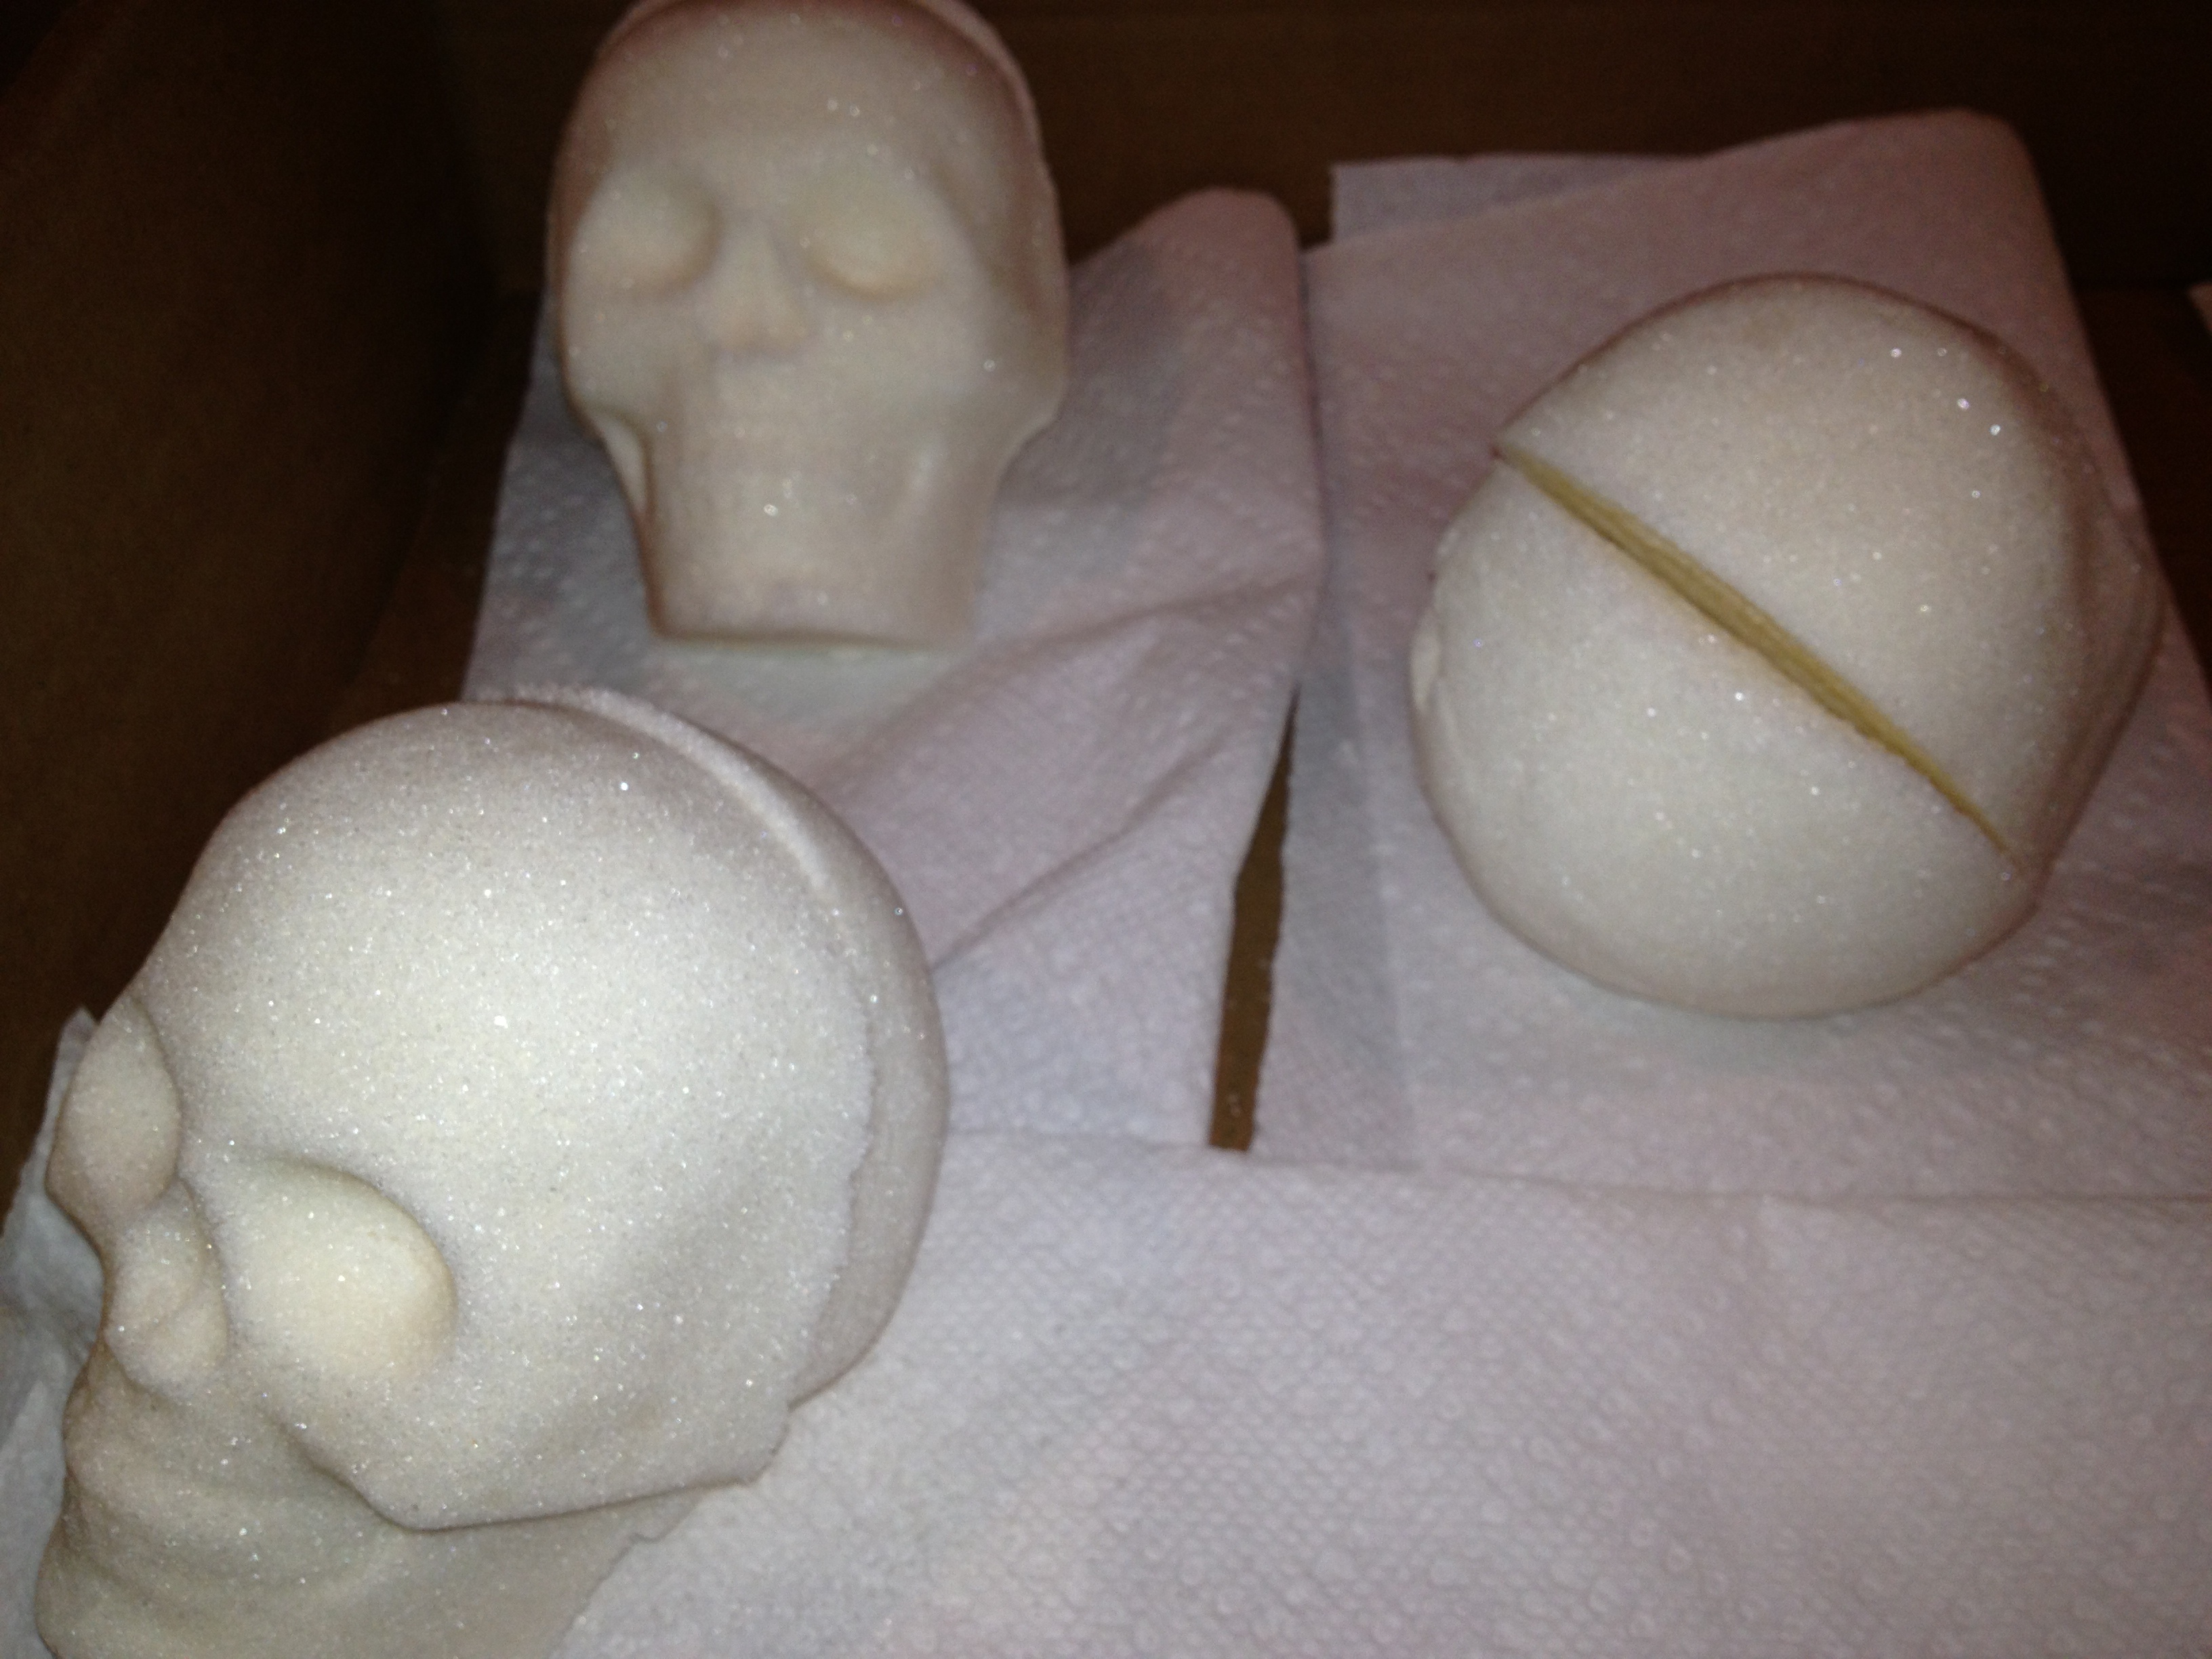
  1. Mix all of the ingredients into a large bowl using your hands until all of the sugar is moistened. It should feel like wet sand.
  2. Pack the plastic sugar skull molds (I purchased a small one at Sur la Table and a large one online) firmly with sugar, using a straight edge to scrape the back of the mold flat–I used a piece of cardboard for this.
  3. Tip sugar out of mold and place on a flat surface to dry overnight.

skulls

sinlgeskull

Royal Icing

After the sugar skulls have been allowed to dry at least overnight, prepare  Royal Icing recipe to piece the two halves of the skulls together and to decorate them.

Ingredients

  • 2 pound bag  of powdered sugar (7 cups)
  • 1/2 cup meringue powder
  • 2/3 cup water

Directions

  1. Mix 2/3 cup water, 1/2 cup meringue powder and 2 pounds of powdered sugar with an electric mixer until icing peaks (about 9 minutes).
  2. Mix icing with food coloring.
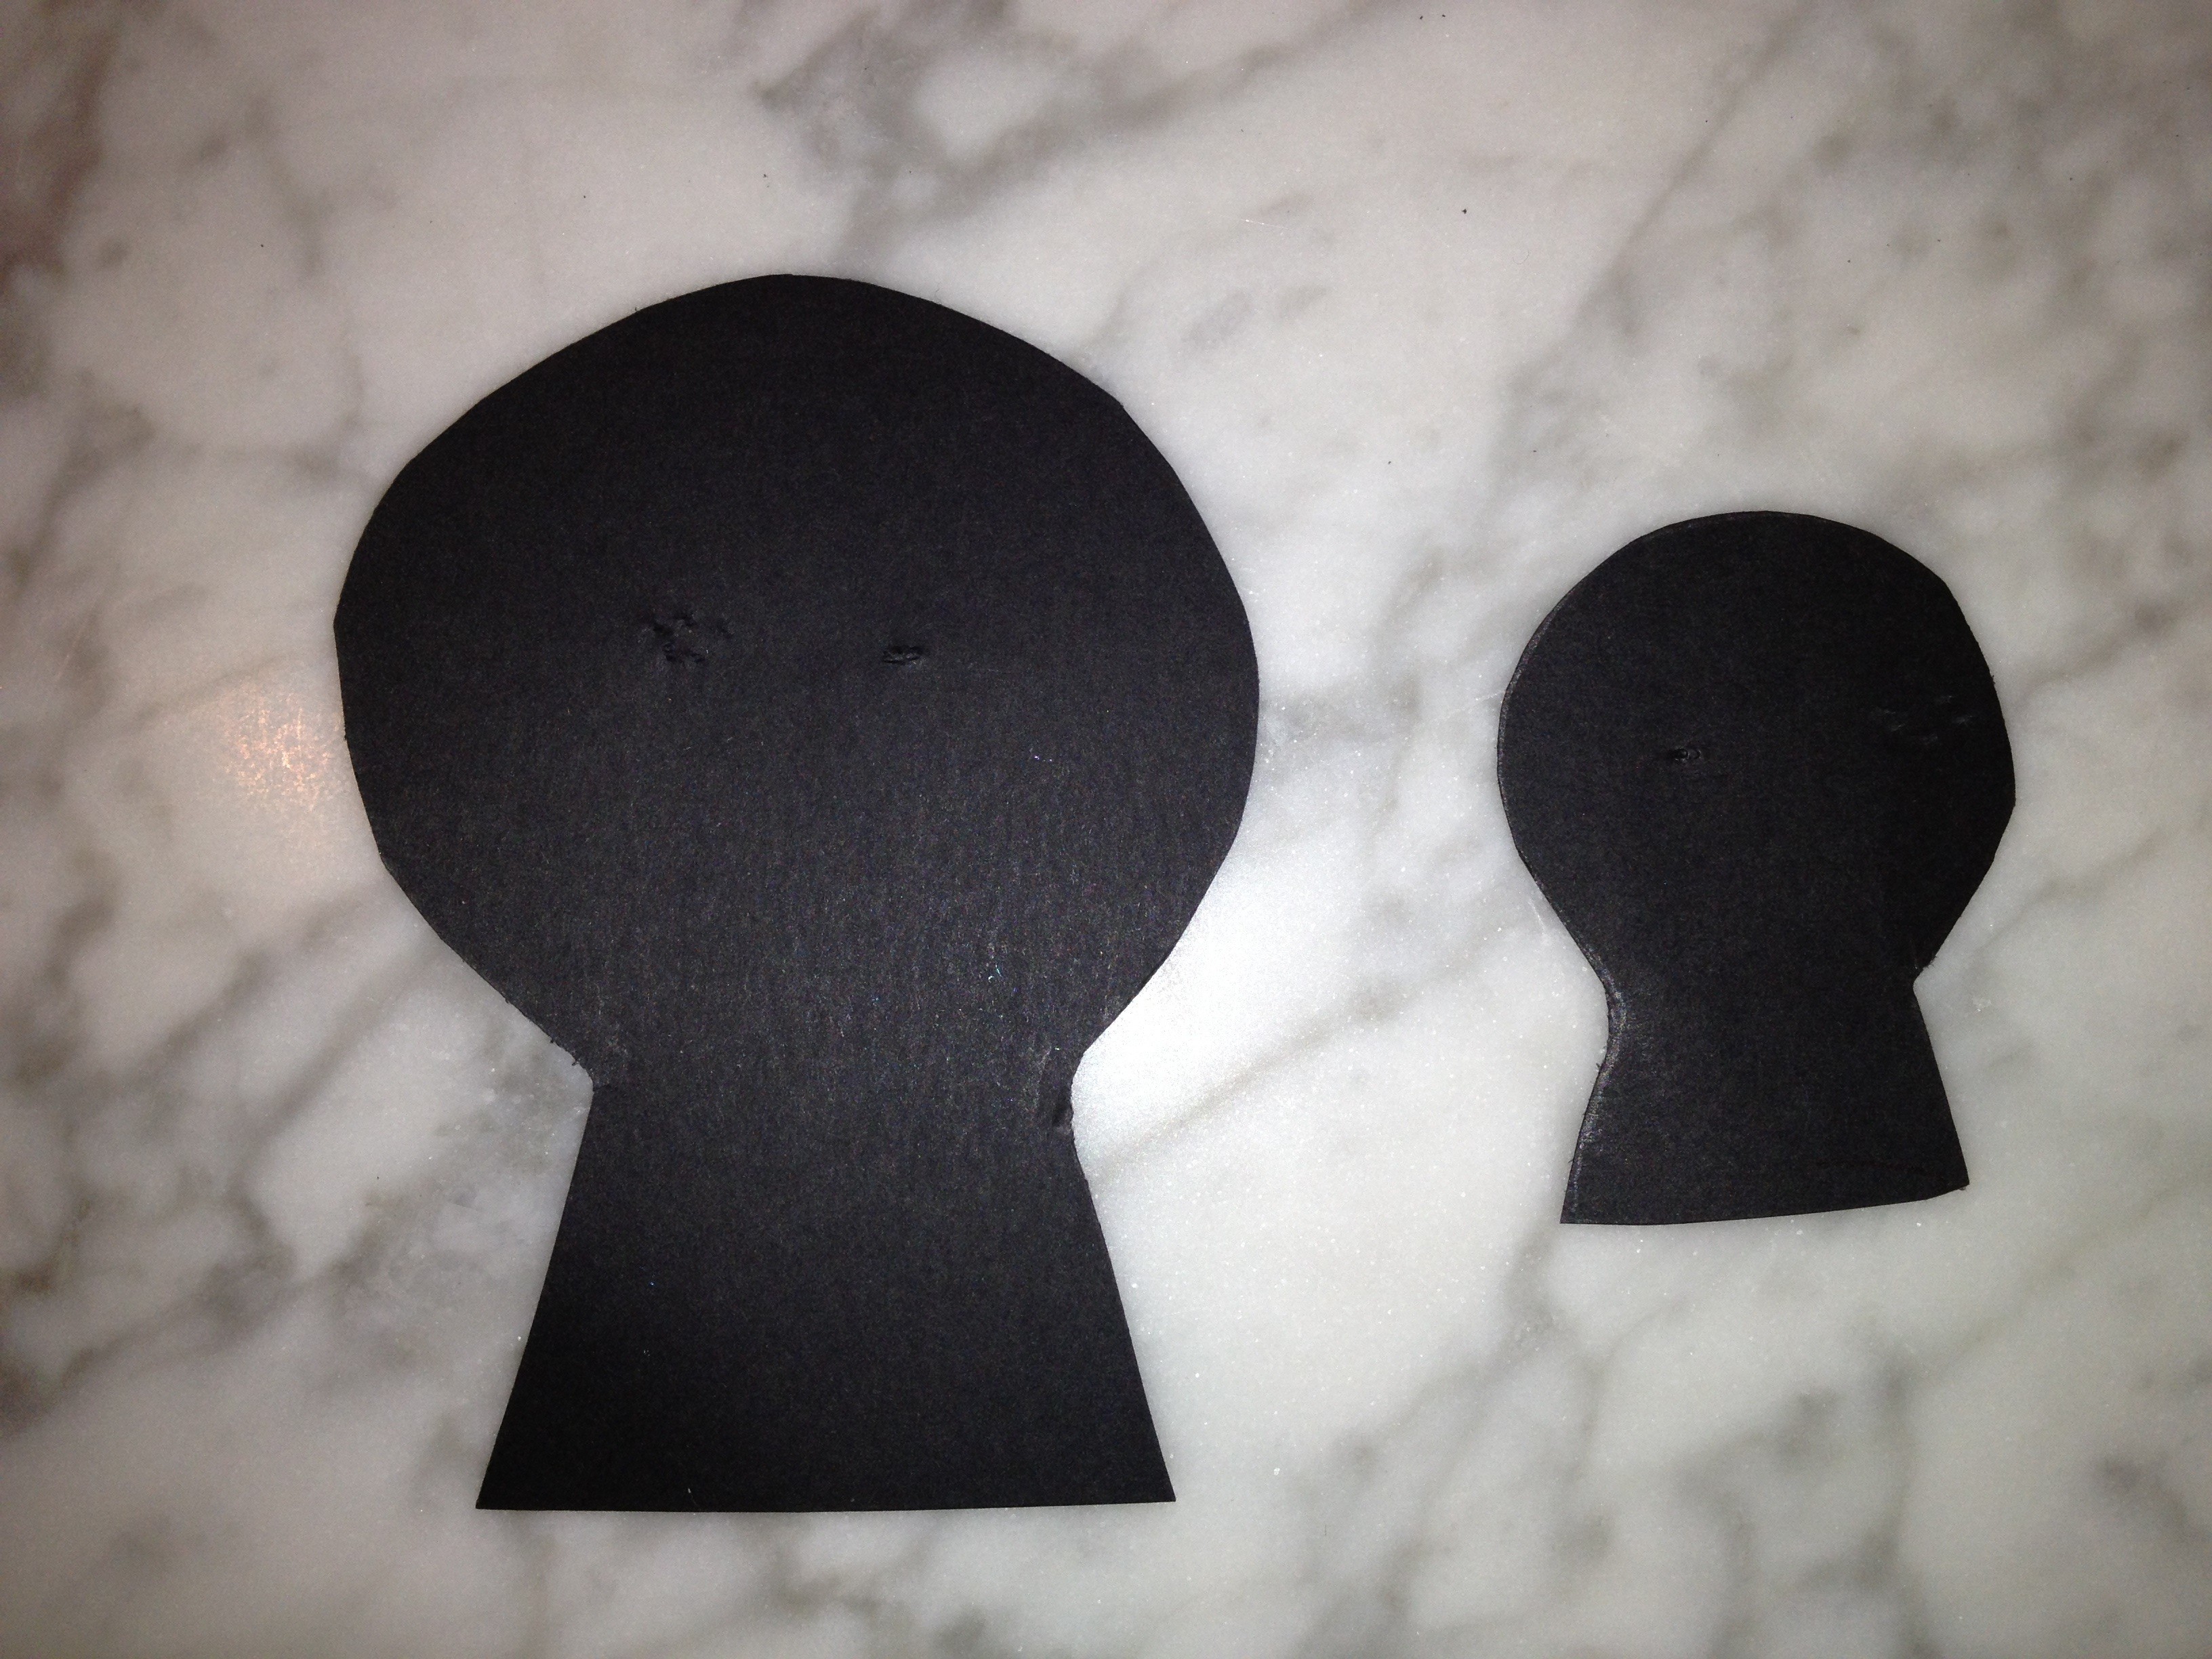
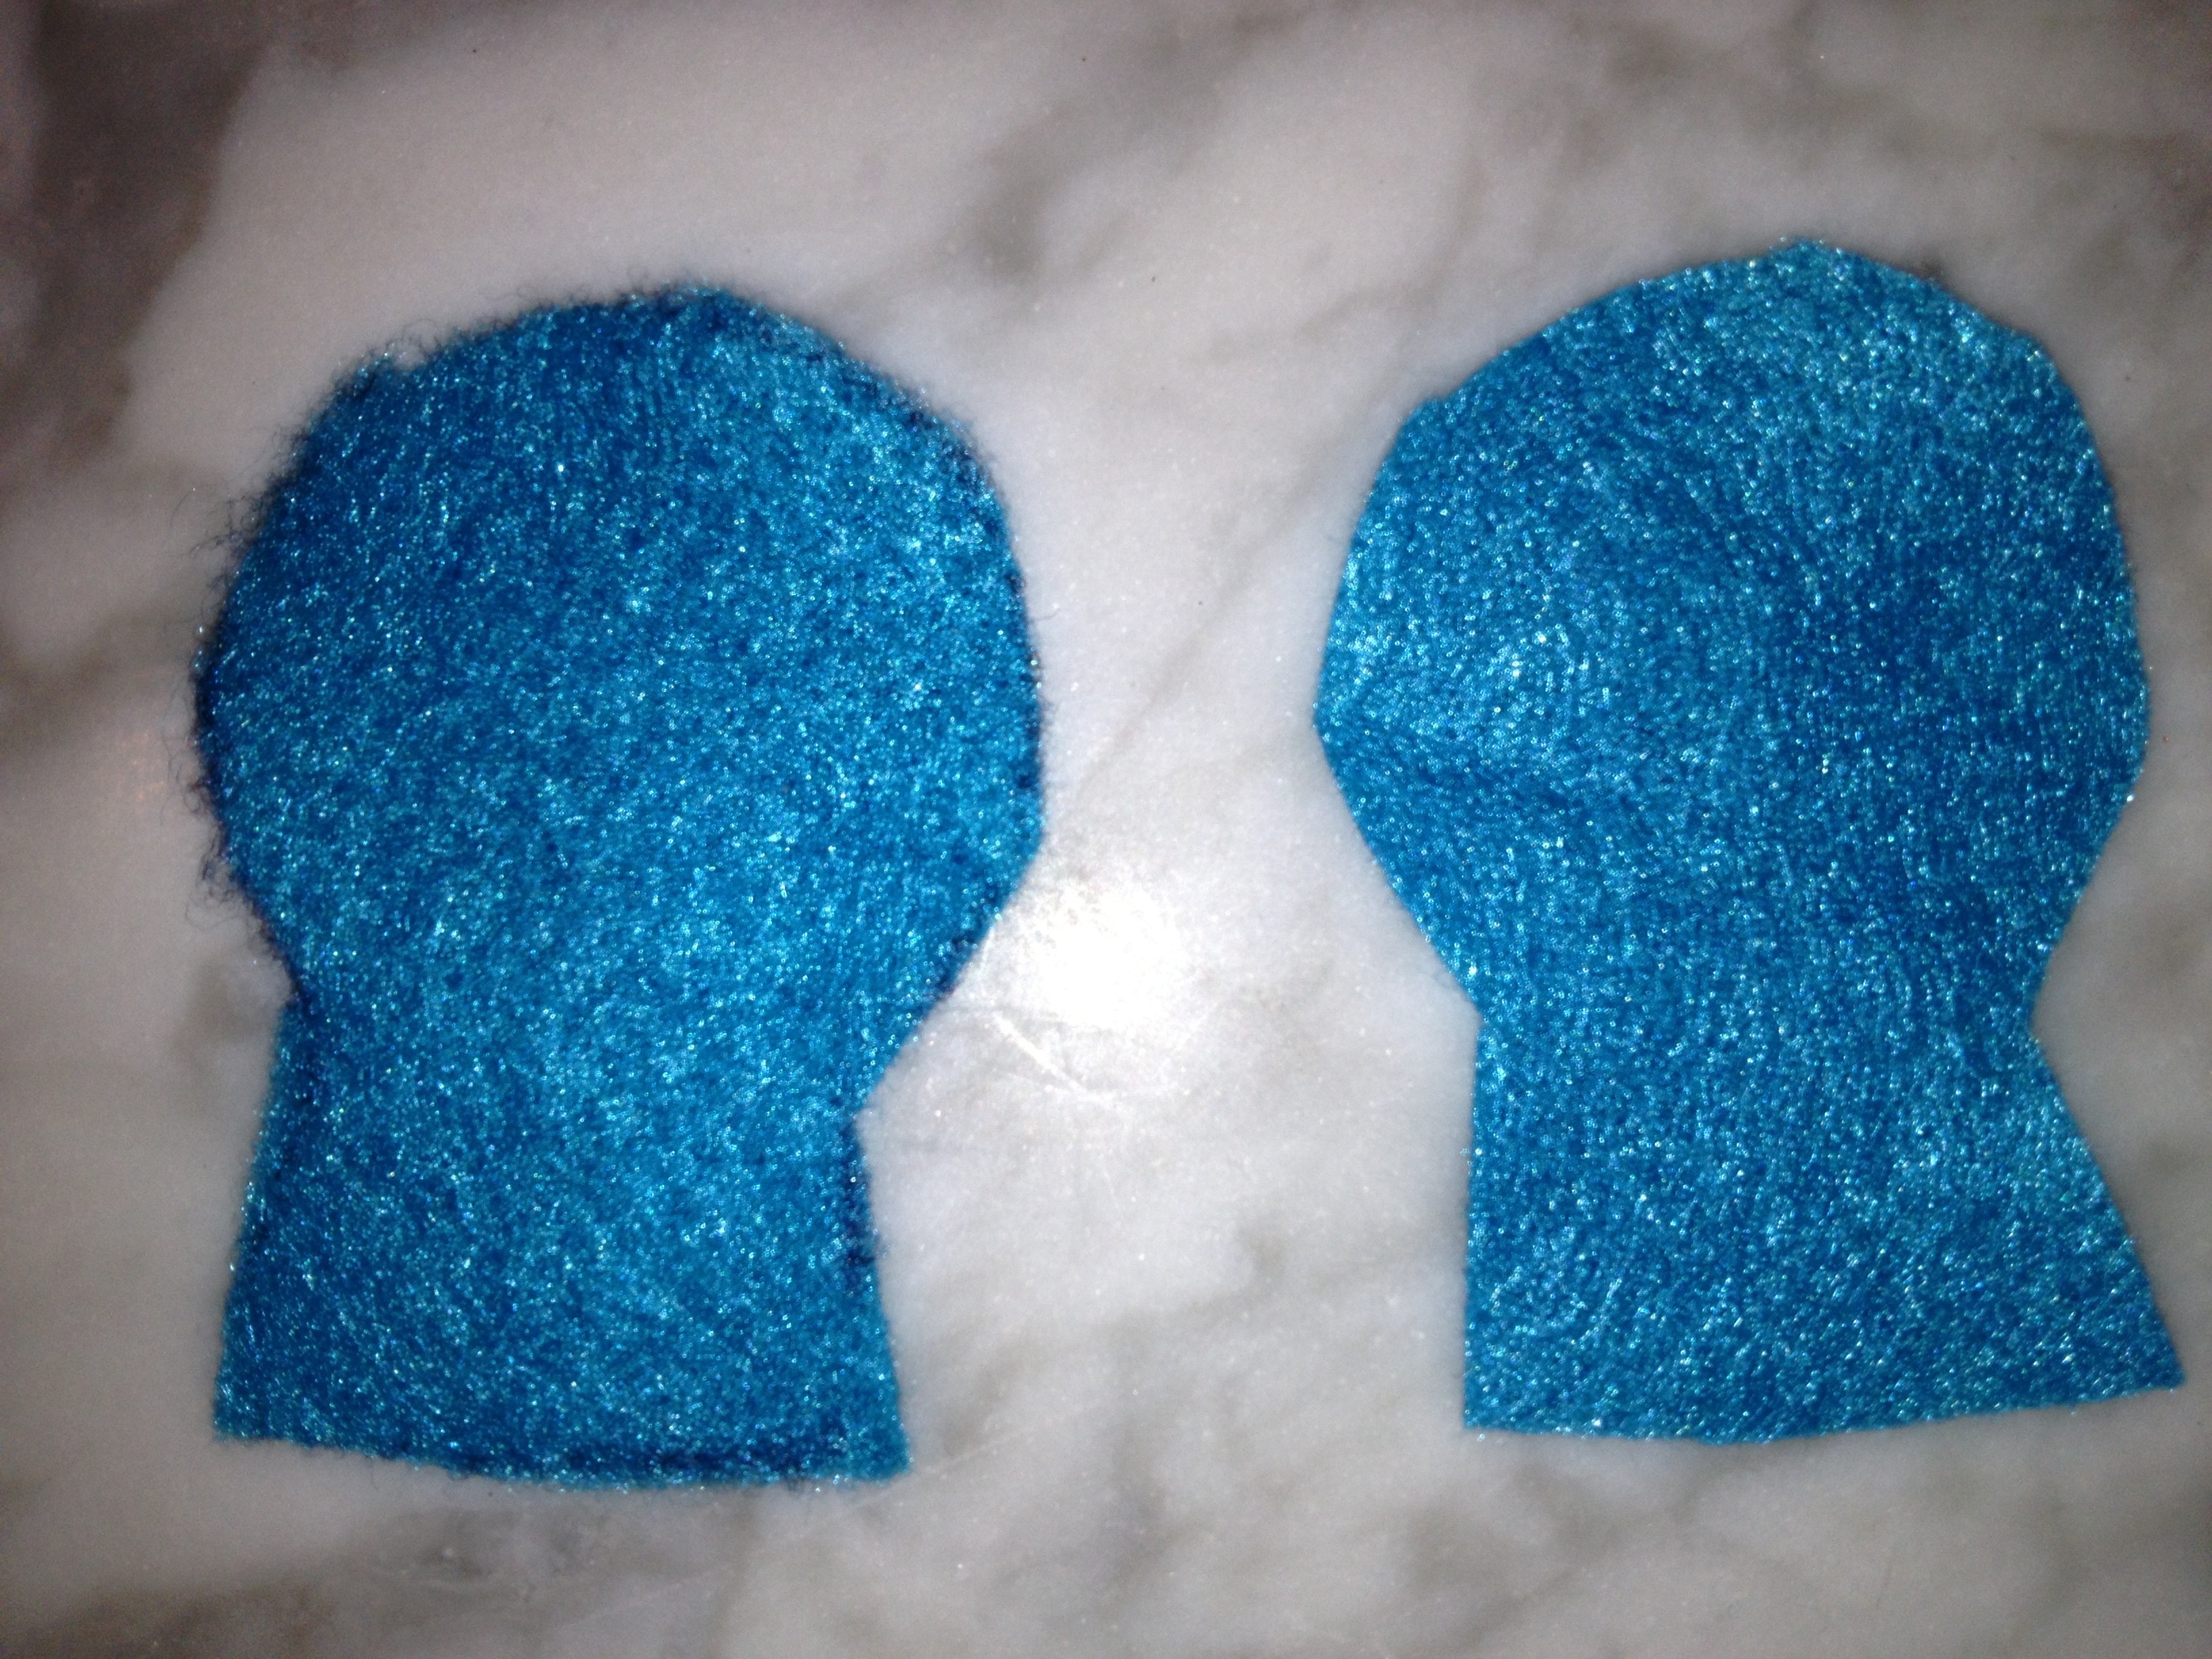
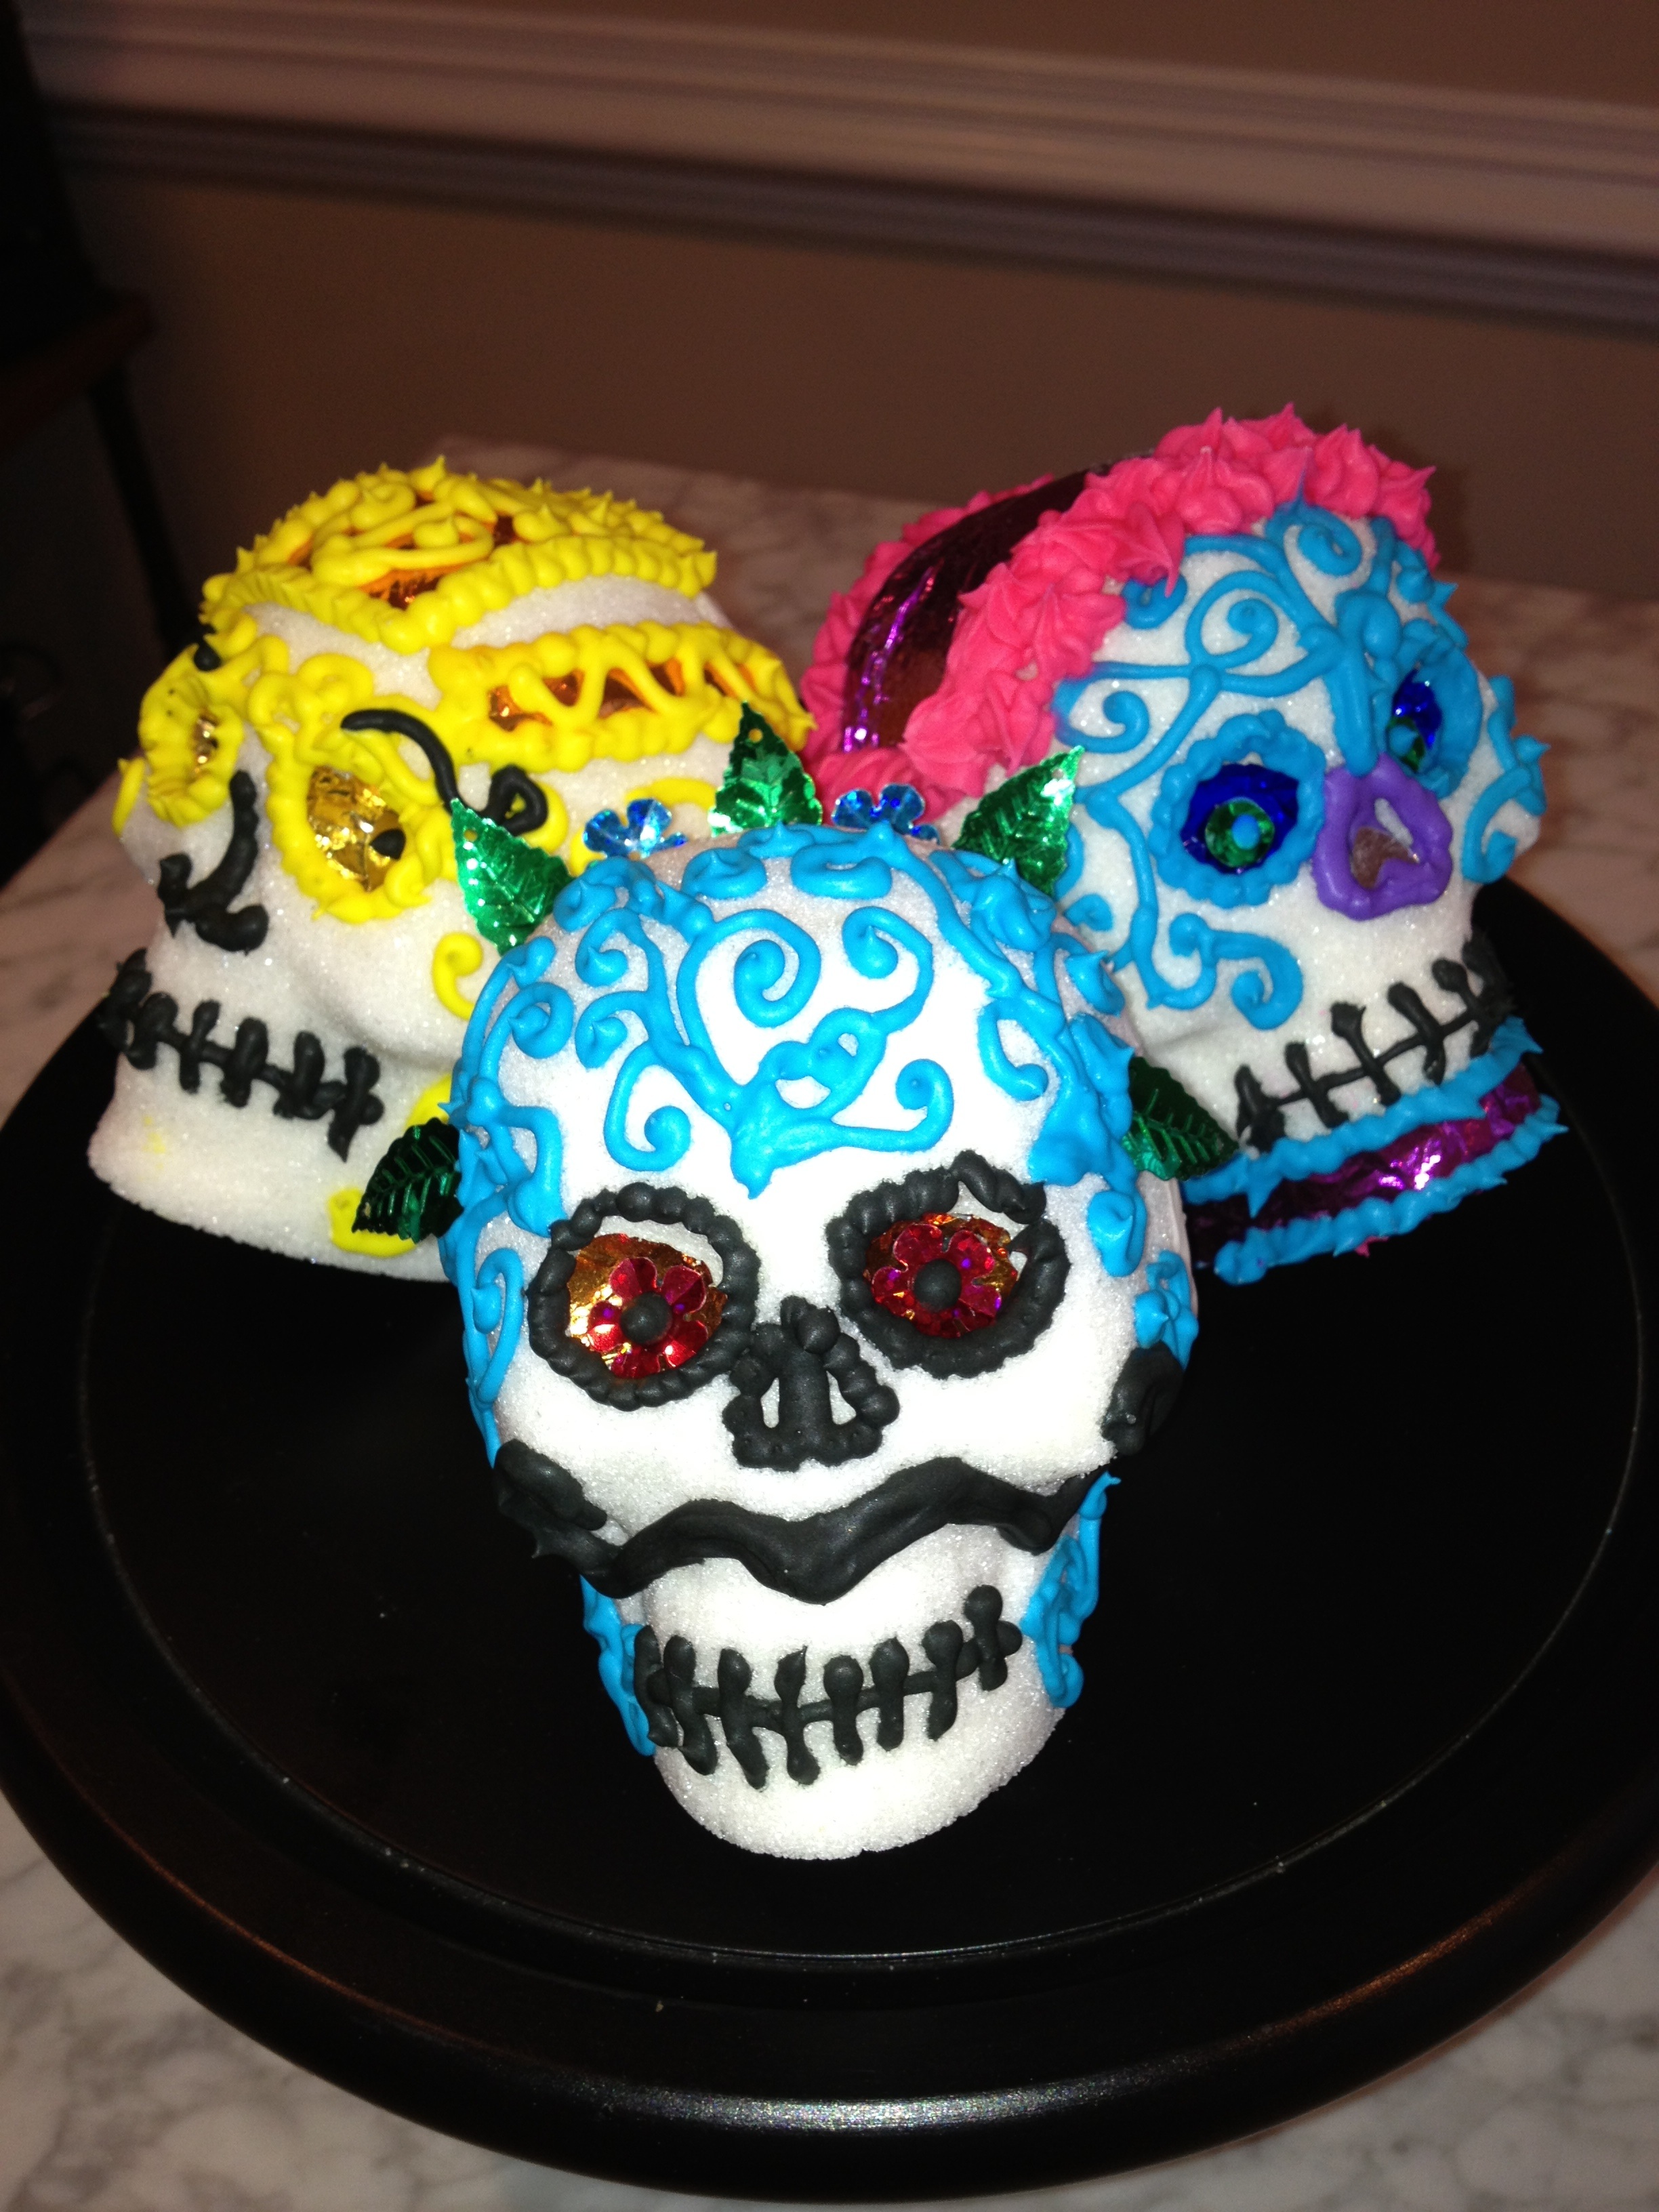
colors
I use Ziploc bags with tips for decorating.

Making Your Skulls

  1. My molds are made of two pieces, a face and the back of the skull. With the plain white Royal Frosting, add a small amount to each half and place together, wiping away any excess that comes out of the seams.
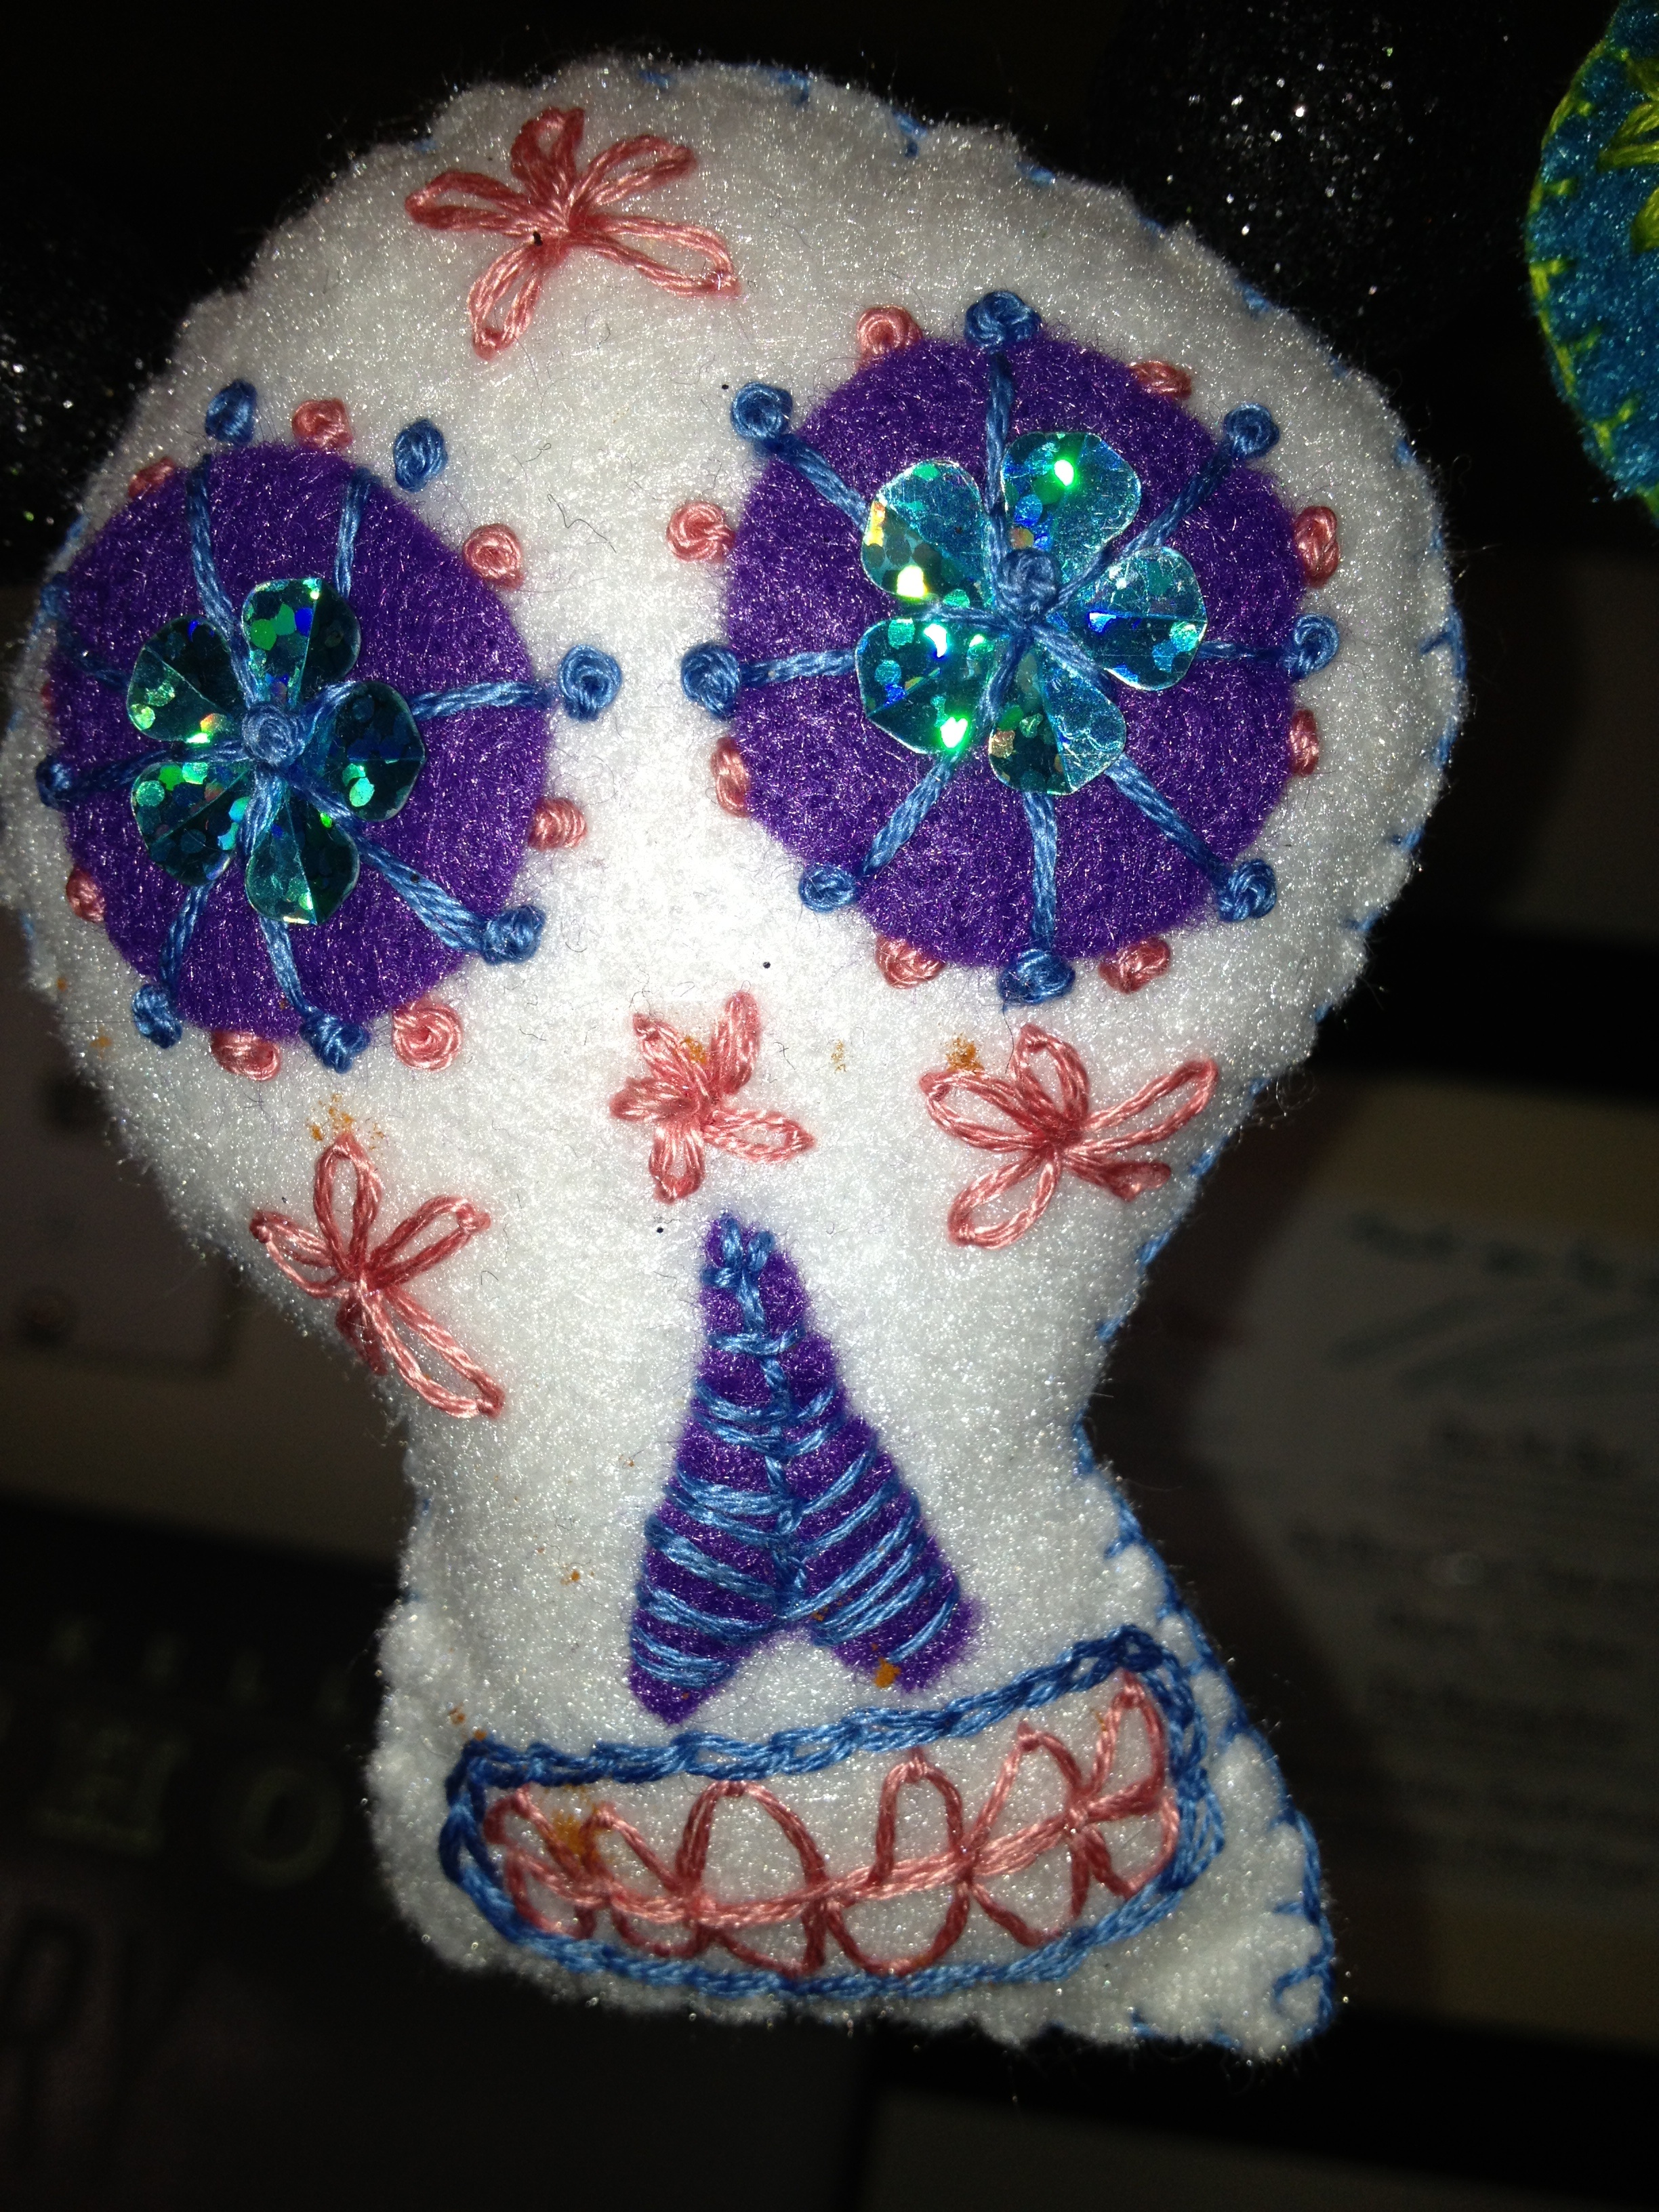
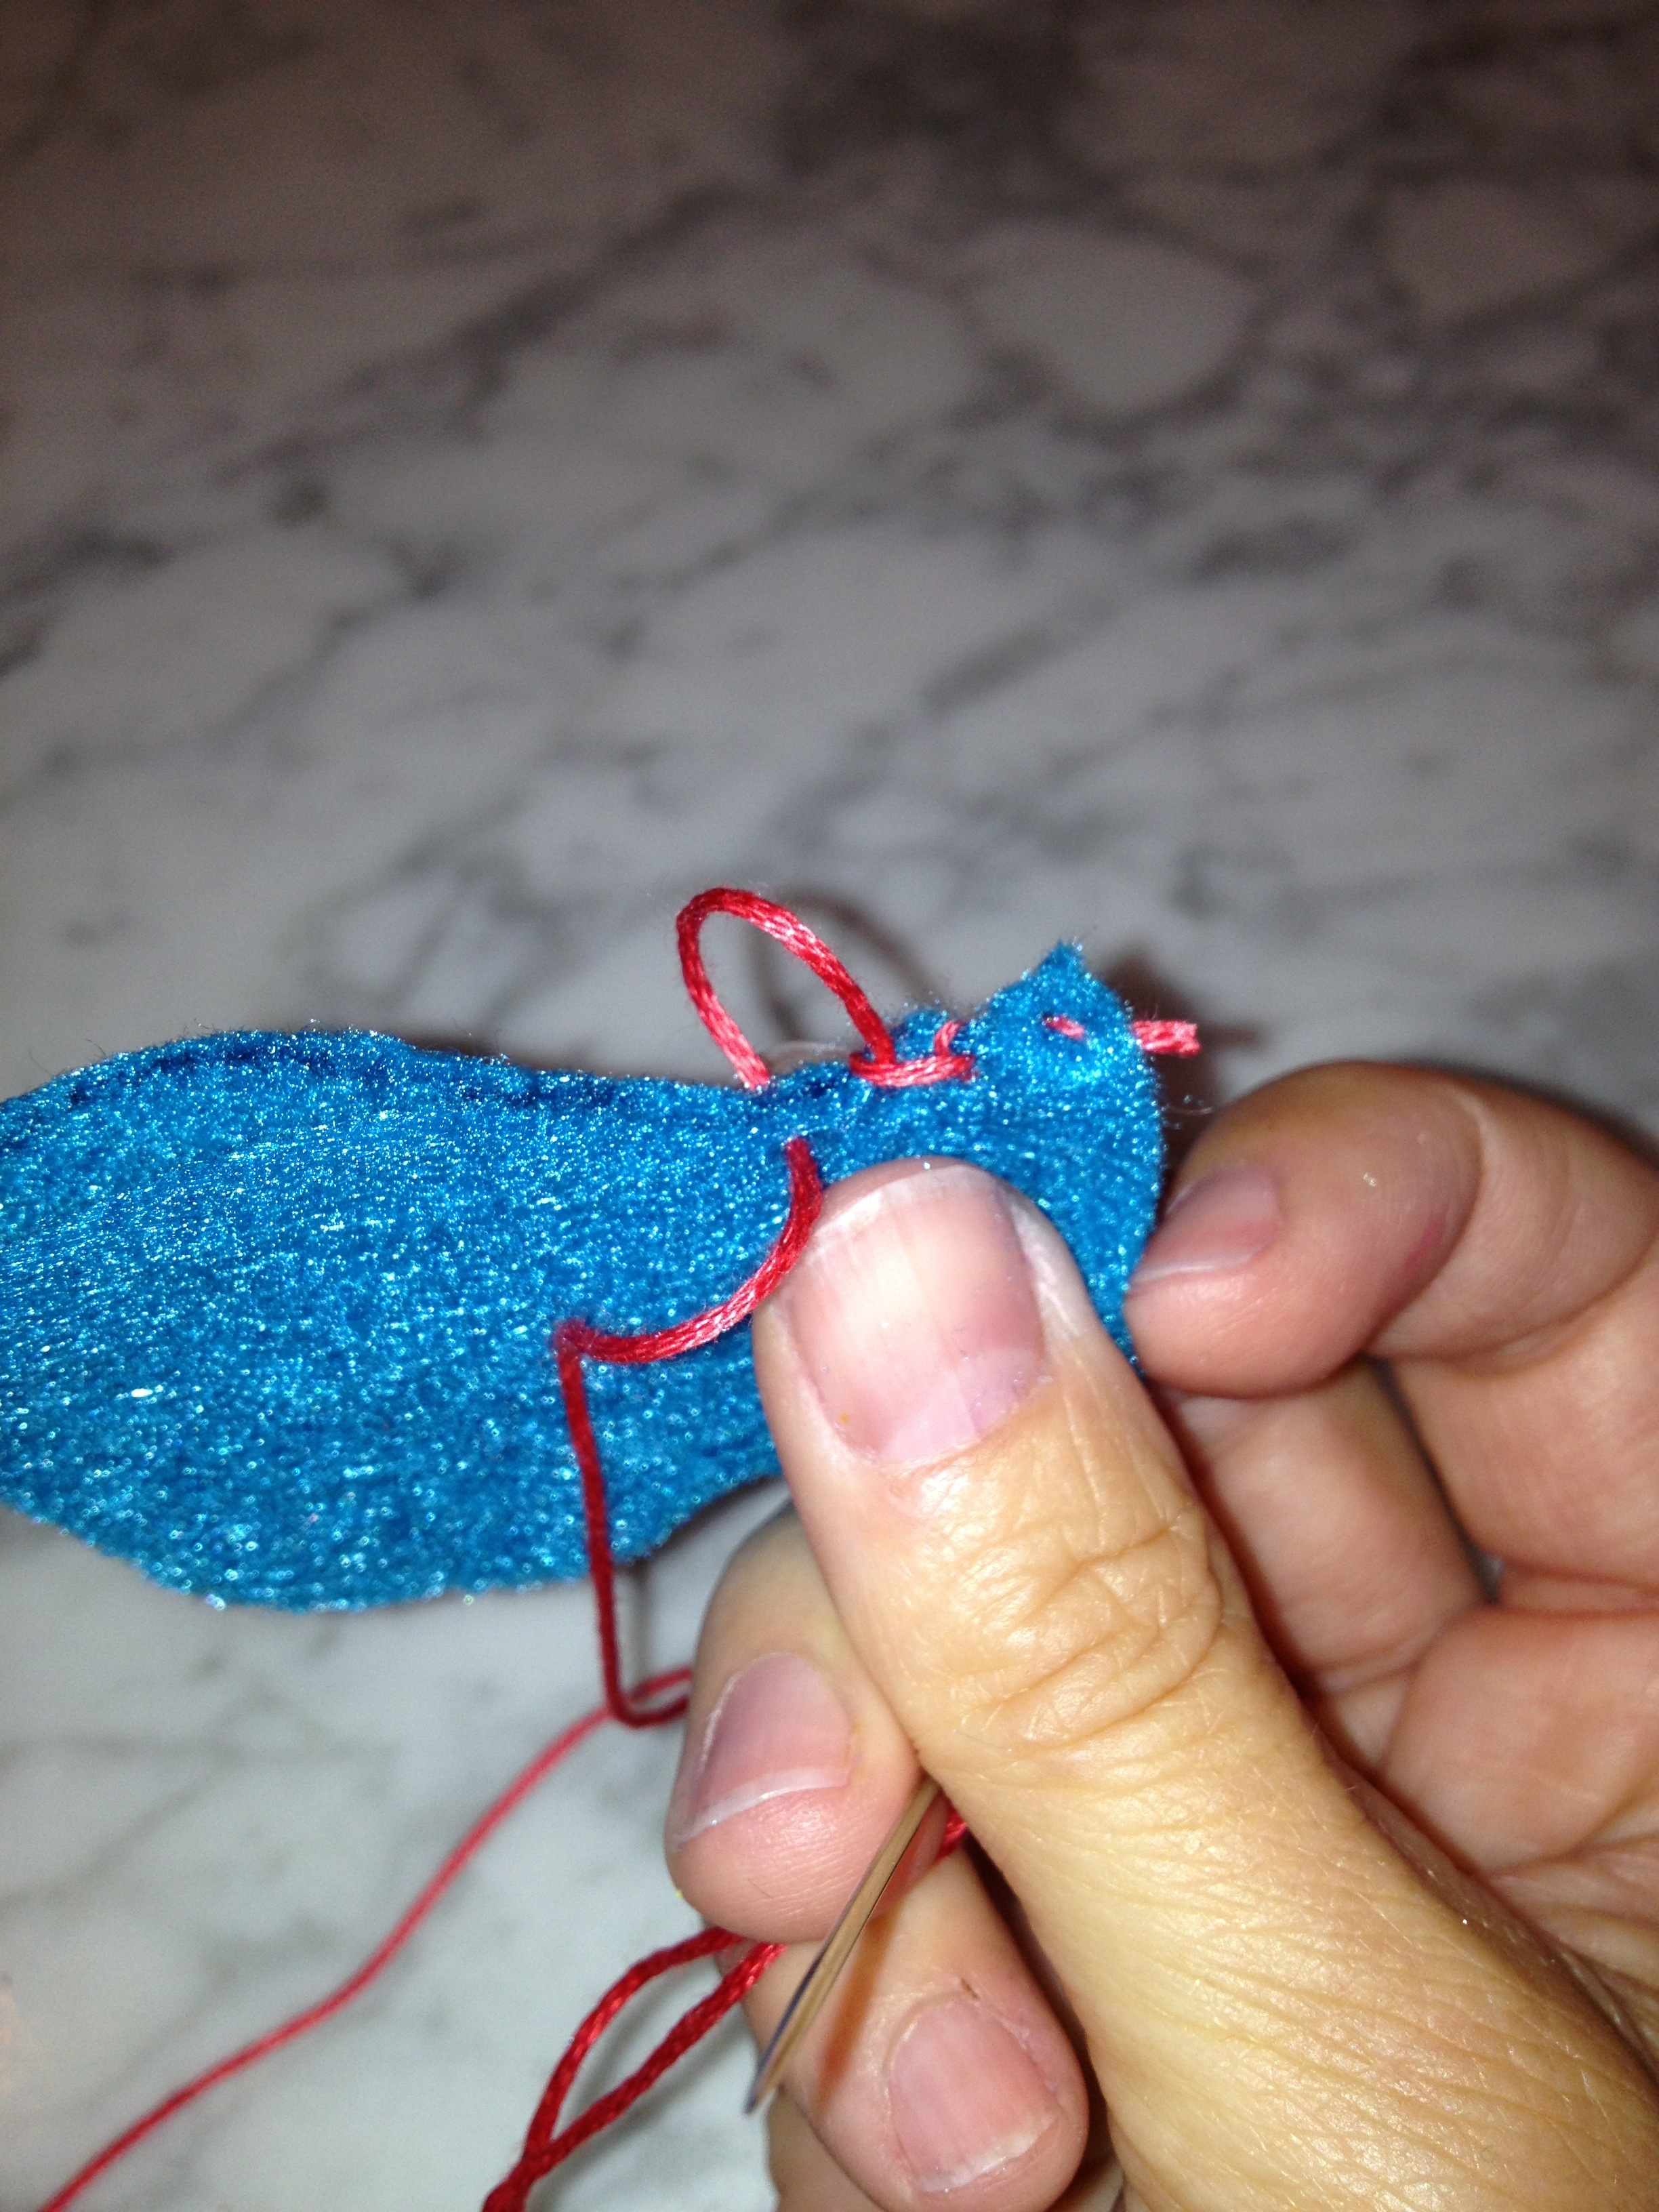
  2. Decorate your skulls using sequins foil paper (I ordered this online as well)
tinwrapper
The foil that I used to fill in the eyes and to cover up mistakes I made when decorating.

tinclose

sequins
Sequins for decorating.

cardboard

clochetrio

Day of the Dead/Halloween Decor Garland


photo-53

I have been restraining myself from decorating for Halloween until October and since we are just about there, I thought I would share my latest creation. The garland isn’t really new, more like ‘upcycled’ from when I was living in Amman  (when I was in the throes of skull making mid-March due to  Halloween withdrawals), but because I lacked access to a craft store, or basically any store that had DIY supplies, the finished product never really did much for me and so it made its way into a junk container. As I was rifling through my junk containers, I came across it and decided to give it another chance. To make this garland, here’s what you do.

Materials:

  • various shades of felt
  • embroidery floss
  • sequins
  • pillow stuffing
  • felt balls or glitter balls

Directions:

1. Create a pattern on card-stock.

pattern


2. Outline pattern onto felt and cut out.

get-attachment.aspx


3. Embroider each skull’s face–I am a beginner embroiderer so I was limited to back stitching, French knots, and chain-stitching (I think that is what it’s called), adding sequins, beads, or any other design elements.

Close-up #2
Close-up glam shot #1
You have to add cha-cha to the skull's
You have to add cha-cha to the skull’s
Close-up glam shot #1
Close-up glam shot #2


4. Blanket stitch the two pieces of the pattern together, leaving a little bit open to stuff with pillow stuffing, and then sew it all up.

8

7

6

5


If you are not sure how to blanket stitch, Google ‘blanket stitch’ and you will find countless videos and tutorials that will teach you–that’s how I learned. I love this stitch–it’s so versatile.


5. Using a needle, add felt balls or glitter balls (I found these at Michael’s in the Halloween section in all colors) in between the skulls and hang up. It’s that easy!

1


Here are a few more close-ups of the garland. Enjoy.

photo-57

photo-56

Sugar Cookies from Halloween & Day of the Dead’s Past


I’ve been living without a functioning kitchen now for over FOUR months now. This means no cooking and no creative outlet. Since I cannot bake or cook or do much else creatively speaking (because everything is on its way from Jordan and isn’t set to arrive for months), and given that I’m at home from work due to the storm, I searched through my pictures of Halloween’s past to reminisce about the beautiful cookies that I could have been baking and decorating if I had a full larder and was equipped with my cookie making supplies.

Inspiration? Jack Skelington
If you plan on making lollipop sugar cookies, make the cookies a little thicker than normal and insert cookie stick into dough before baking.
Dia de los Muertos beauties–my personal favorites
I wish I had a friend like me who bakes and distributes cookies for holidays!

In case you’re inspired enough to want to bake, here’s the recipe for the cookies and the icing:

No Fail Sugar Cookies

Preheat oven thirty minutes before you begin. (This recipe makes a lot of cookies, so I usually cut the recipe in half or save half of it to freeze and use later.)

Ingredients:

6 cups flour
3 tsp. baking powder
2 cups butter
2 cups sugar
2 eggs
2 tsp. vanilla extract or desired flavoring (I like almond myself)
1 tsp. salt

Cream butter and sugar until light and fluffy.  Add eggs and vanilla.  Mix well. Mix dry ingredients and add a little
at a time
 to butter mixture.  Mix until flour is completely incorporated and the dough comes together.

Chill for 1 to 2 hours (or see Hint below) 

Roll to desired thickness and cut into desired shapes.  Bake on ungreased baking sheet at 350
degrees for 8 to 10 minutes or until just beginning to turn brown around the edges.  This recipe
can make up to 5-dozen 3” cookies.

HINTRolling Out Dough Without the Mess – Rather than wait for your cookie dough to
chill, take the freshly made dough and place a glob between two sheets of parchment paper.
Roll it out to the desired thickness then place the dough and paper on a cookie sheet and pop it into the refrigerator.
Continue rolling out your dough between sheets of paper until you have used it all.  By the time you are finished, the
first batch will be completely chilled and ready to cut.  Reroll leftover dough and repeat the process!  An added bonus
is that you are not adding any additional flour to your cookies.

Royal Icing 

Makes 3 cups of base consistency icing

3 3/4 cups sifted confectioners’ sugar
3 T meringue powder
6 T warm water

Beat 4 to 5 minutes
By hand, stir in optional flavorings and desired tints.

Add 8 T of warm water if you want flow consistency.

How to Avoid Doing Chores–Take Up Embroidery


The trio of fabulousness…
(which will be even better once I sew the pompoms along the borders)

I am busier than ever, yet find myself carving out minutes here and there to work on my newest favorite hobby–embroidery. Before you feel sorry for me and ask me how many pounds I’ve put on or how many cats I’ve adopted since returning stateside, you need to check out the website Sublime Stitching. As the website states, “This ain’t your gramma’s embroidery.” Do yourself a favor. Check it out. Now!

{I’d like to add that I was in Anthropologie today (I’m VERY busy) perusing the tea towel section and I have to say, I was not even TEMPTED to buy one of their $34.99 towels because I think mine are equally as adorable–although for $12.99 in the sale section, my heart did skip a couple of beats, but I passed them up. Imagine ALL of the money I’m saving by making my own!}

I happened upon Sublime Stitching’s website months ago while I was trolling the Internet aimlessly (as I did all day long in Amman). I fell in love with her whimsical and charming patterns and ordered a few last month as a prize for myself. I started with a kit, which included a hoop, floss, scissors, a tea towel, and needles, and also ordered a couple of additional patterns: Dia de Los Muertos and Bon Voyage, plus a couple more towels.

Here are my first attempts–and keep in mind, I’m newly minted in this art, so my stitches are BASIC–nothing fancy (yet). I’ve included the pompoms below that I’ll be sewing along the borders once I get my sewing machine back (it’s still in Jordan) just to show you how much cuter they’ll be after the addition. (Can they get any cuter?)

Here’s the progression:

The patterns for Day of the Dead
My very first stitches…so nervous
Voila…
Onto project numero dos
Closeup of Our Lady of Something
The cutest sugar skulls I’ve ever seen
Project number three from a world traveler
I want those gold shoes

I ran out of out of towels last night and I’m almost out of floss…BUT I CAN. NOT. STOP. So I bought some more SUPER cheap towels at Ross ($3.99 for FOUR! What a bargain) in cute colors AND I checked out (as in borrowed from the library–saving even MORE $$$) Jenny Hart’s two embroidery books from the library today. Flipping through the pages, I’m spying some cupcake and pie patterns that I’ll be incorporating into my next masterpieces.

The books that I’ll be buying. I wanted to be sure that I wanted them.