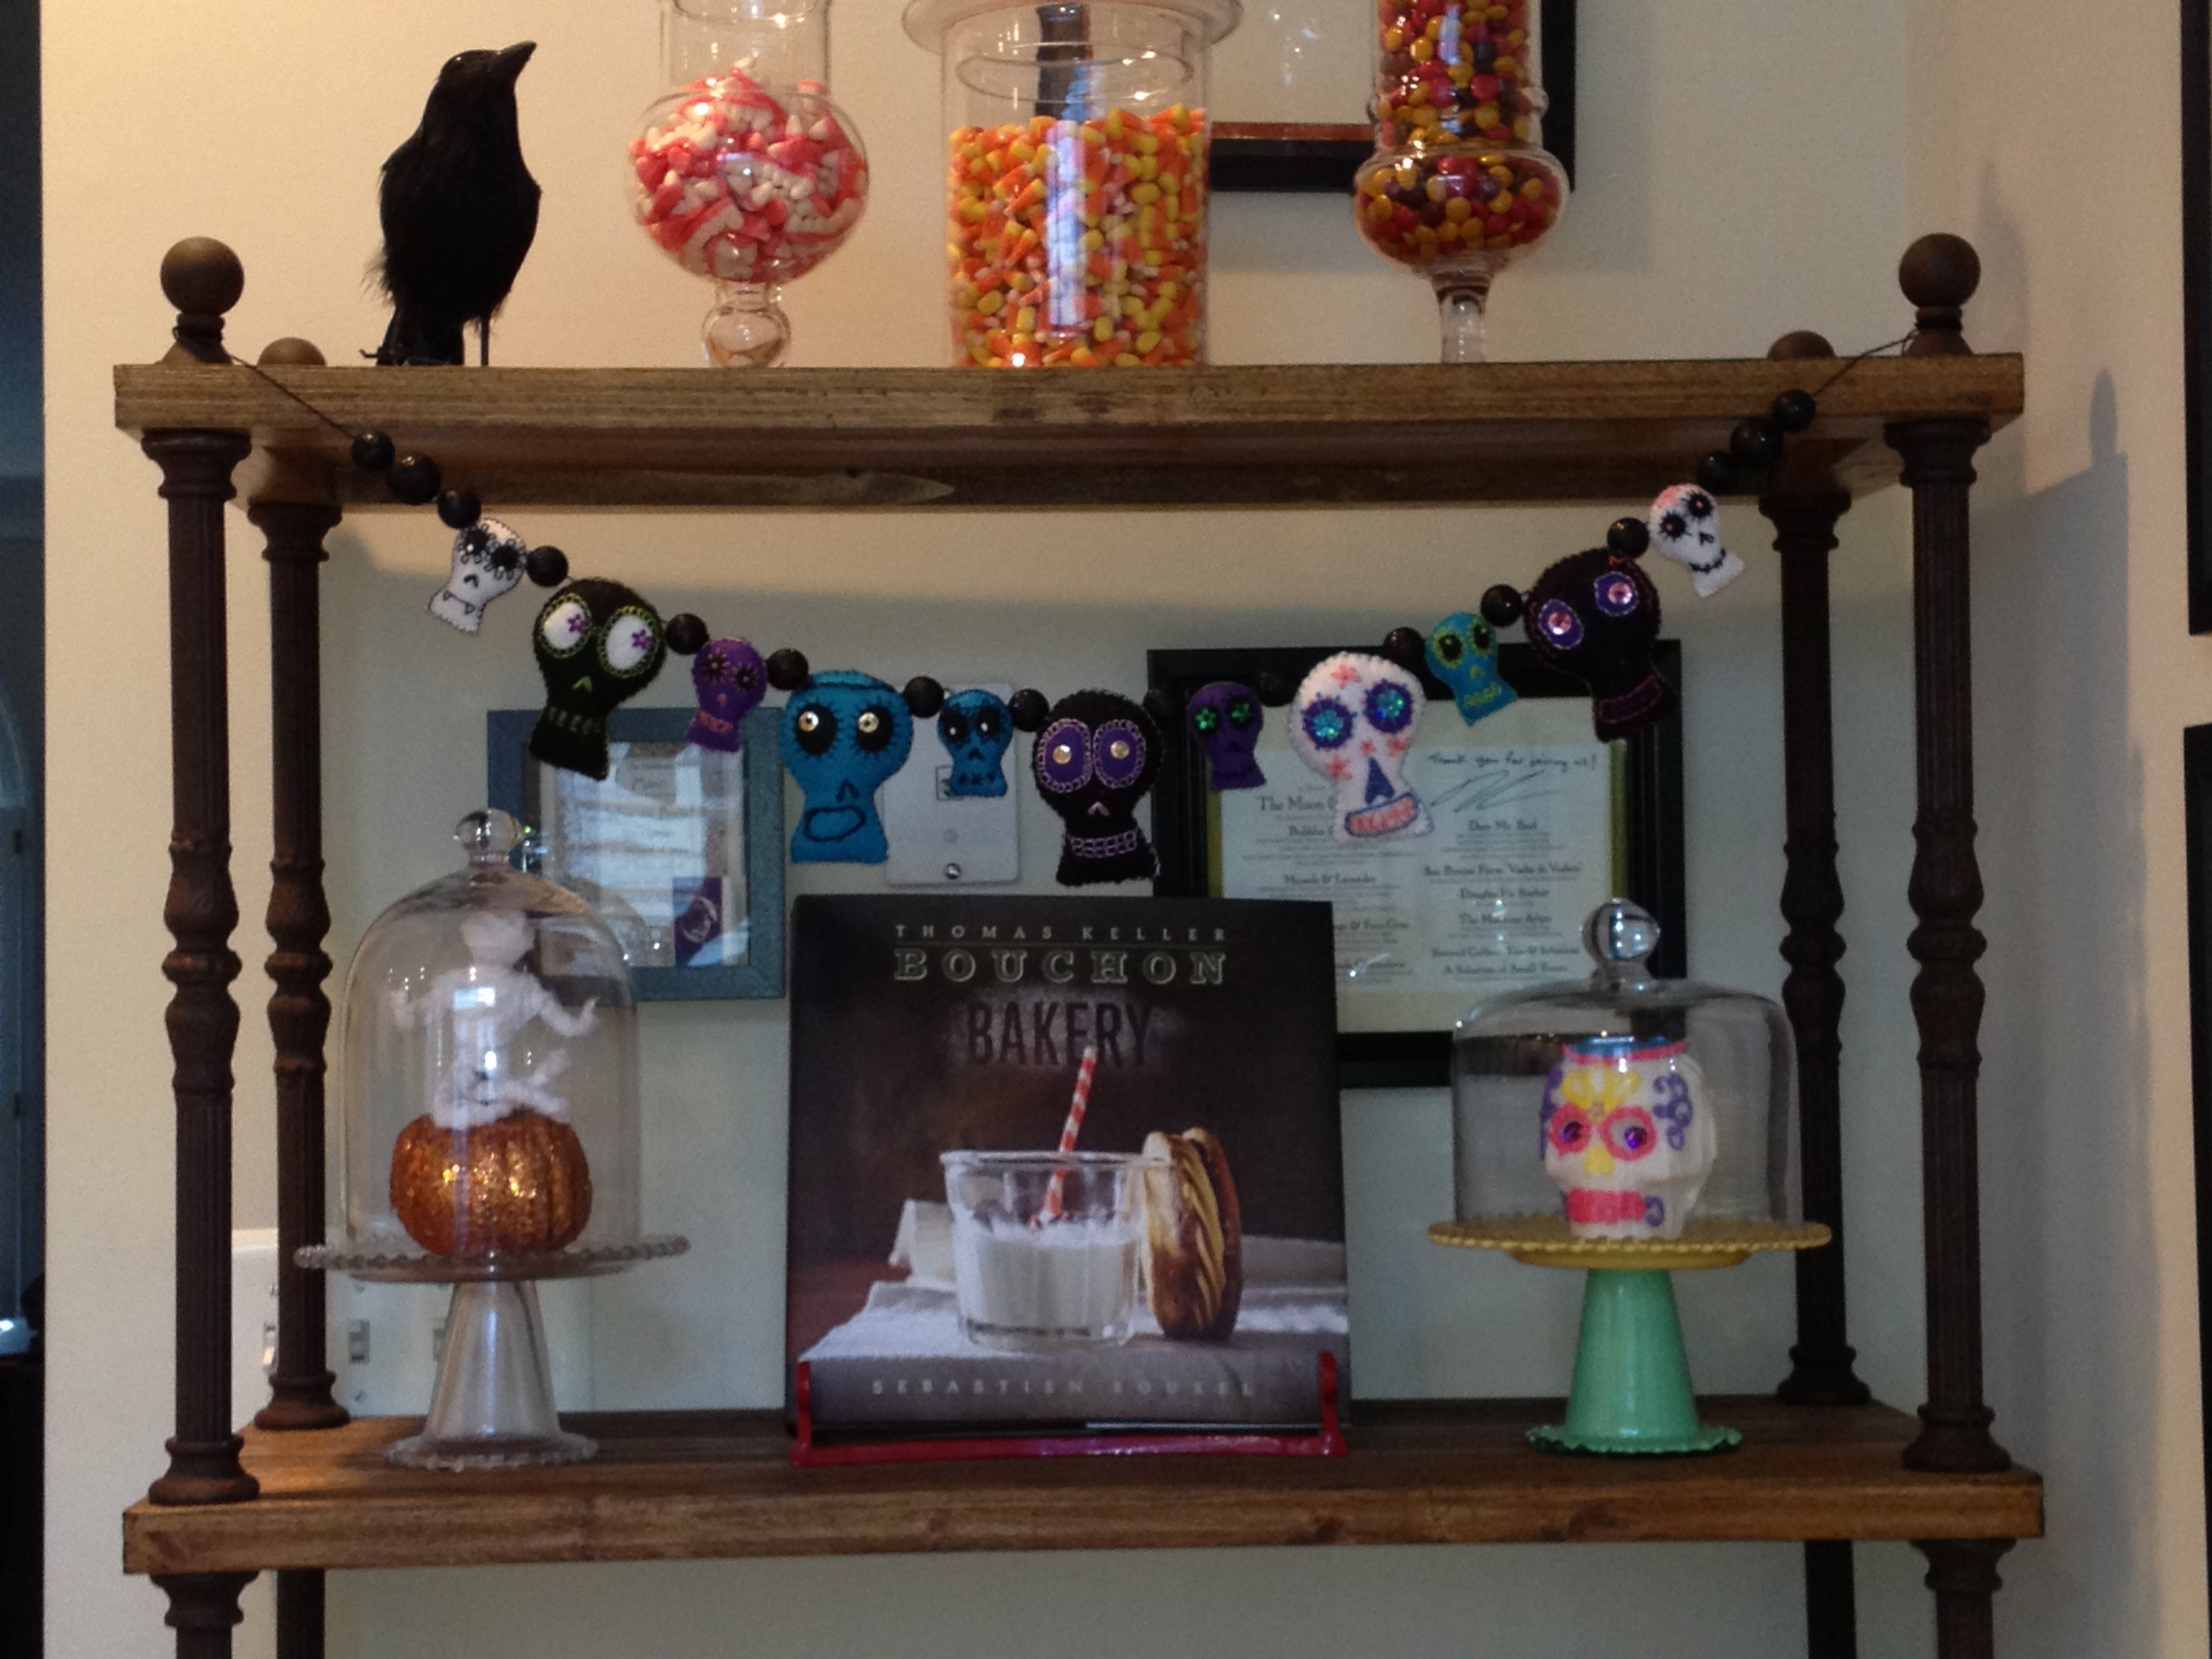
I have been restraining myself from decorating for Halloween until October and since we are just about there, I thought I would share my latest creation. The garland isn’t really new, more like ‘upcycled’ from when I was living in Amman (when I was in the throes of skull making mid-March due to Halloween withdrawals), but because I lacked access to a craft store, or basically any store that had DIY supplies, the finished product never really did much for me and so it made its way into a junk container. As I was rifling through my junk containers, I came across it and decided to give it another chance. To make this garland, here’s what you do.
Materials:
- various shades of felt
- embroidery floss
- sequins
- pillow stuffing
- felt balls or glitter balls
Directions:
1. Create a pattern on card-stock.
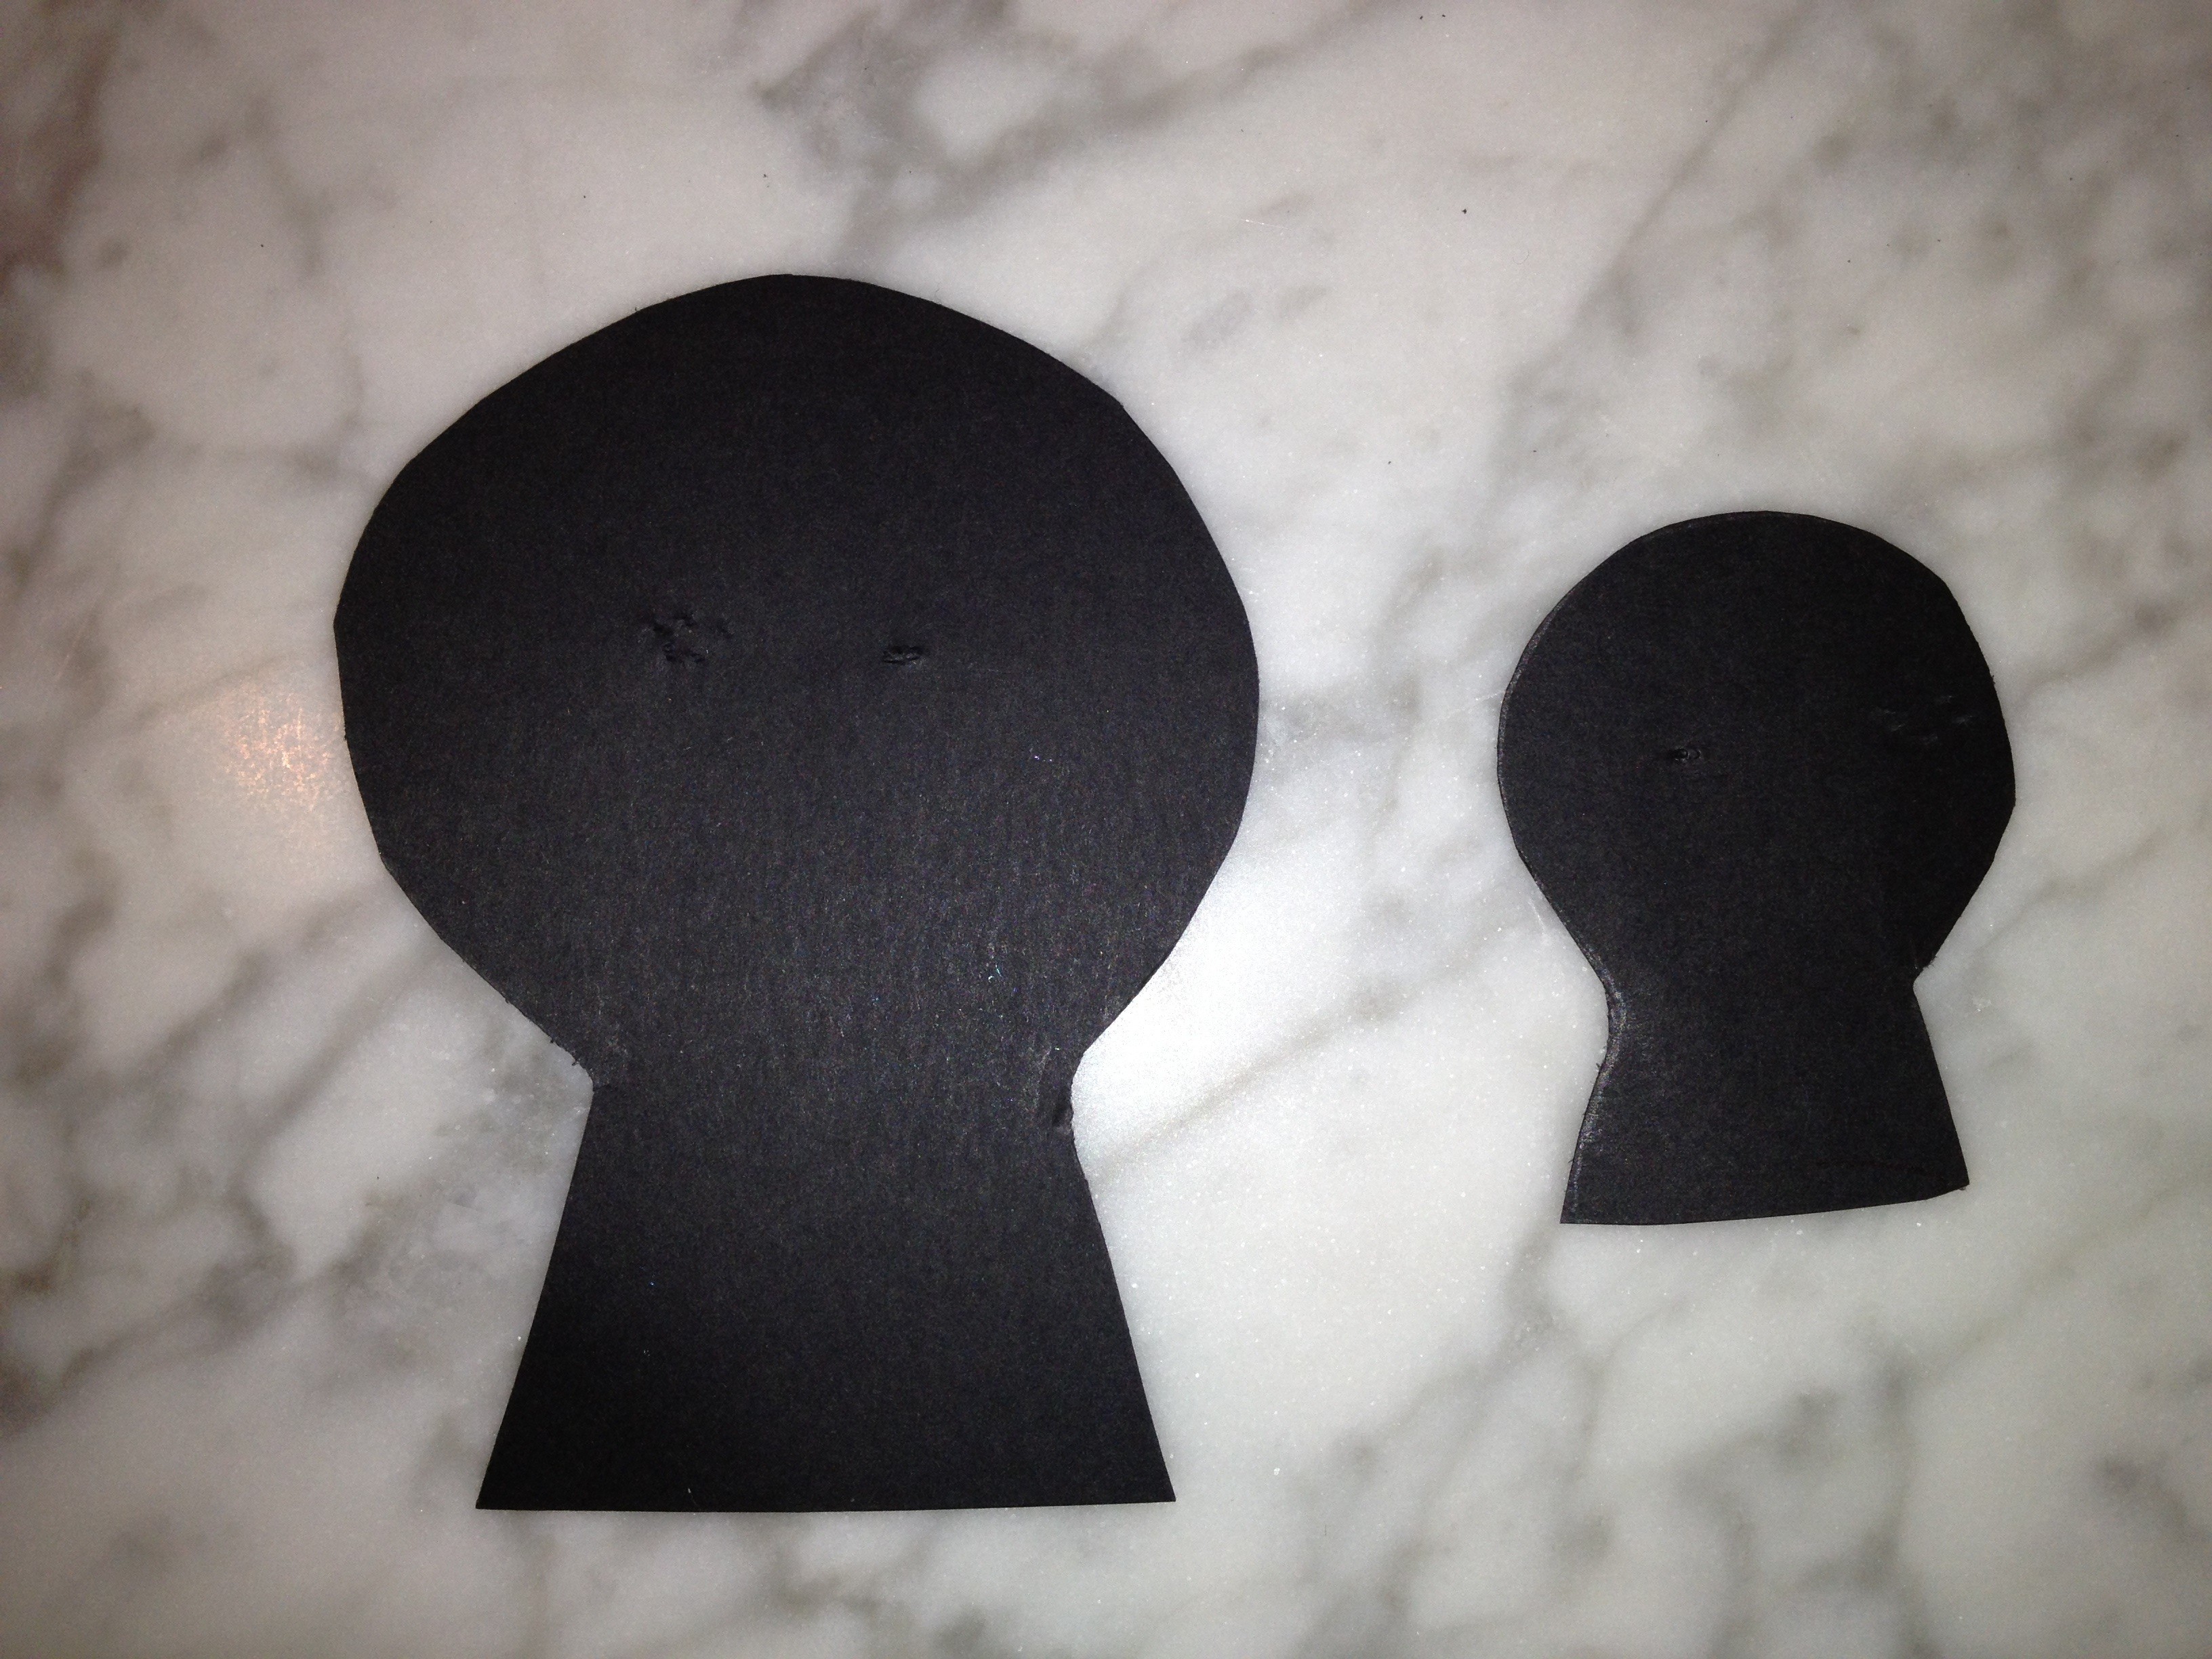
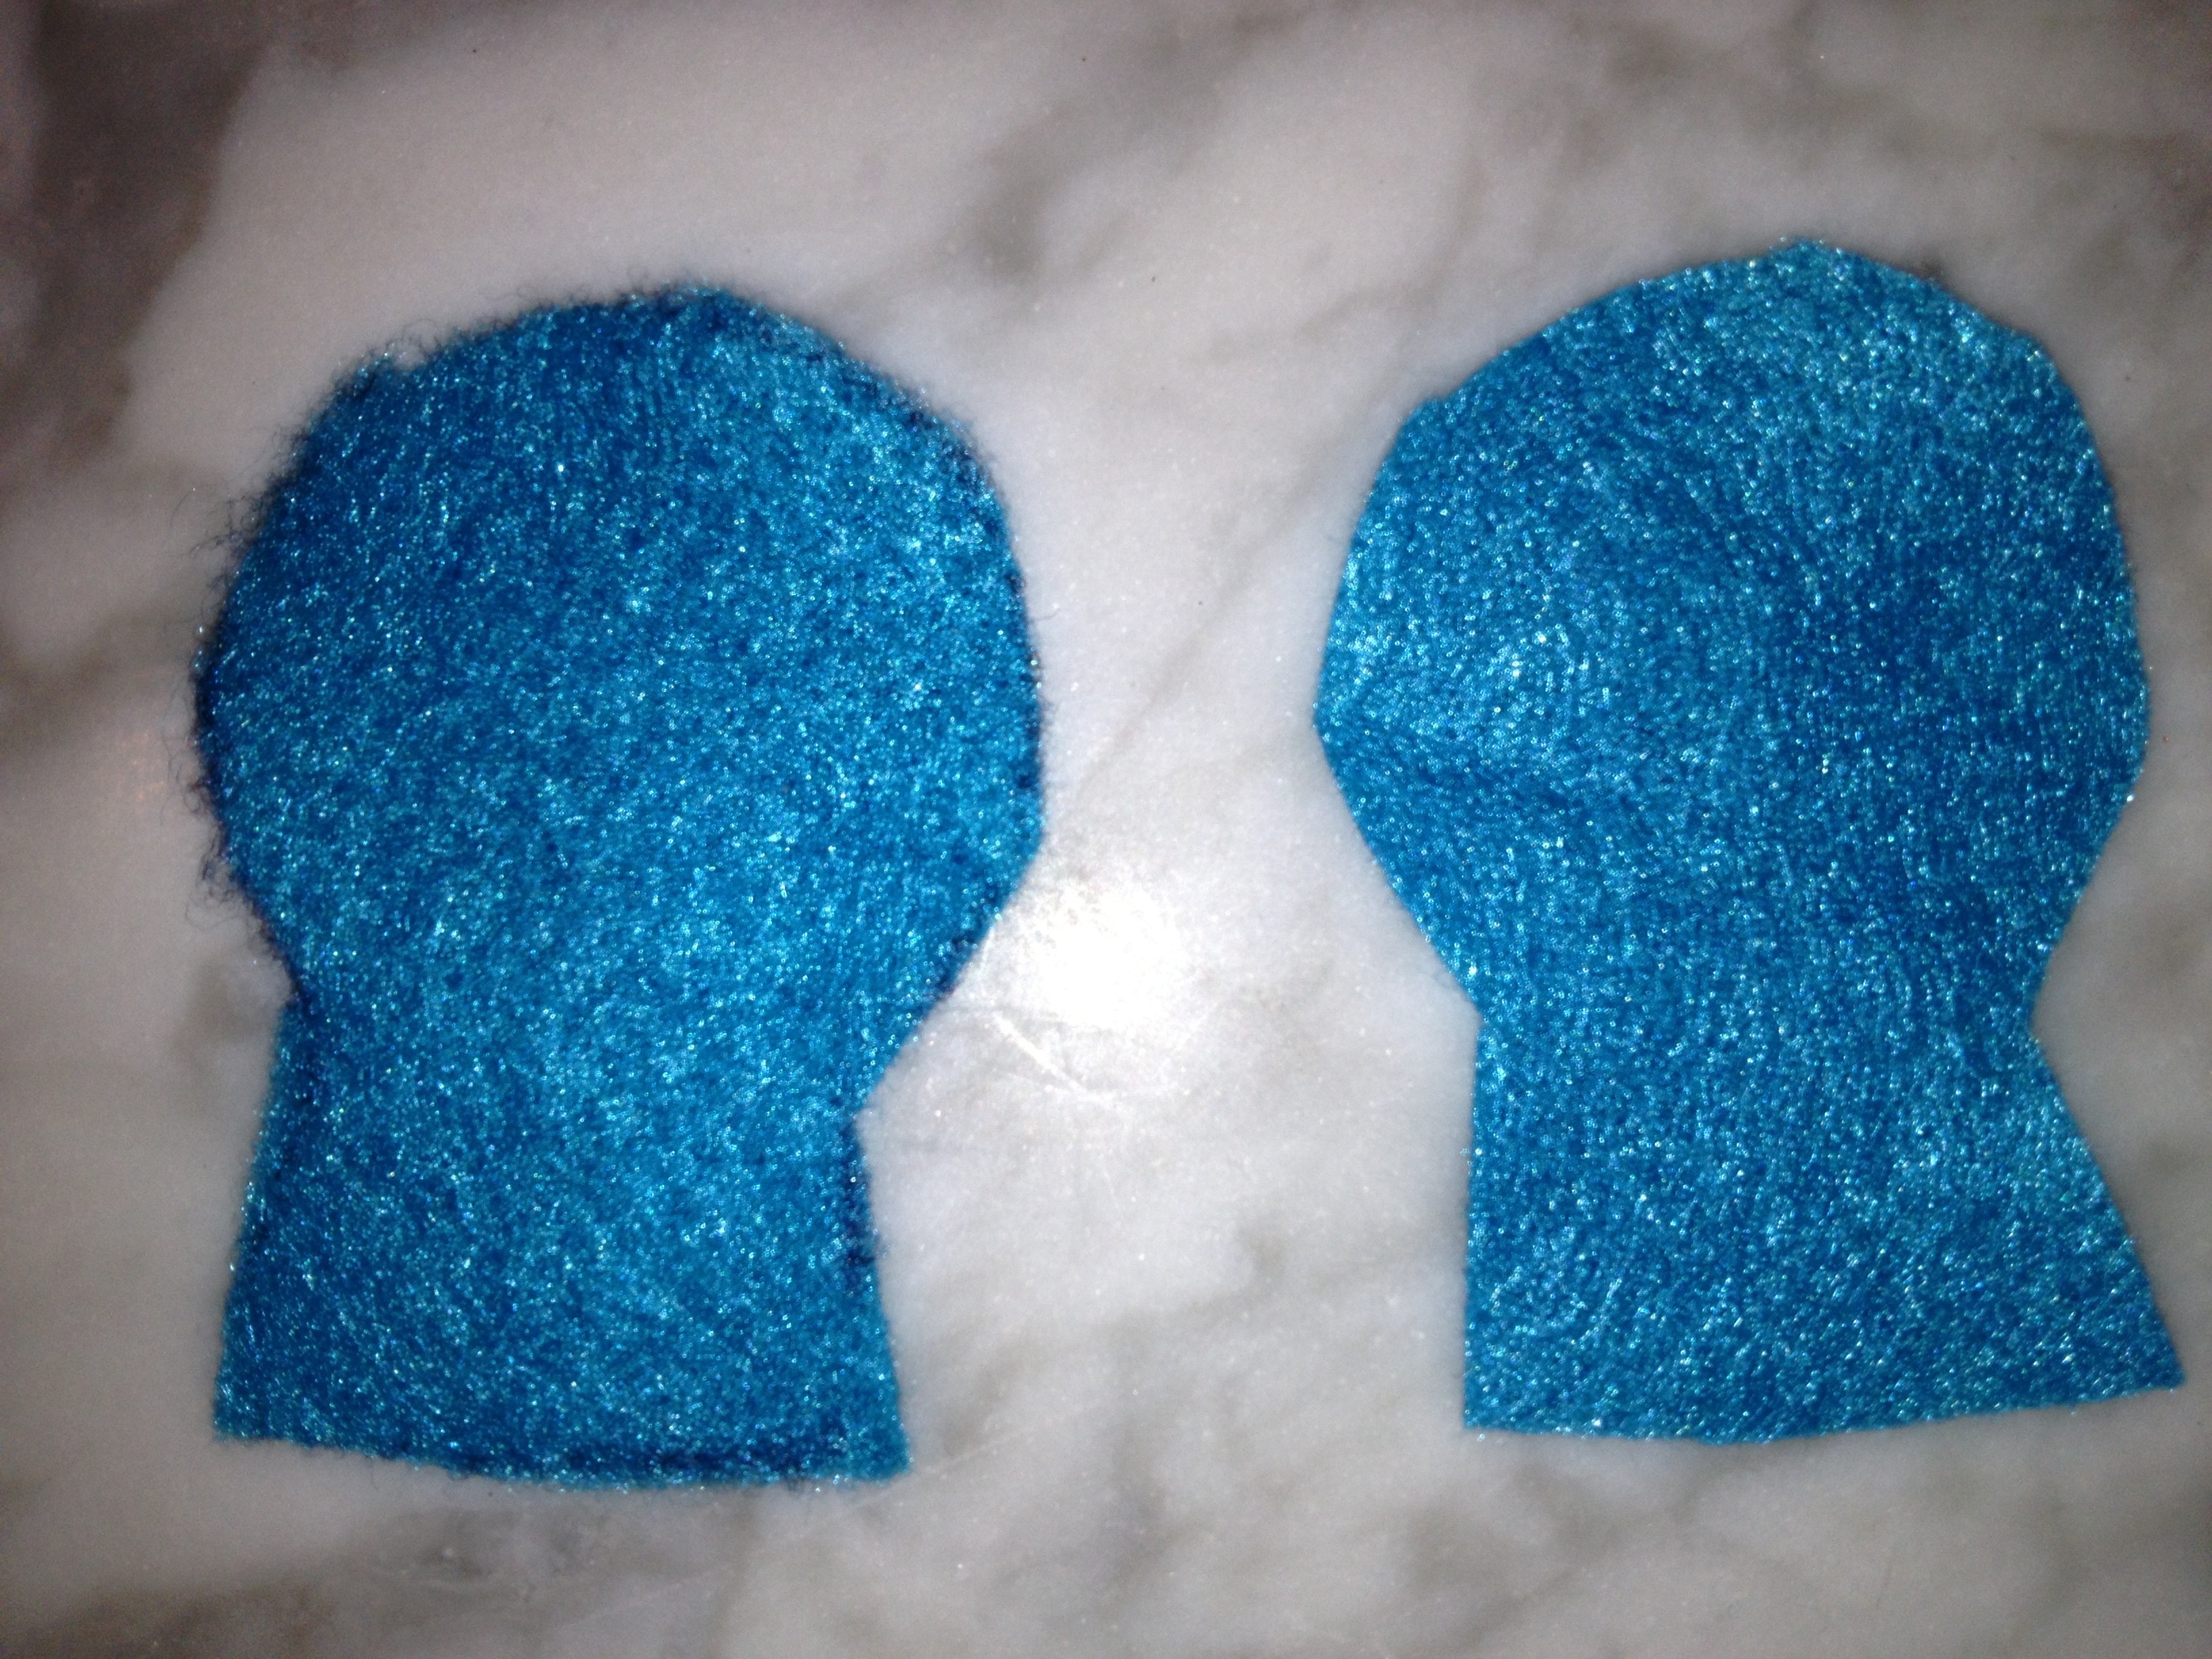
2. Outline pattern onto felt and cut out.
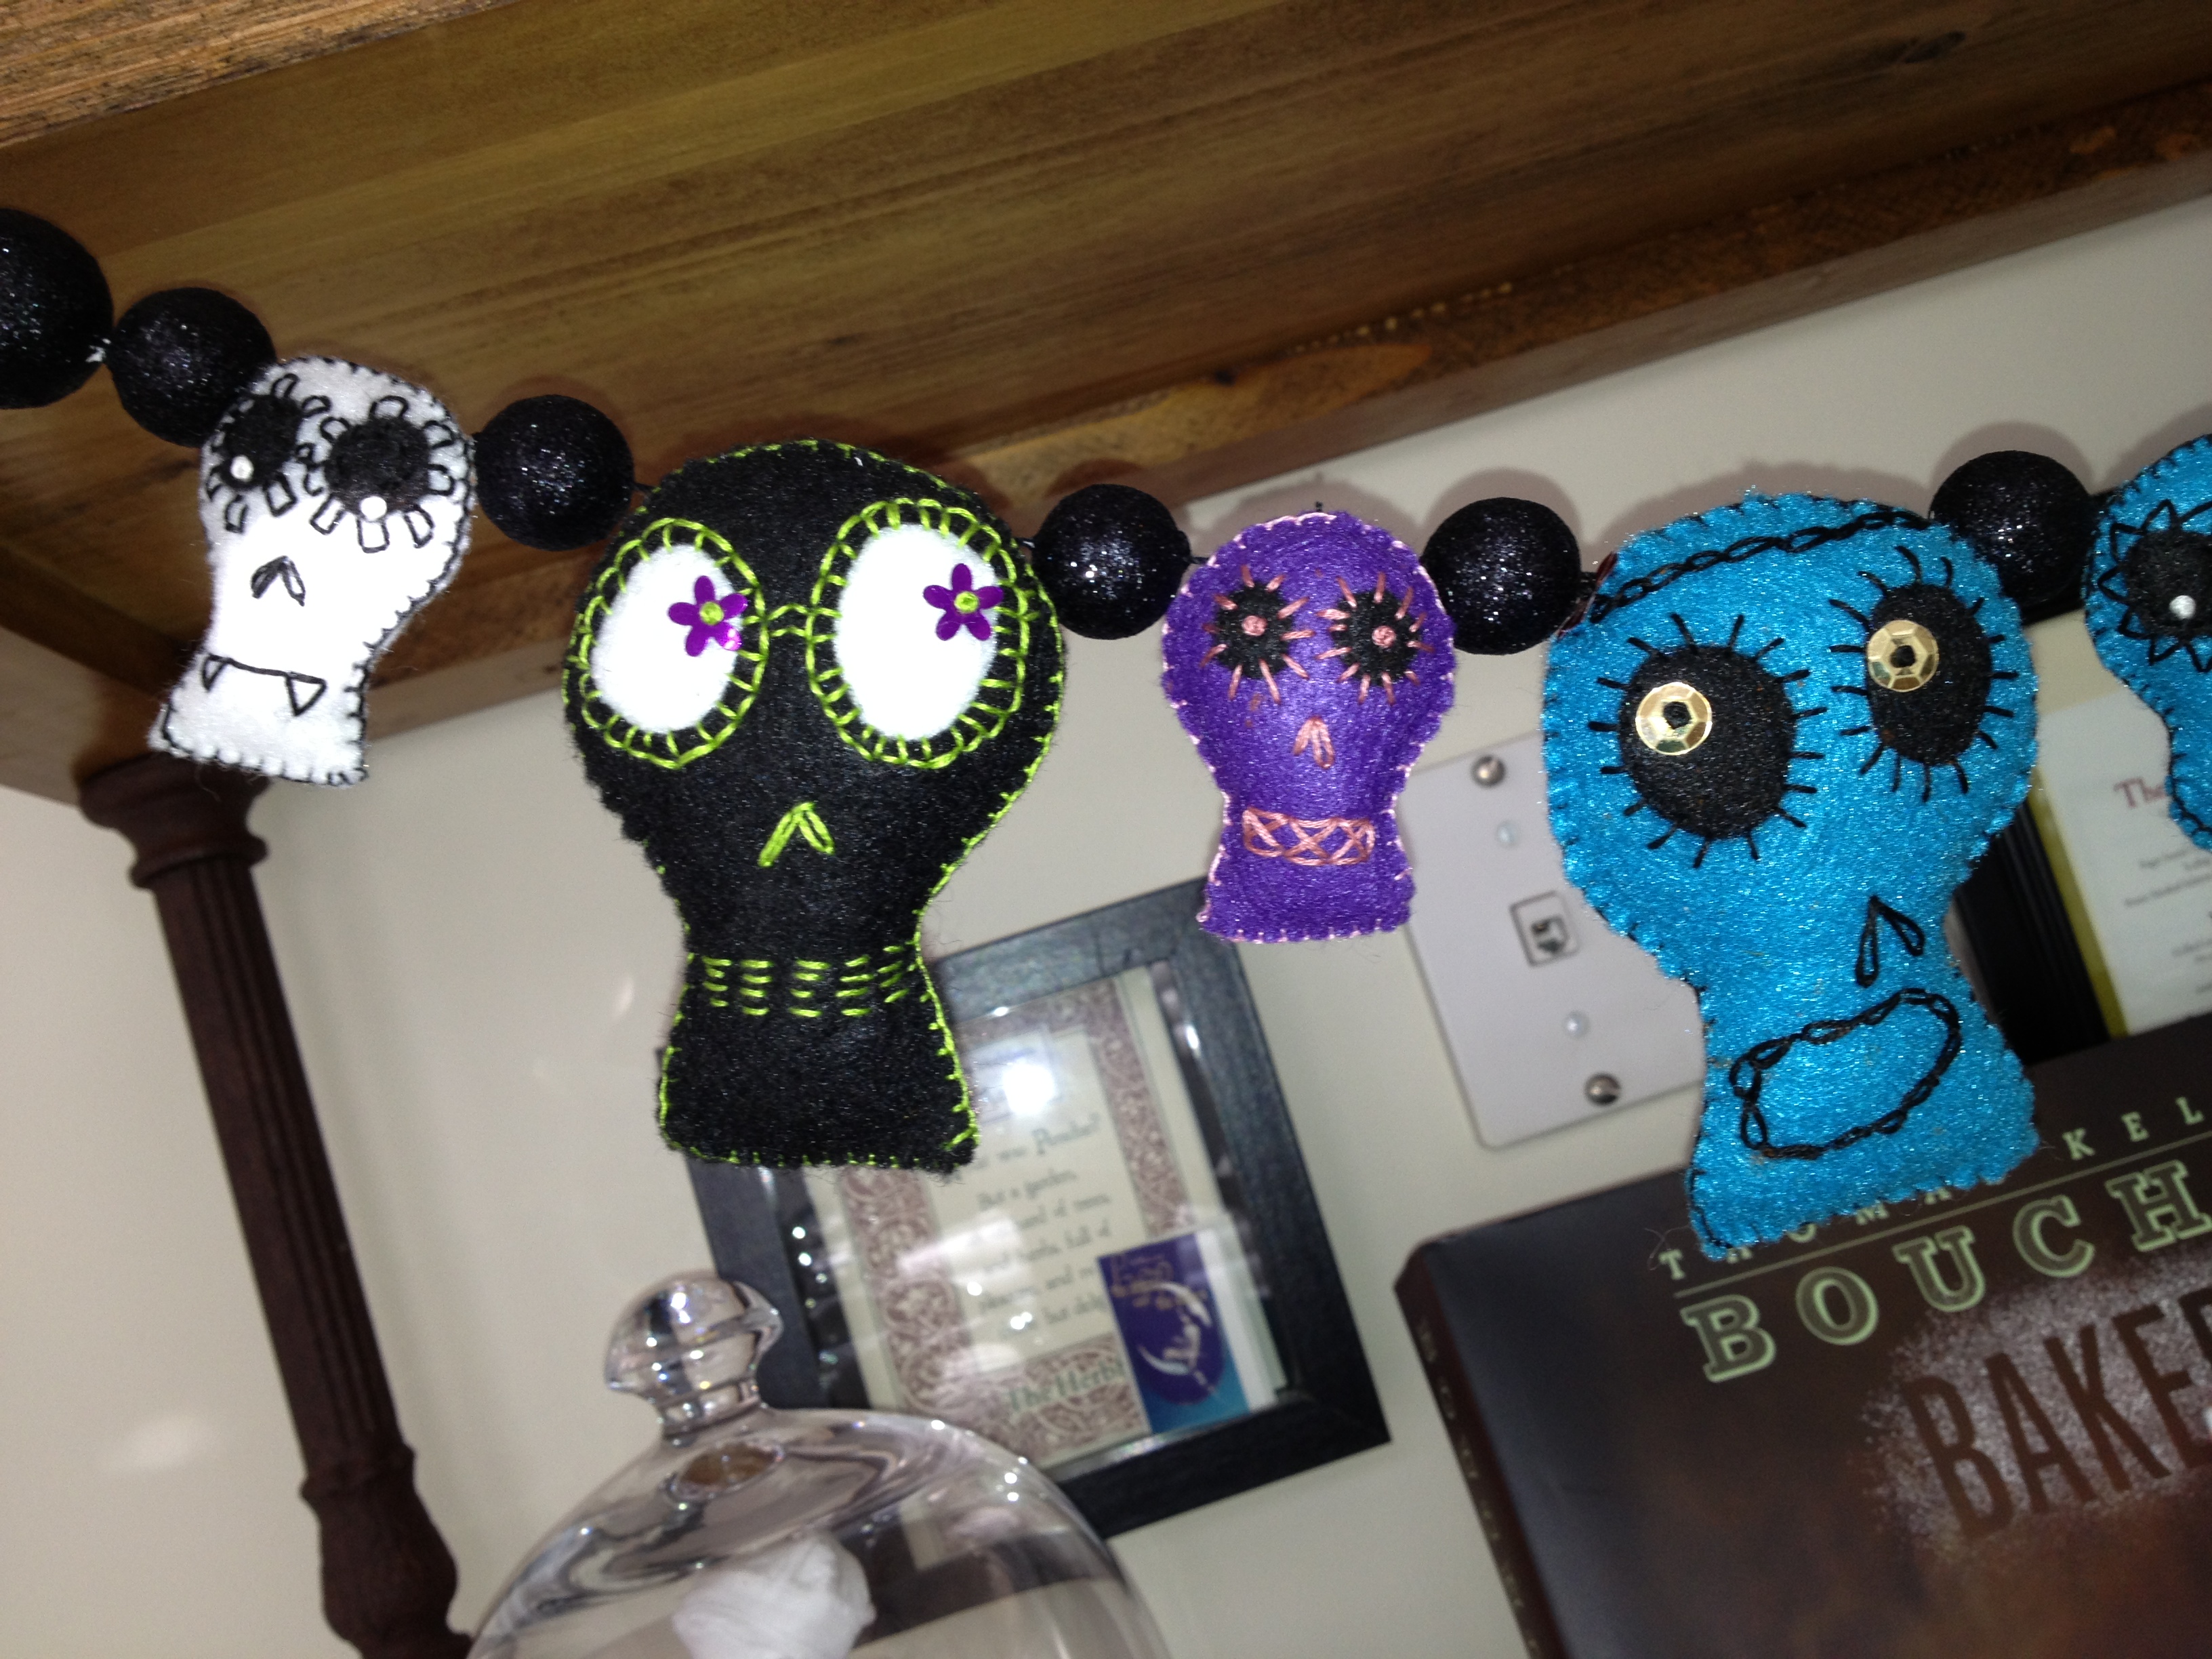
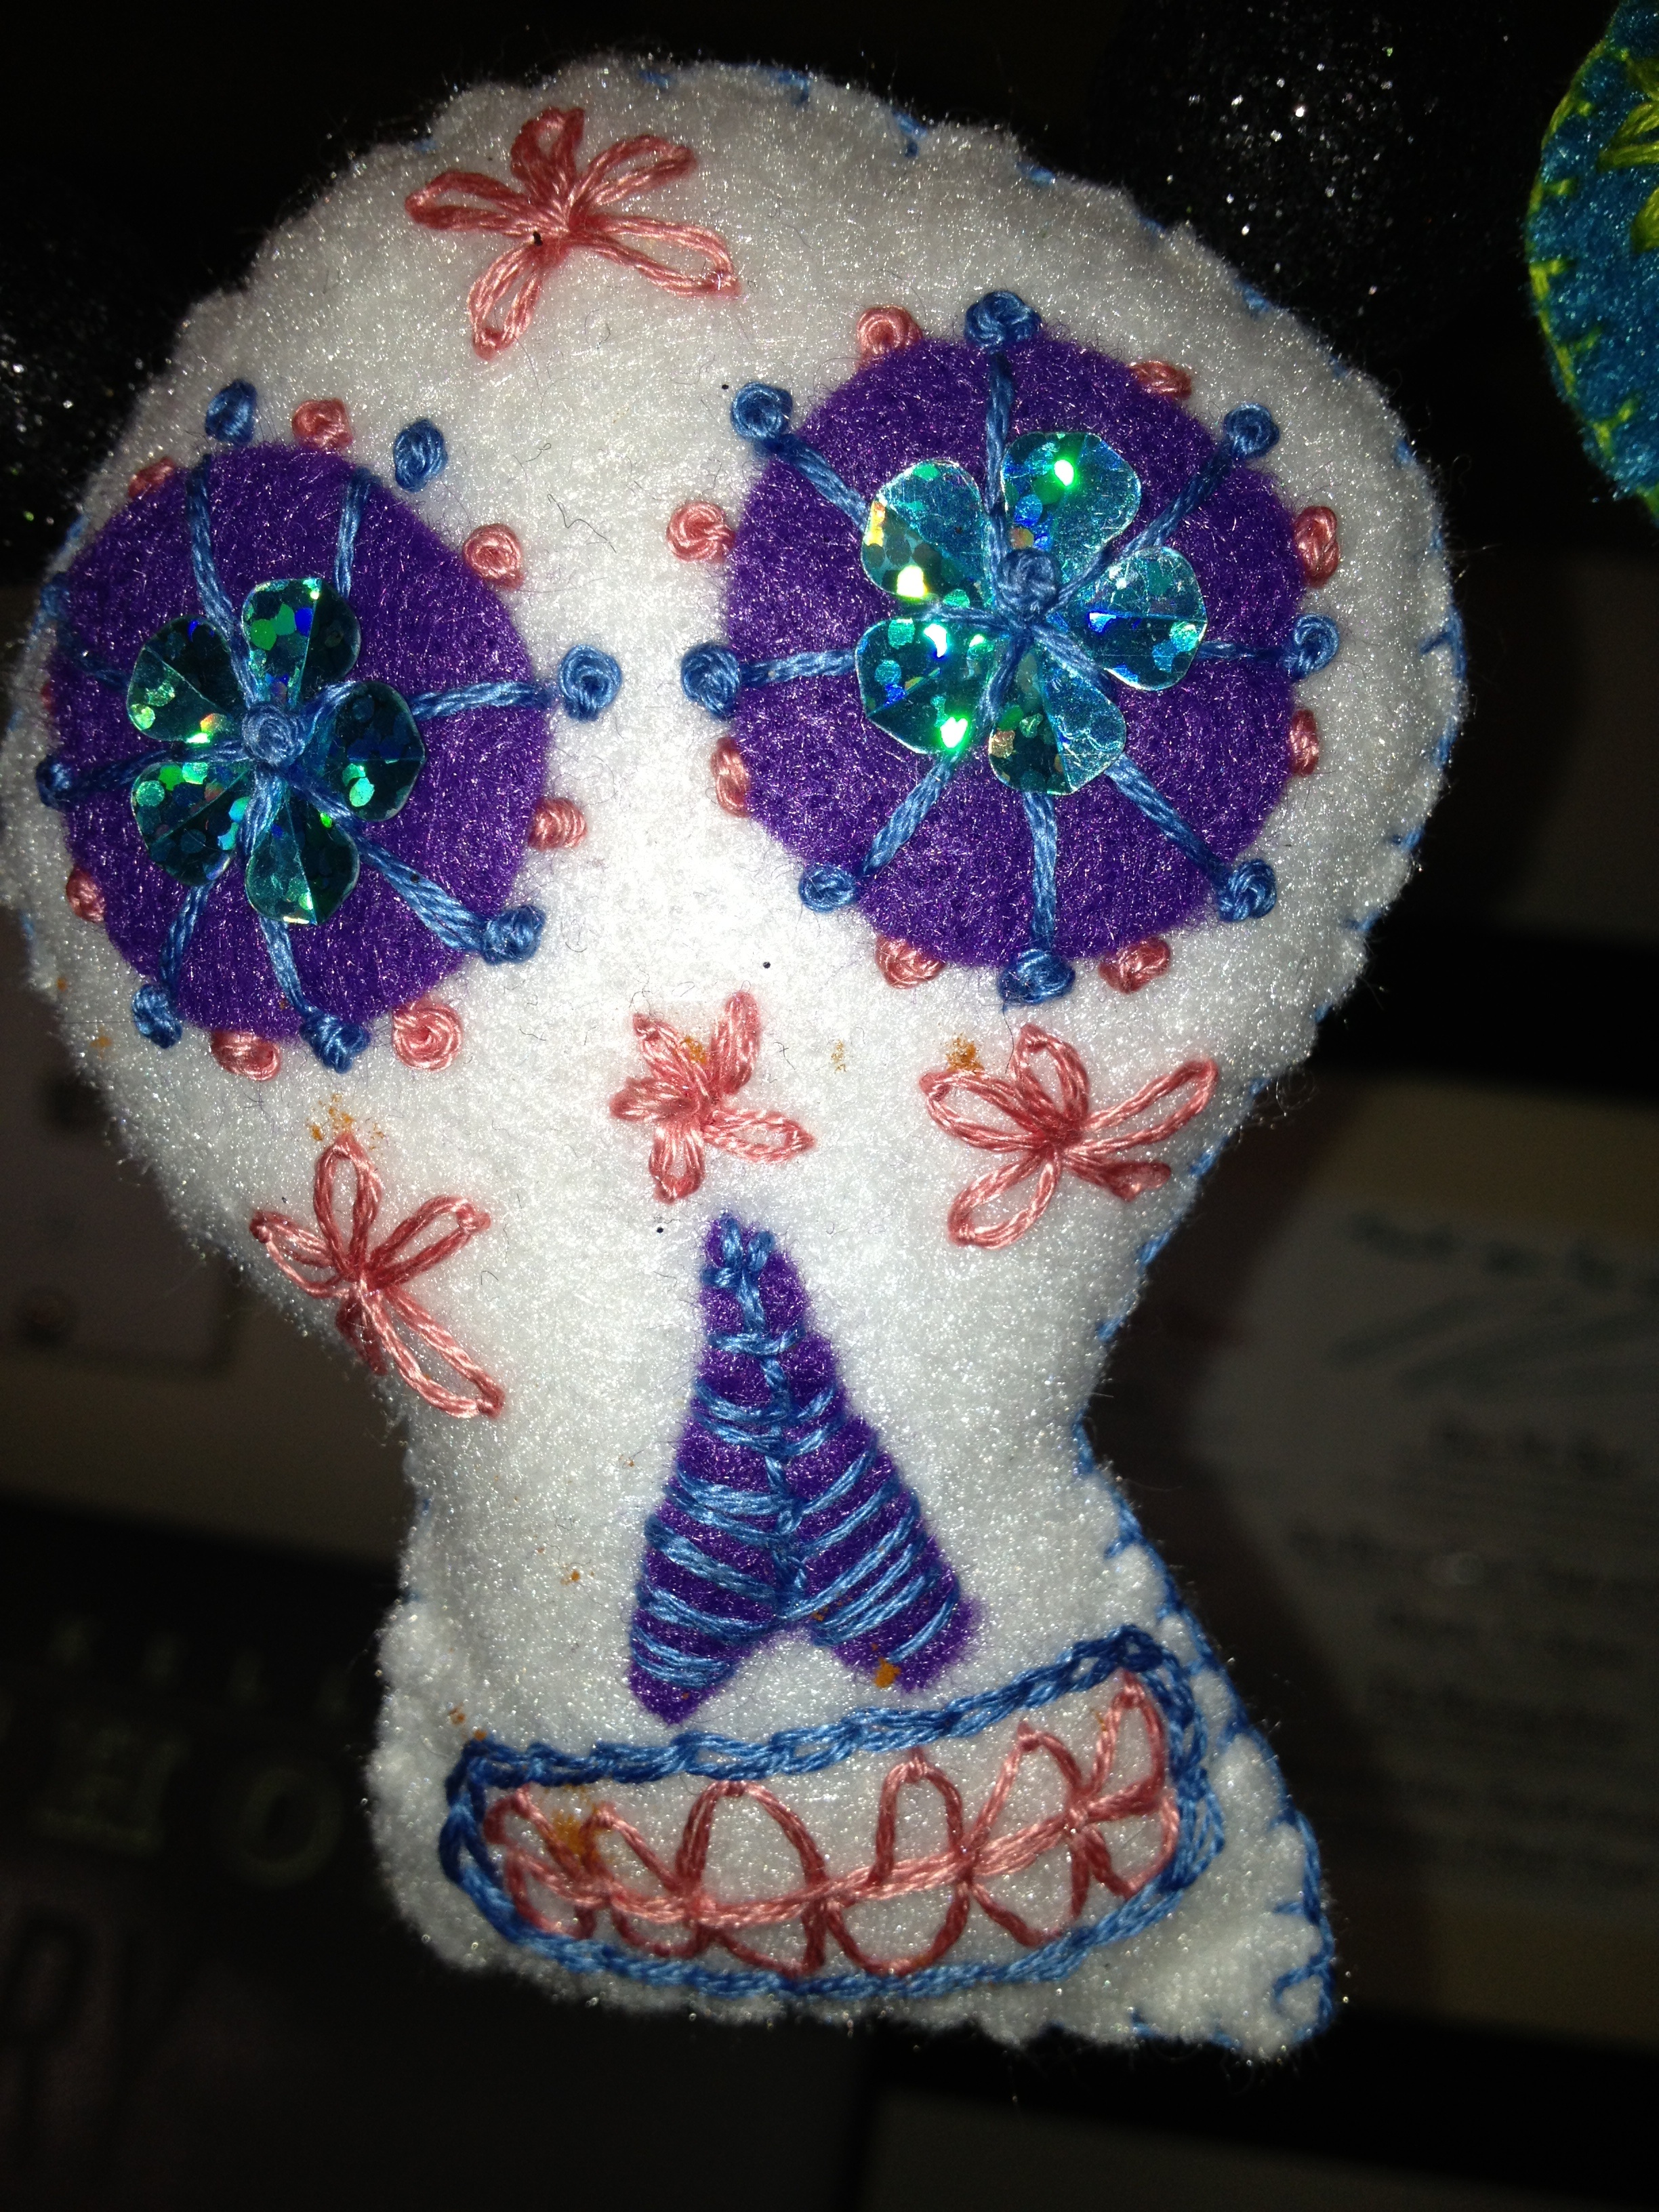
3. Embroider each skull’s face–I am a beginner embroiderer so I was limited to back stitching, French knots, and chain-stitching (I think that is what it’s called), adding sequins, beads, or any other design elements.


4. Blanket stitch the two pieces of the pattern together, leaving a little bit open to stuff with pillow stuffing, and then sew it all up.

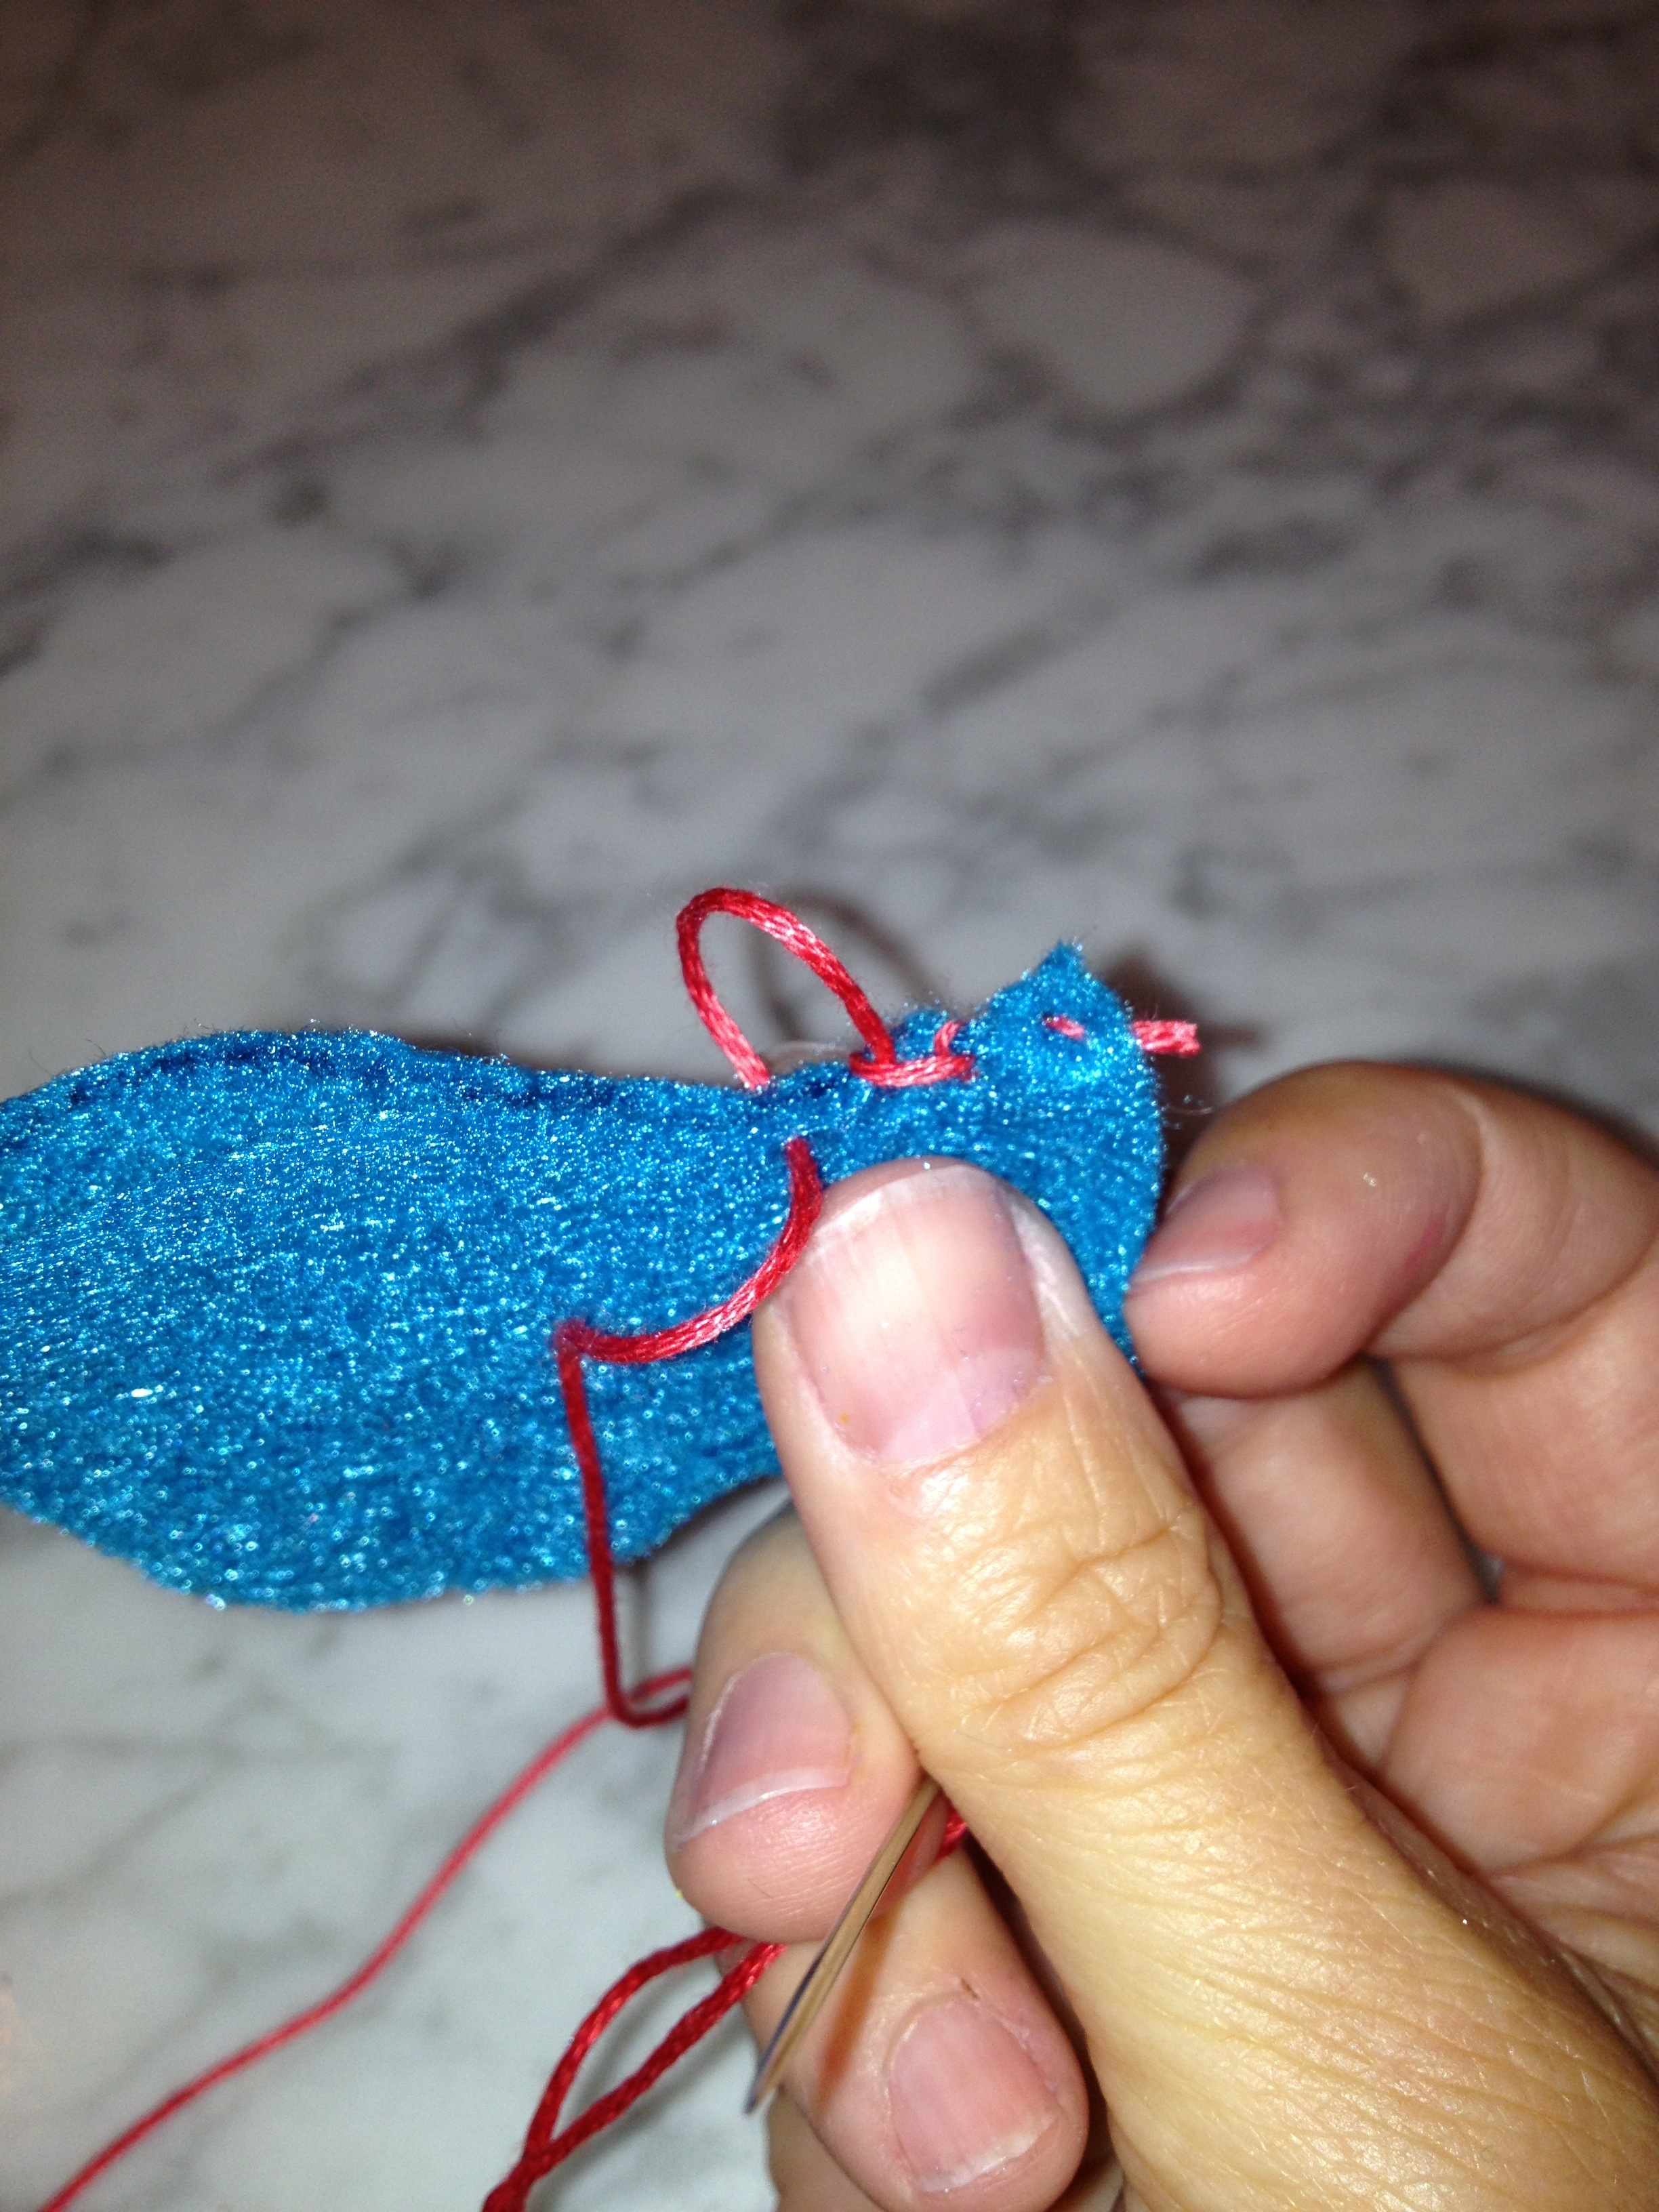


If you are not sure how to blanket stitch, Google ‘blanket stitch’ and you will find countless videos and tutorials that will teach you–that’s how I learned. I love this stitch–it’s so versatile.
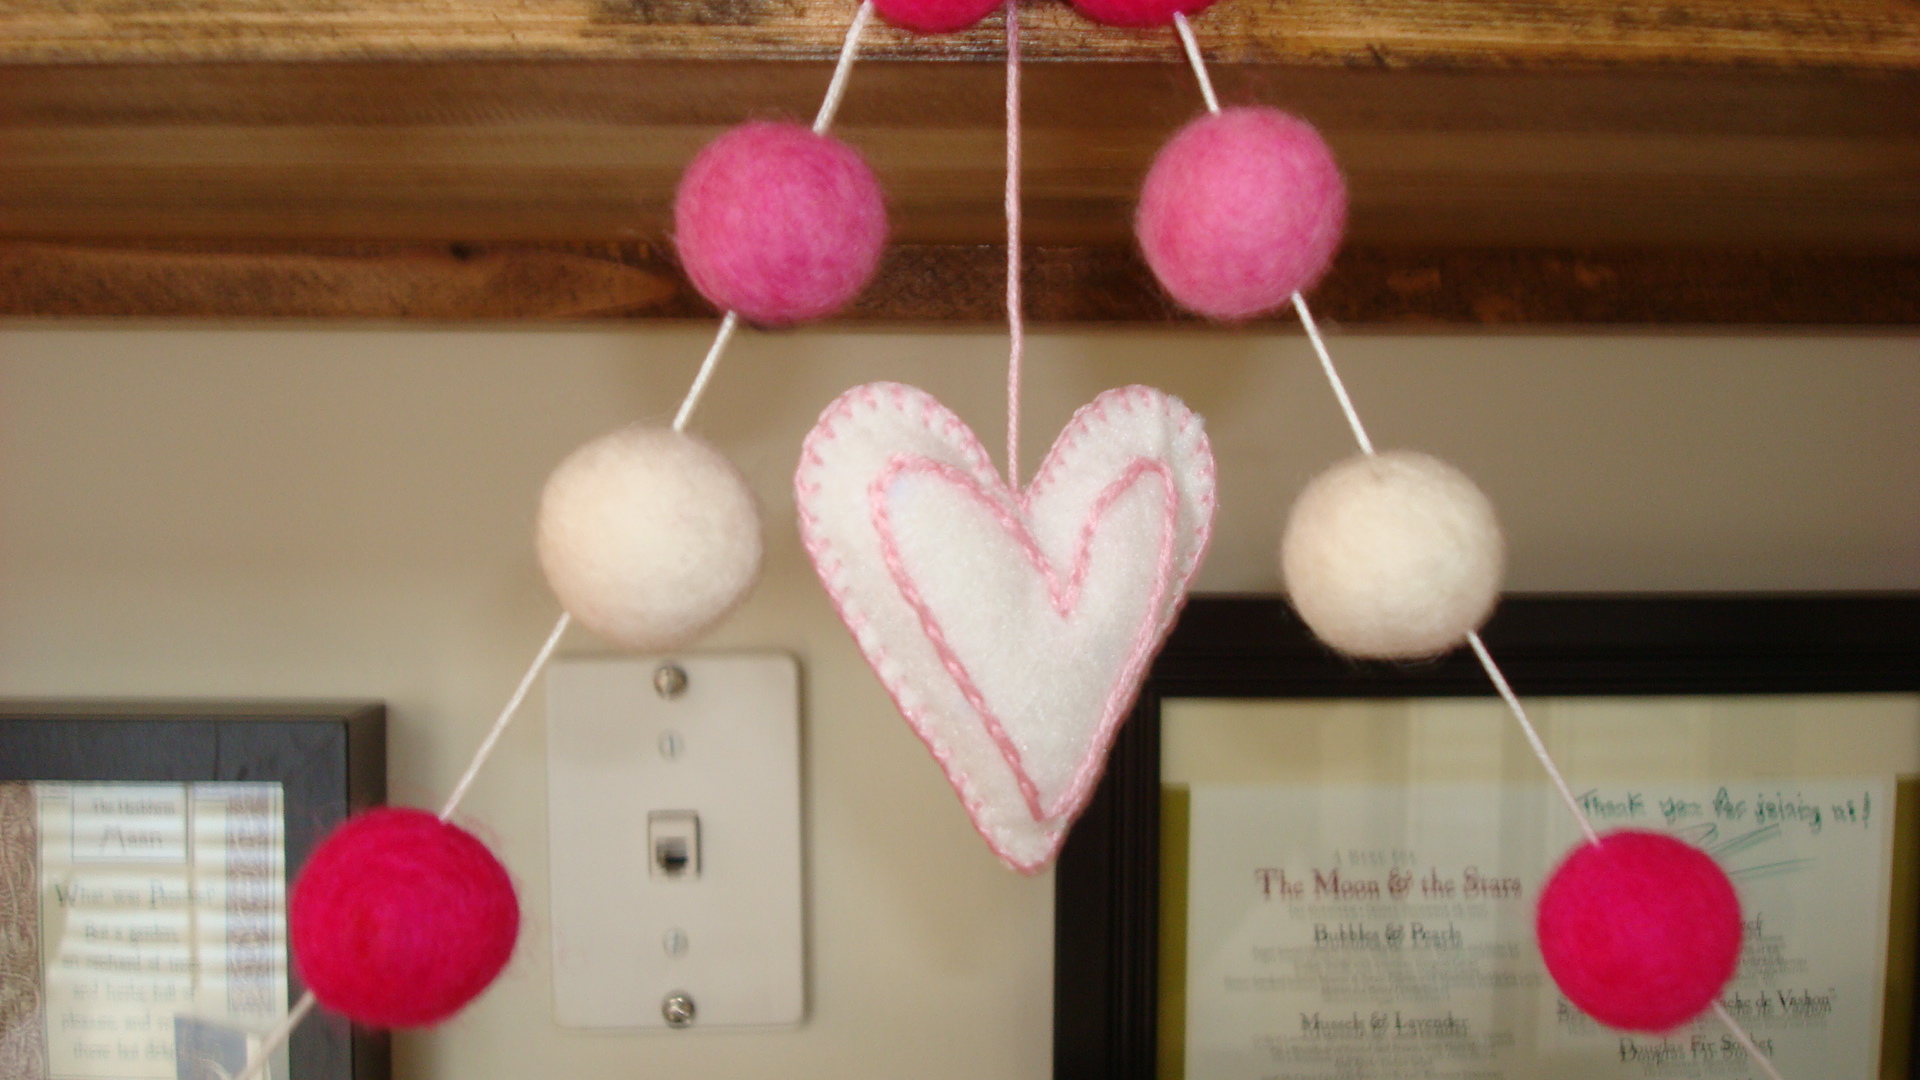
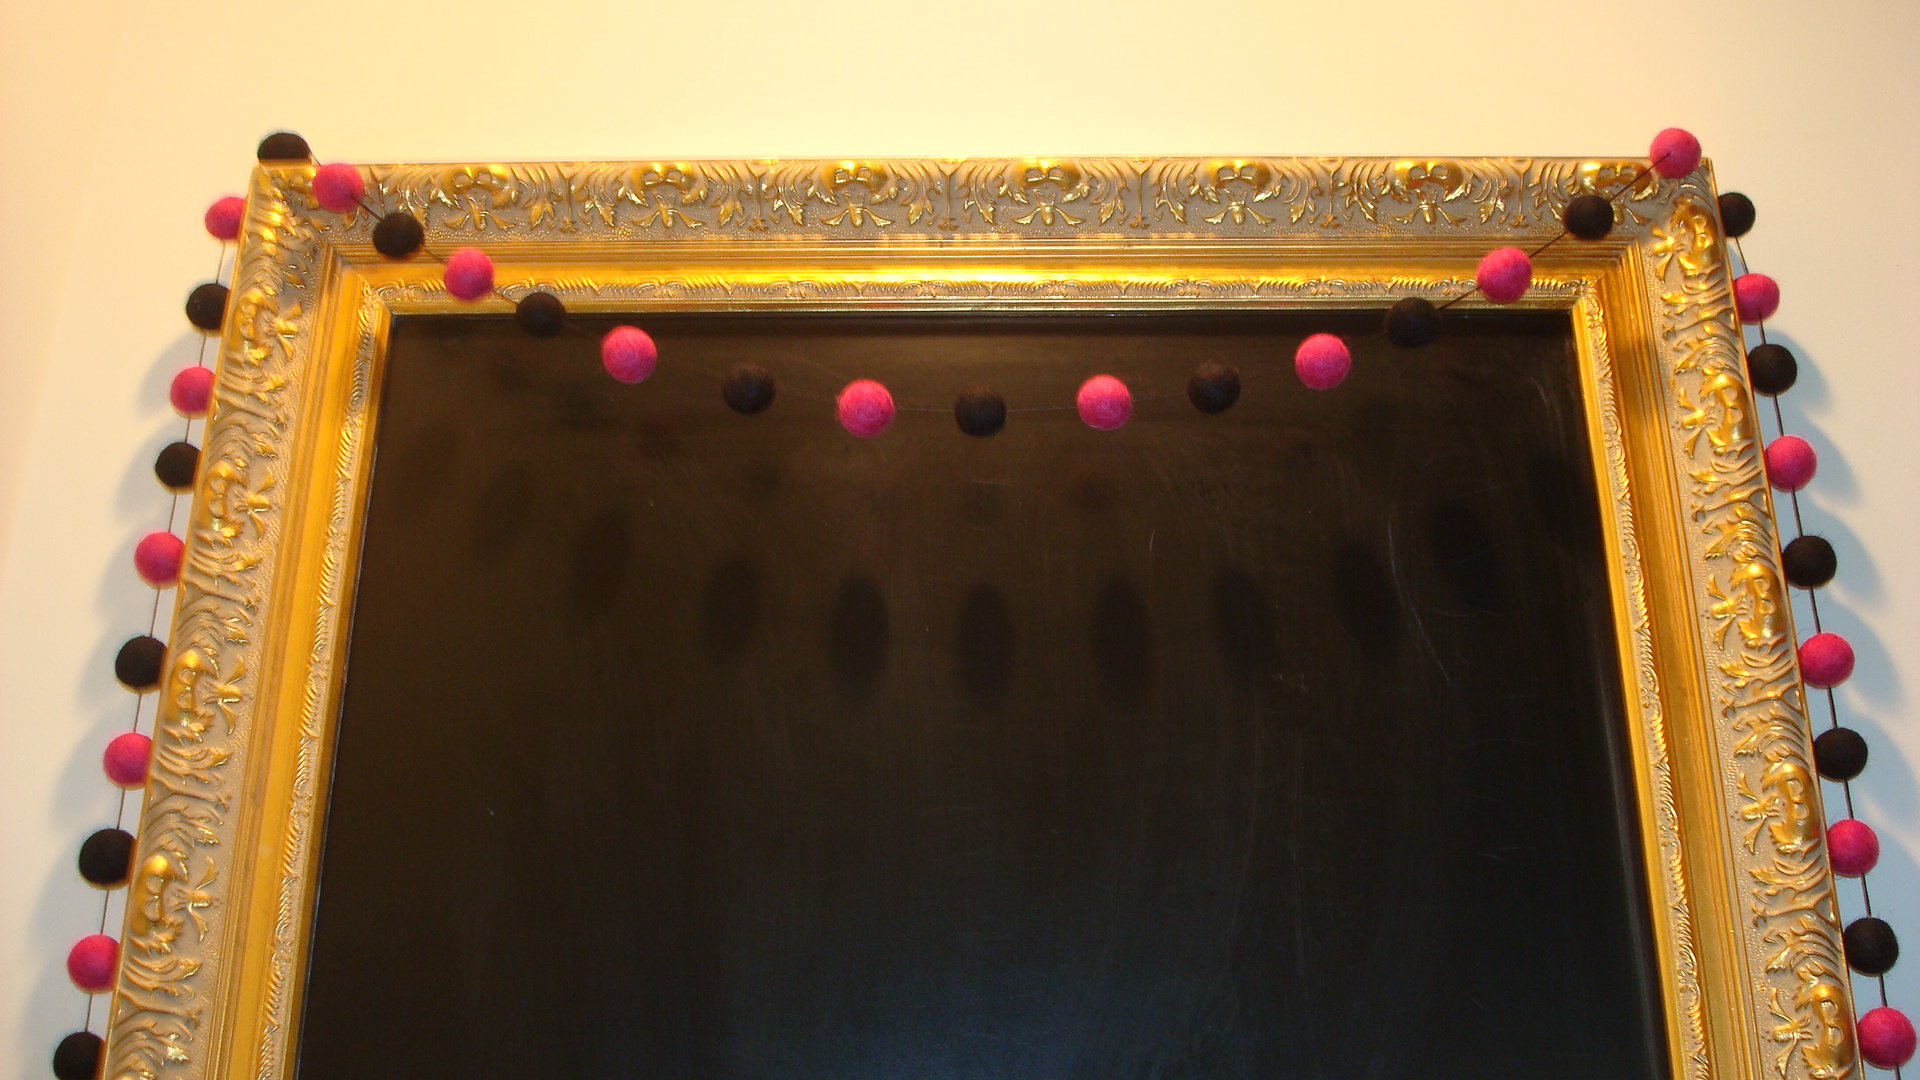
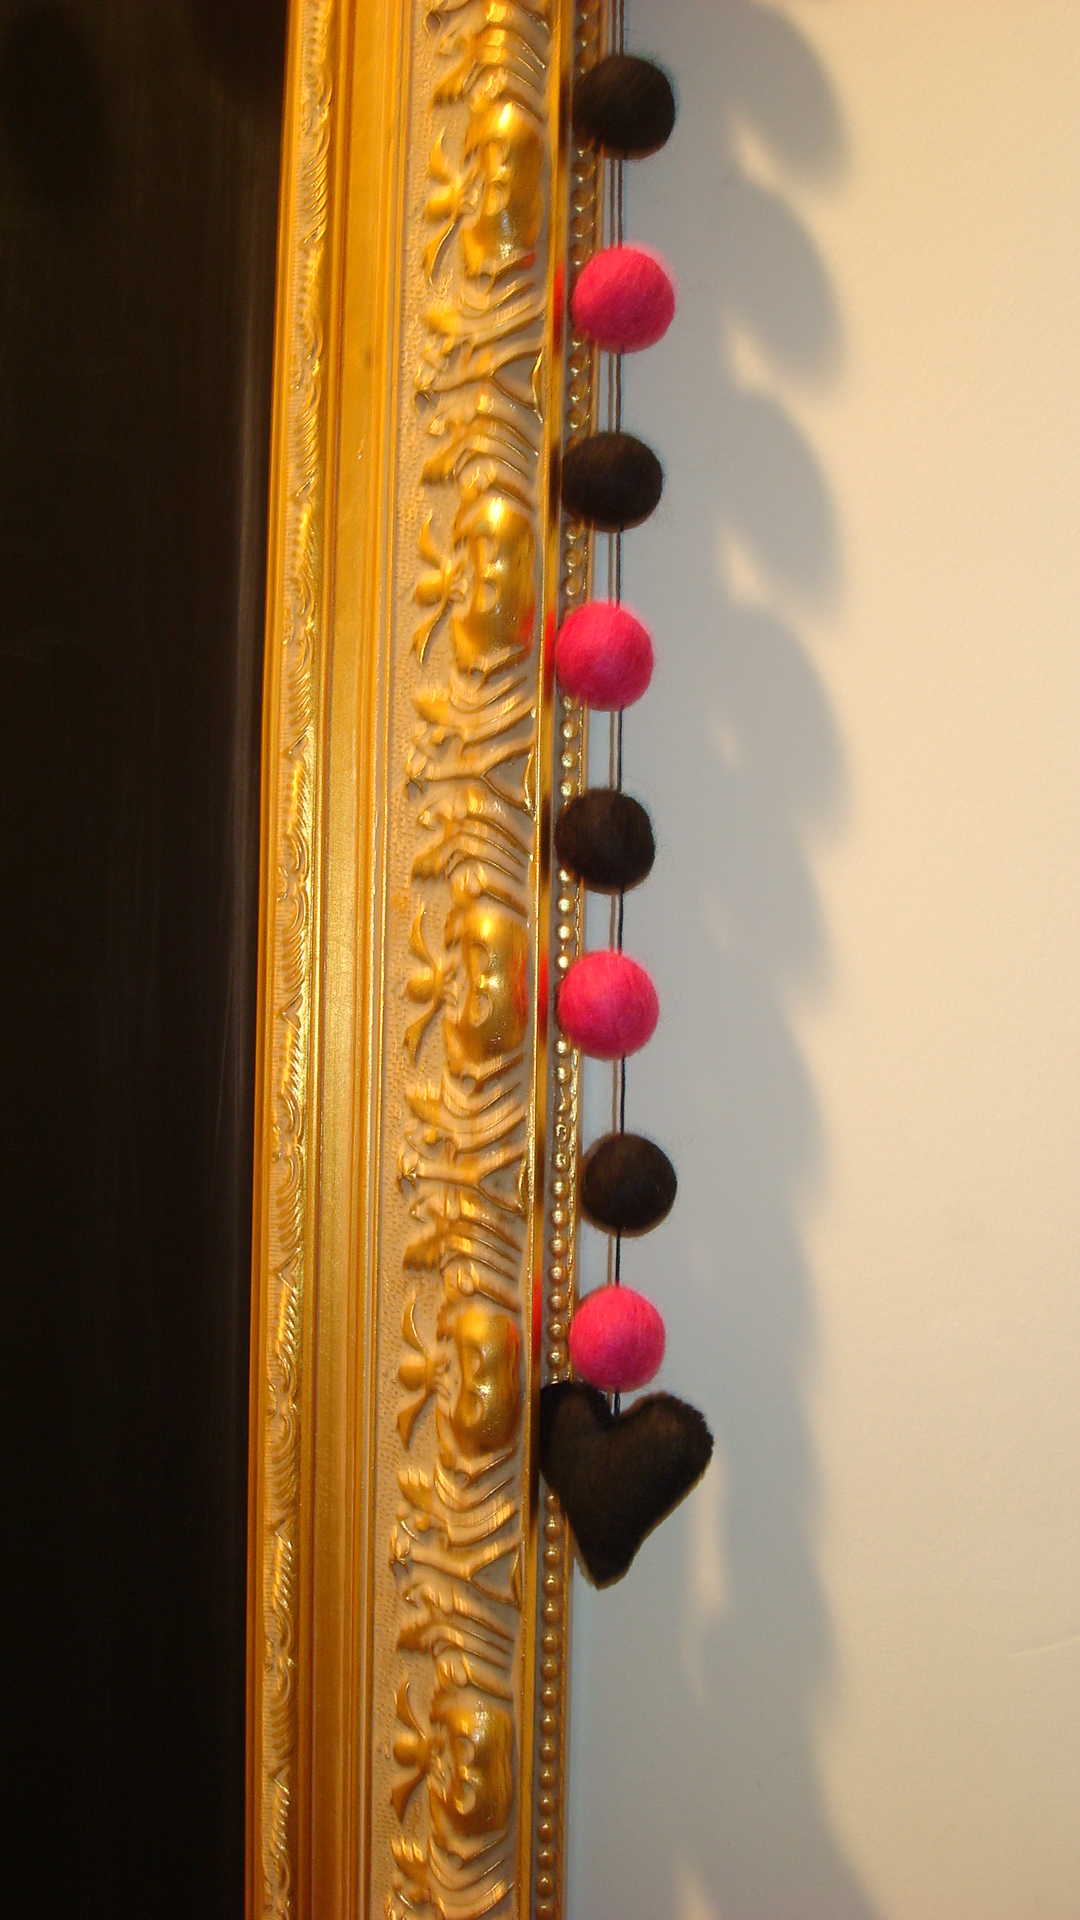
5. Using a needle, add felt balls or glitter balls (I found these at Michael’s in the Halloween section in all colors) in between the skulls and hang up. It’s that easy!

Here are a few more close-ups of the garland. Enjoy.