
Making a sourdough starter is serious business–the type that requires you to quit your job or at least be able to devote almost a month of time towards its care and feeding. Alright, so this recipe may not take two hundred steps, but it’s pretty close.
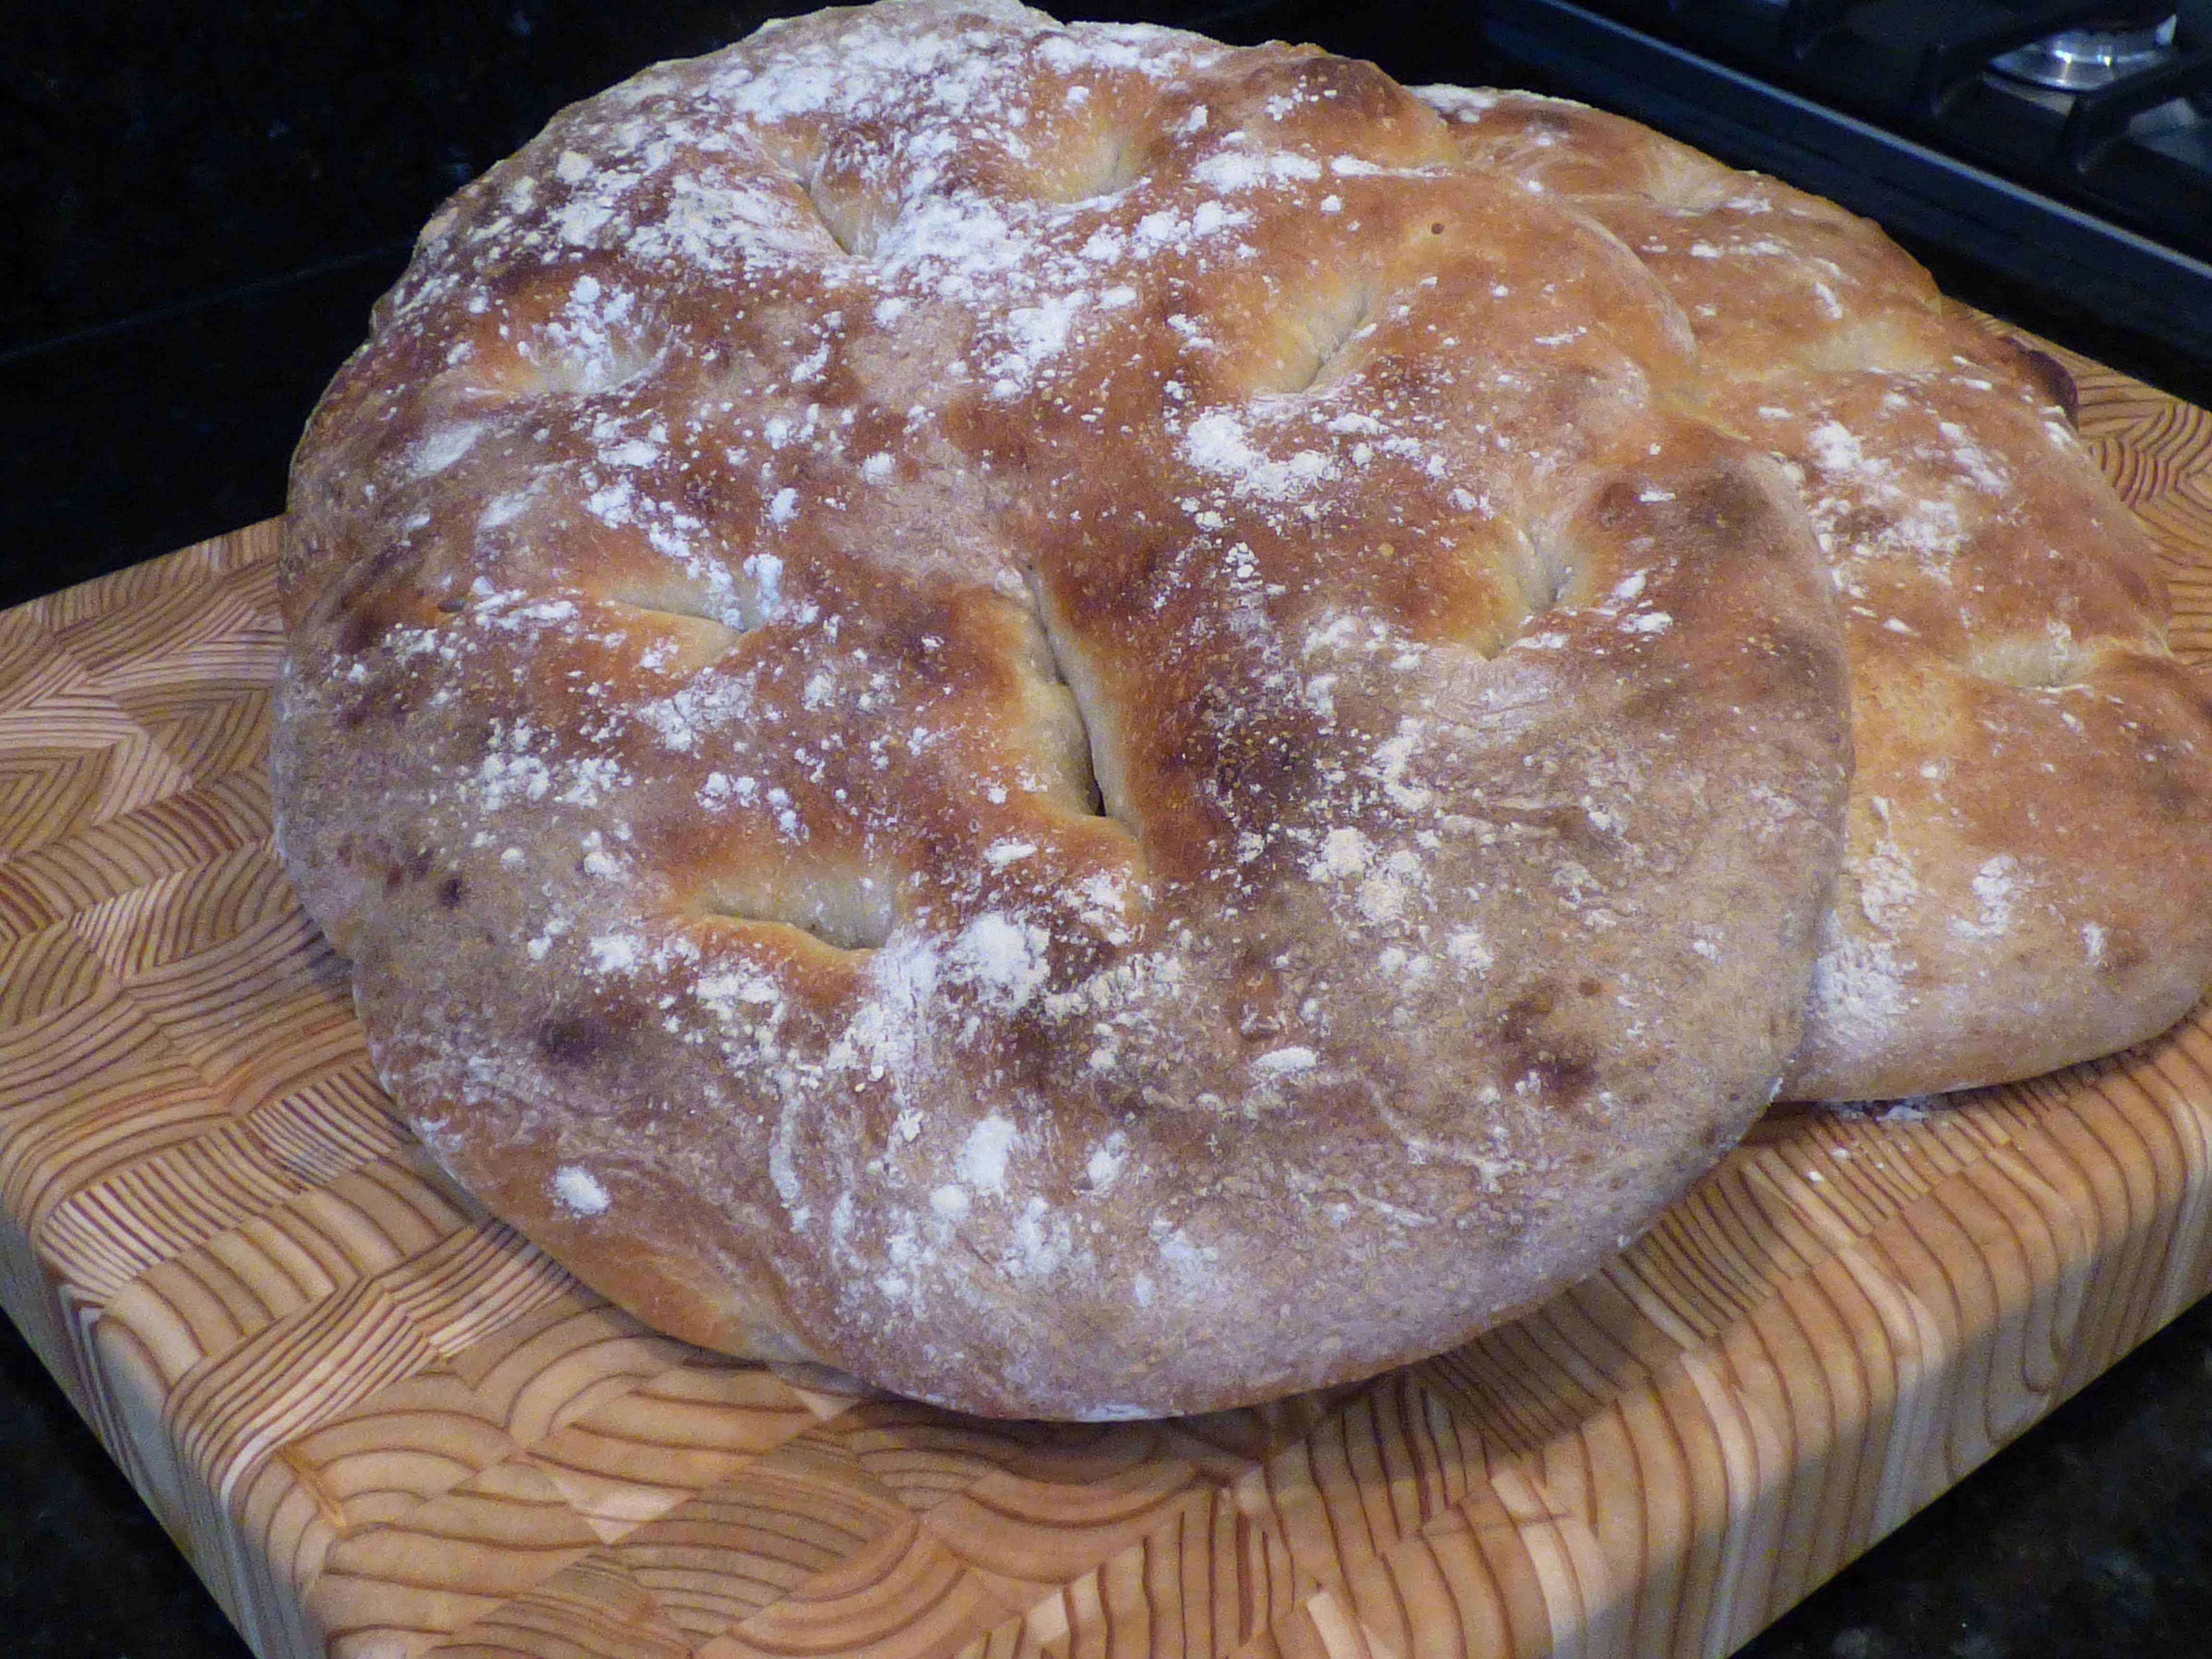
You see, I devoted a month of my summer and my life (and the bread is now since long gone…) to the care and feeding of Nancy Silverton’s sourdough starter with the intention to make a bounty of rosemary olive oil boules and fougasse. The starter and the breads were no easy feat, but the process and the finished products were well worth the efforts.
Step 1, Making the Starter
The starter takes fifteen days! Seriously! But it’s worth the effort to say you’ve done this (at least once in your life).
Ingredients:
- 1 pound pesticide-free organic red or black grapes, unwashed
- about 4 cups water, approximately 78 degrees
- 1 pound 3 ounces (about 3 3/4 cup) unbleached white bread flour
Day 1:
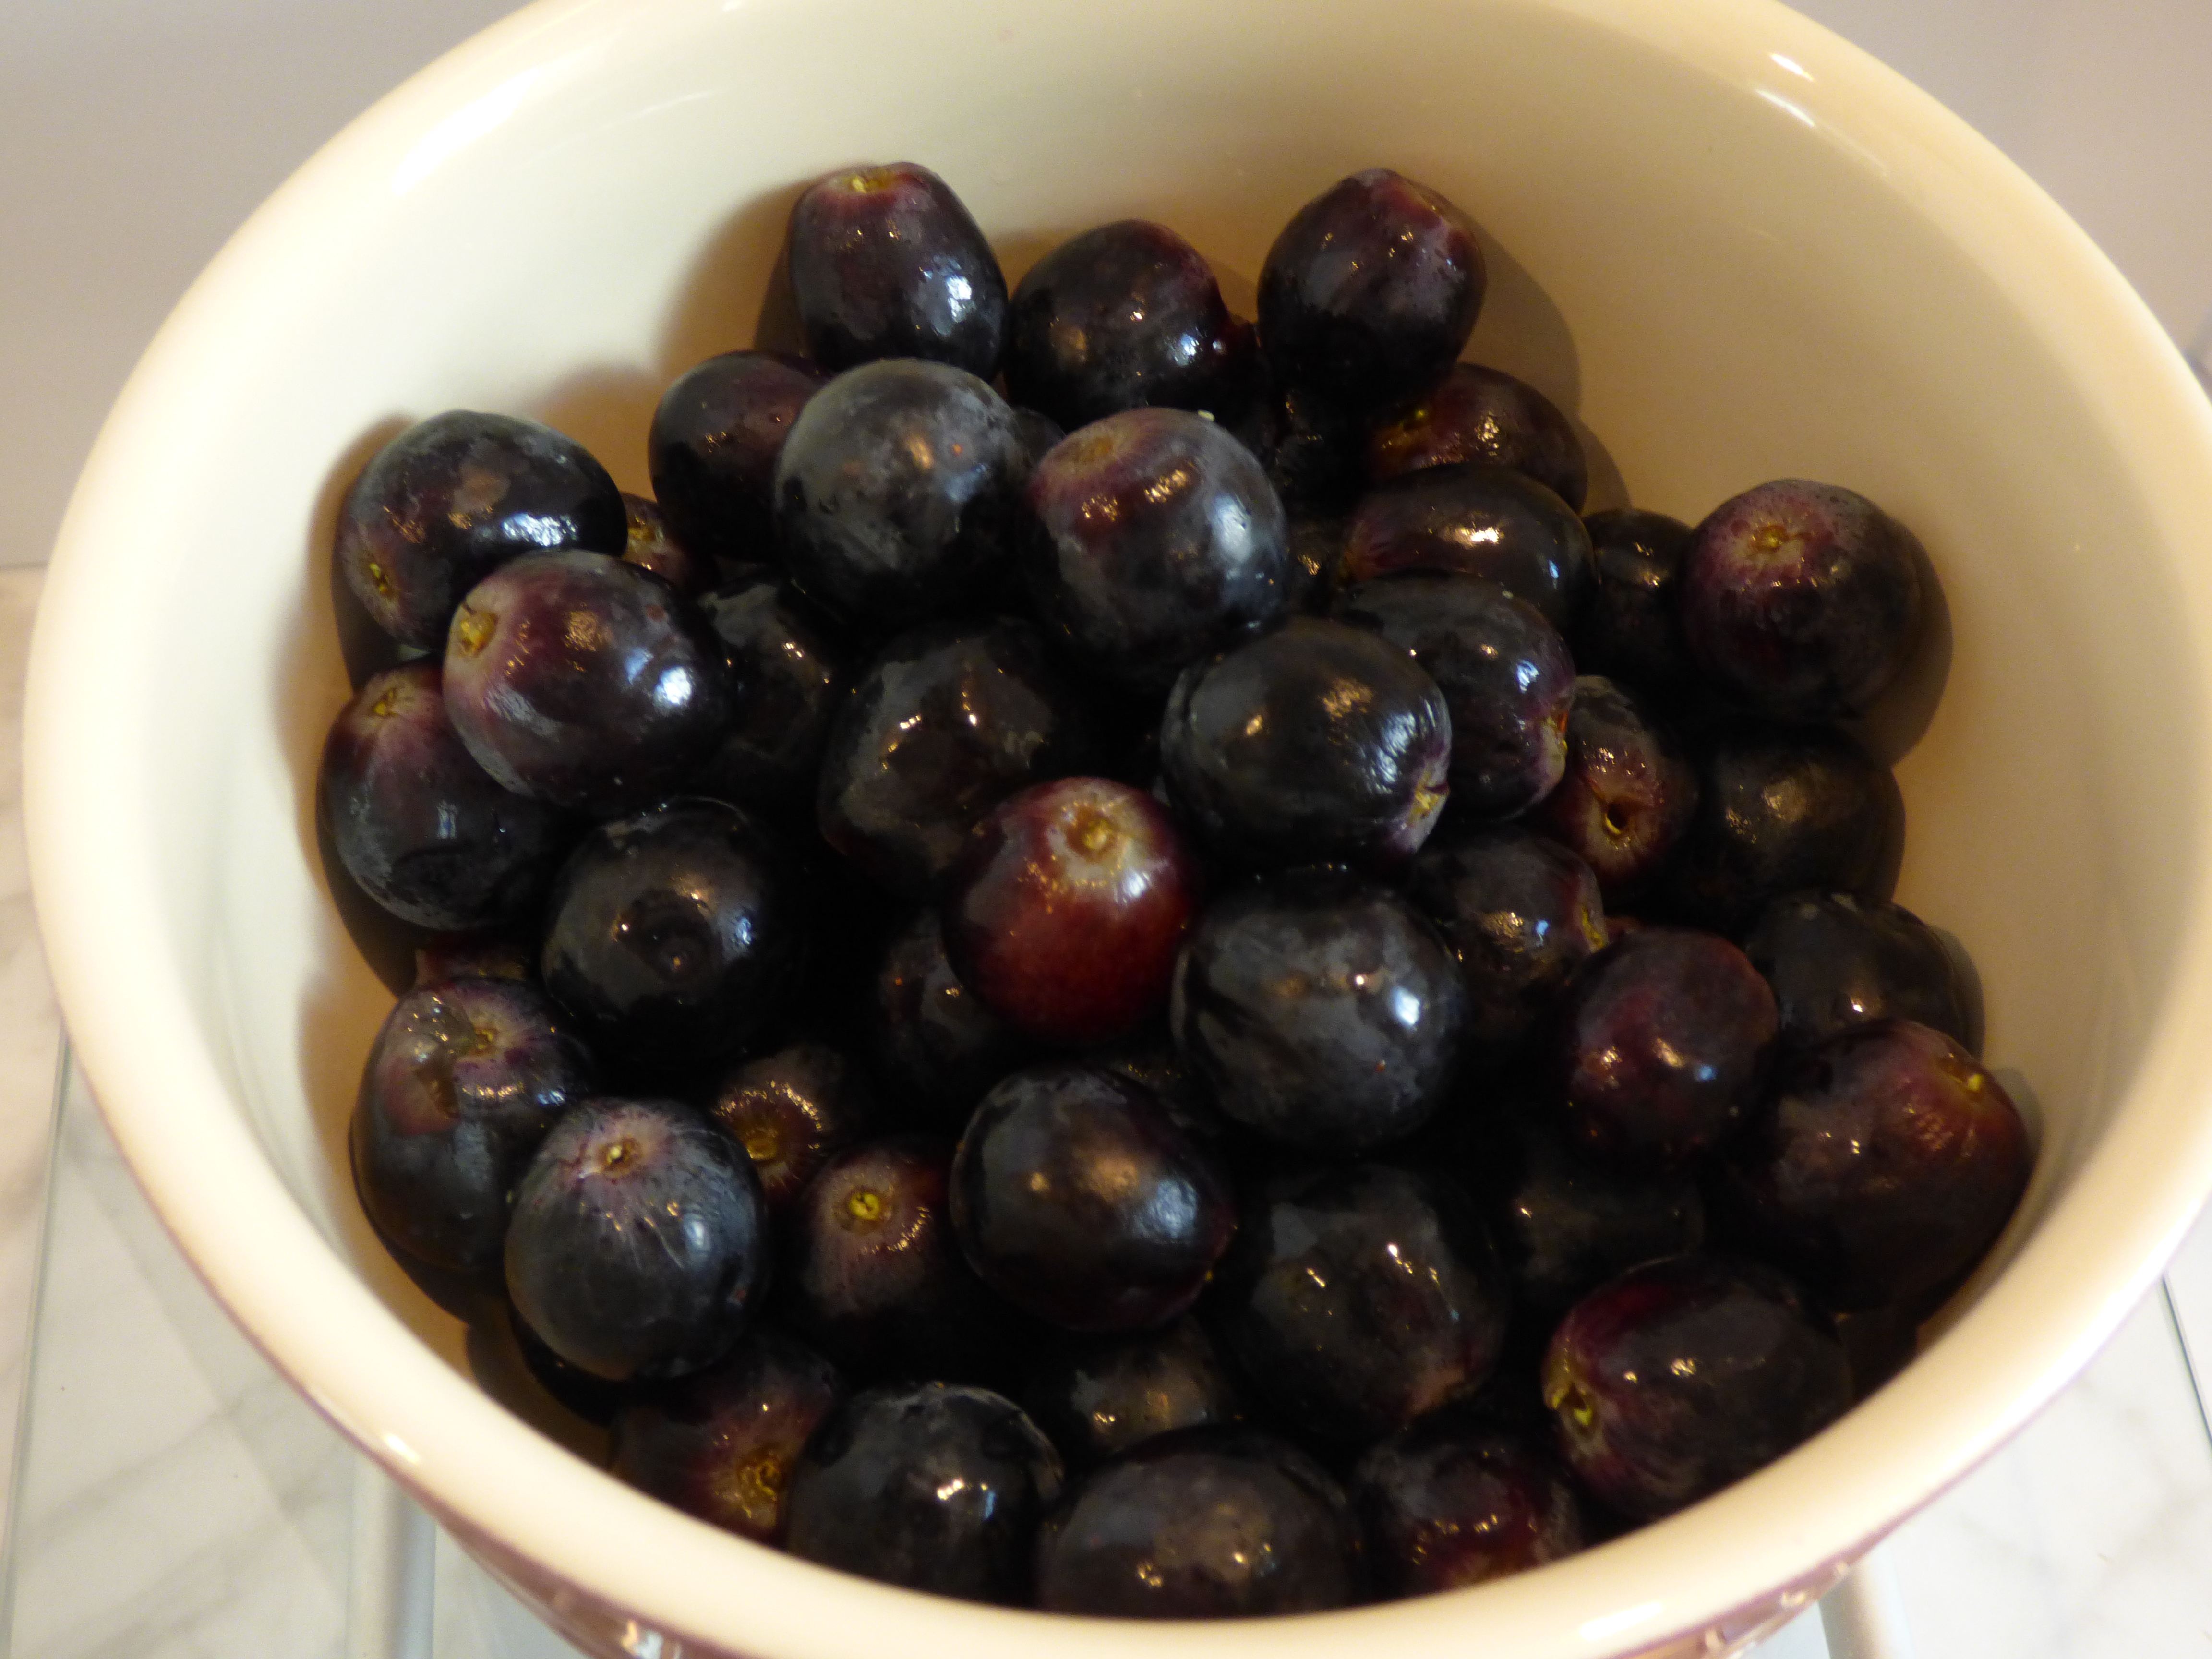

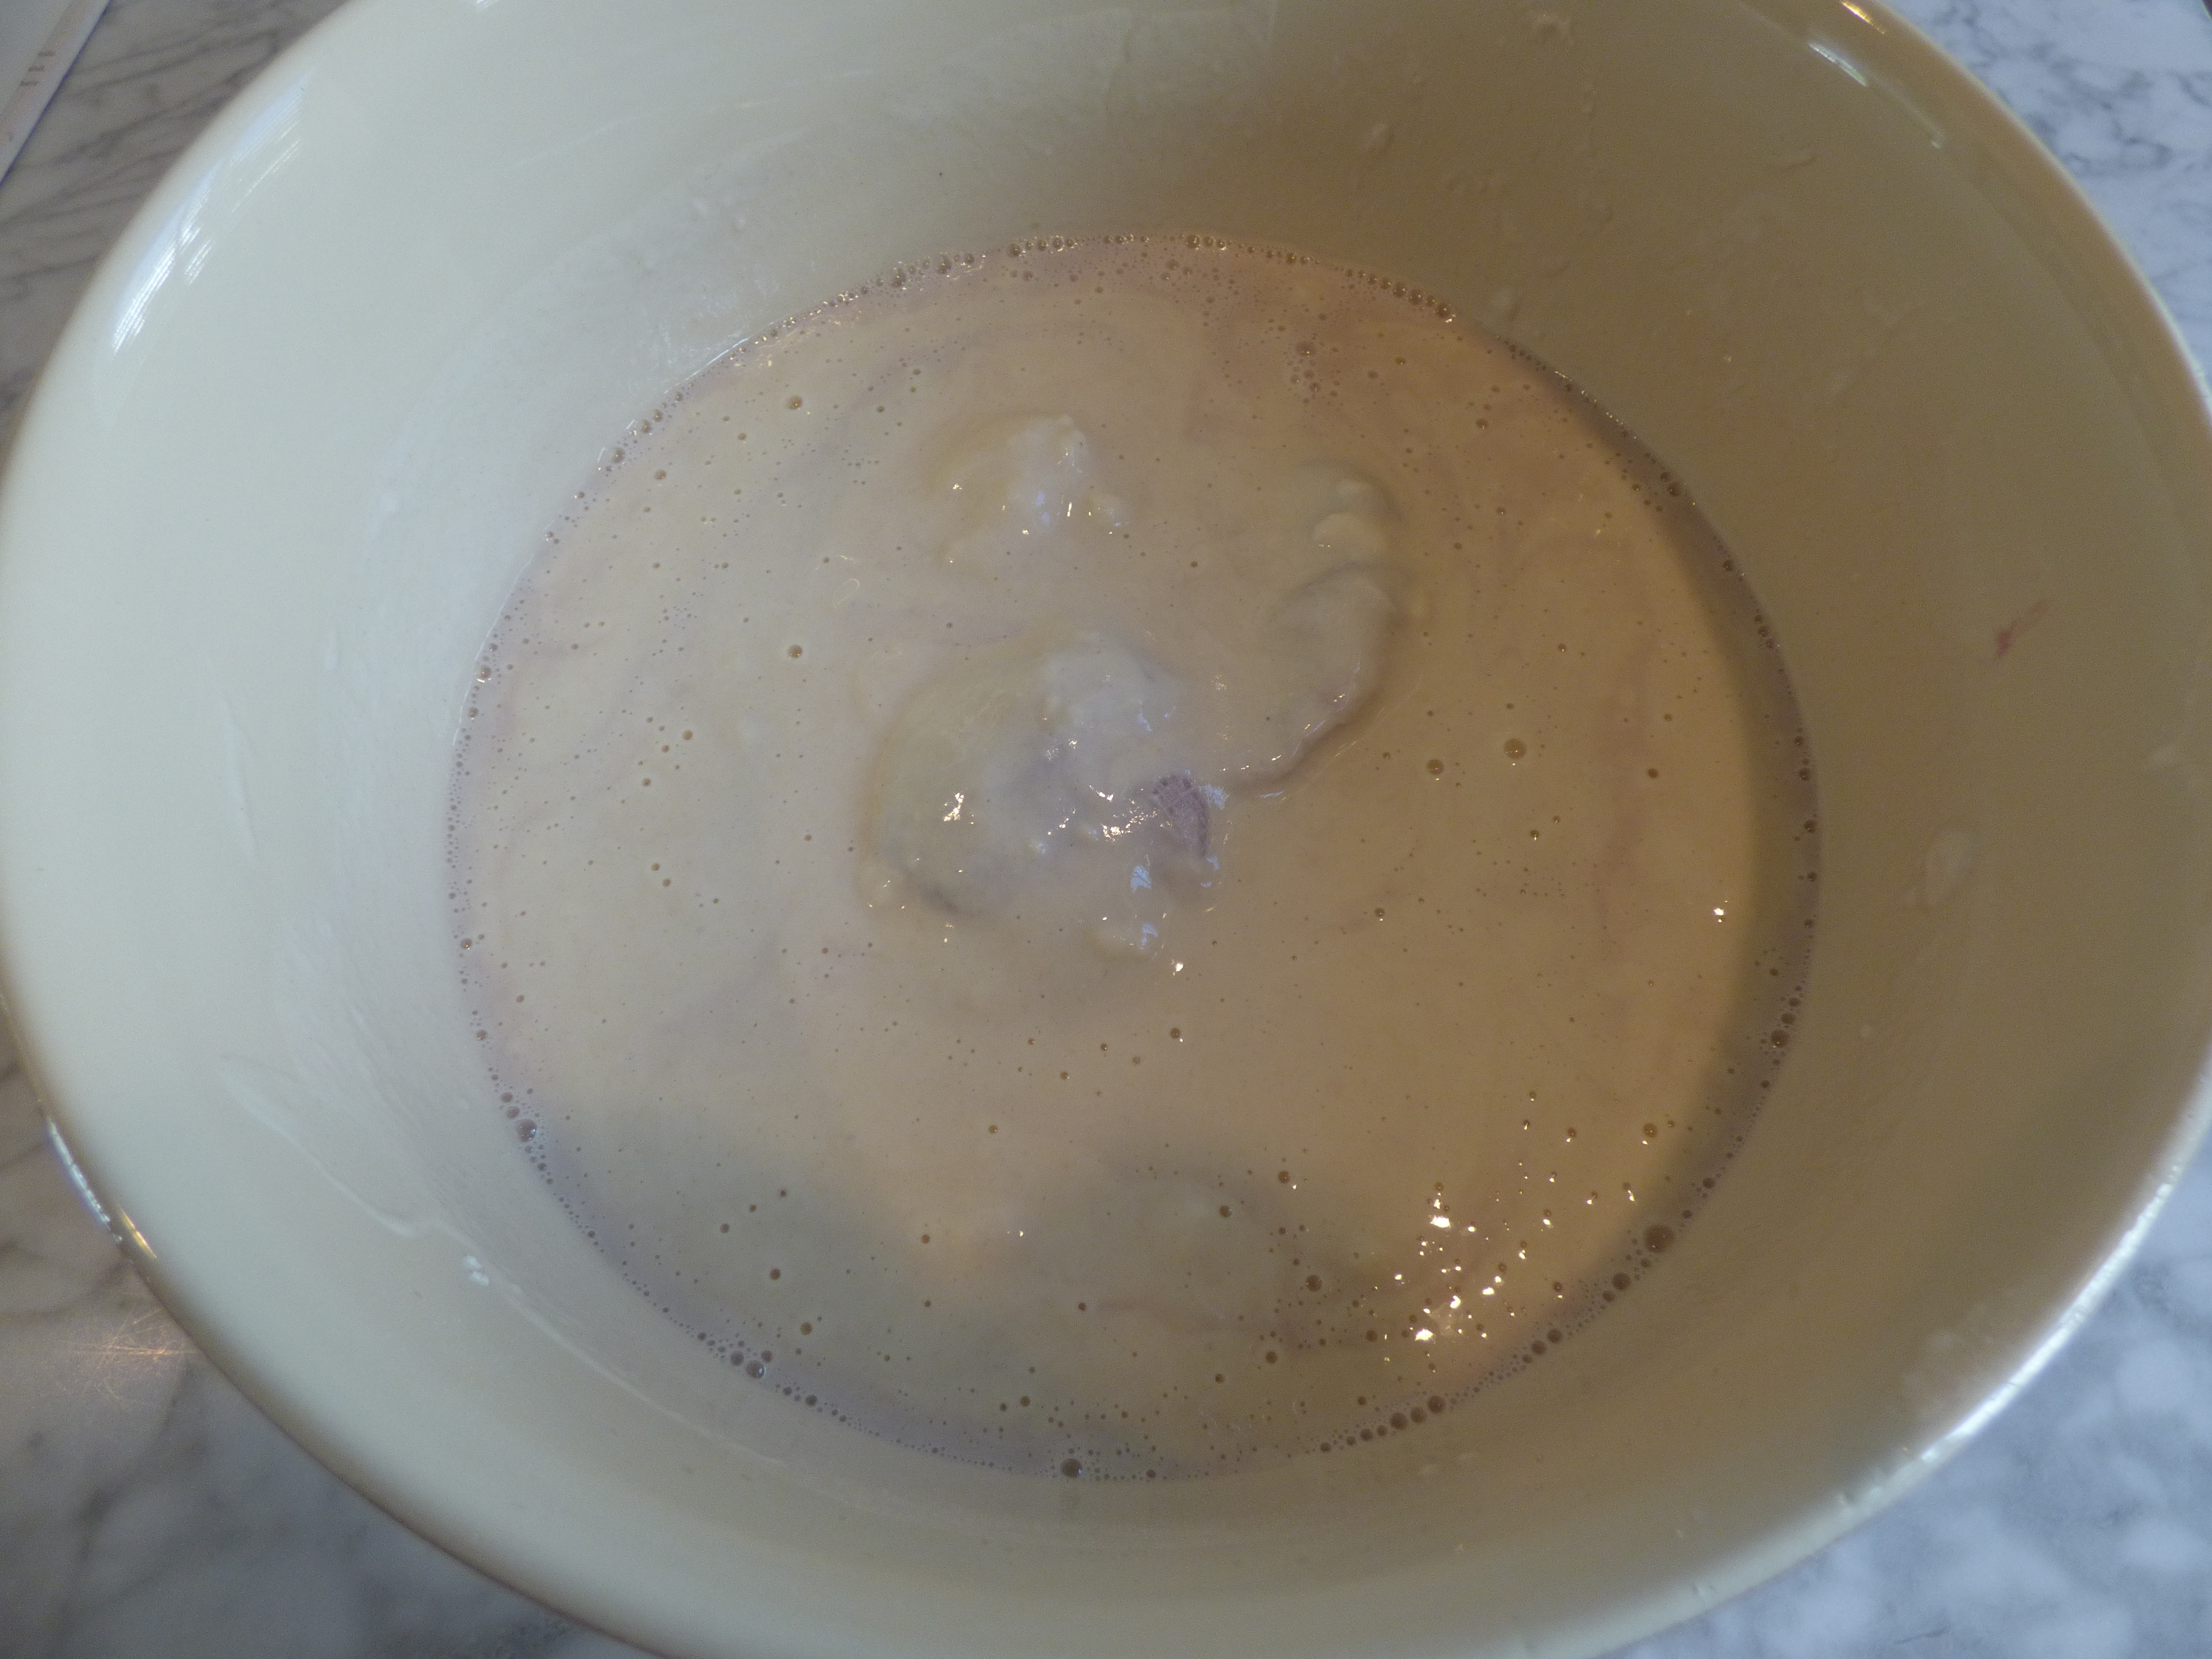
- Place a bunch(es) of grapes on large double-layered piece of cheesecloth. Tie opposite corners together to form a bag around grapes. Combine water and flour in 1-gallon container and stir with rubber spatula until evenly moistened. Hold cheesecloth-wrapped grapes over container and squeeze them lightly with your hand, allowing juices to fall into container. Place grapes in container; use rubber spatula to stir mixture and then fully submerge grapes. Cover container with plastic wrap. Let container stand at room temperature (70 to 75 degrees).
Days 2 to 3:
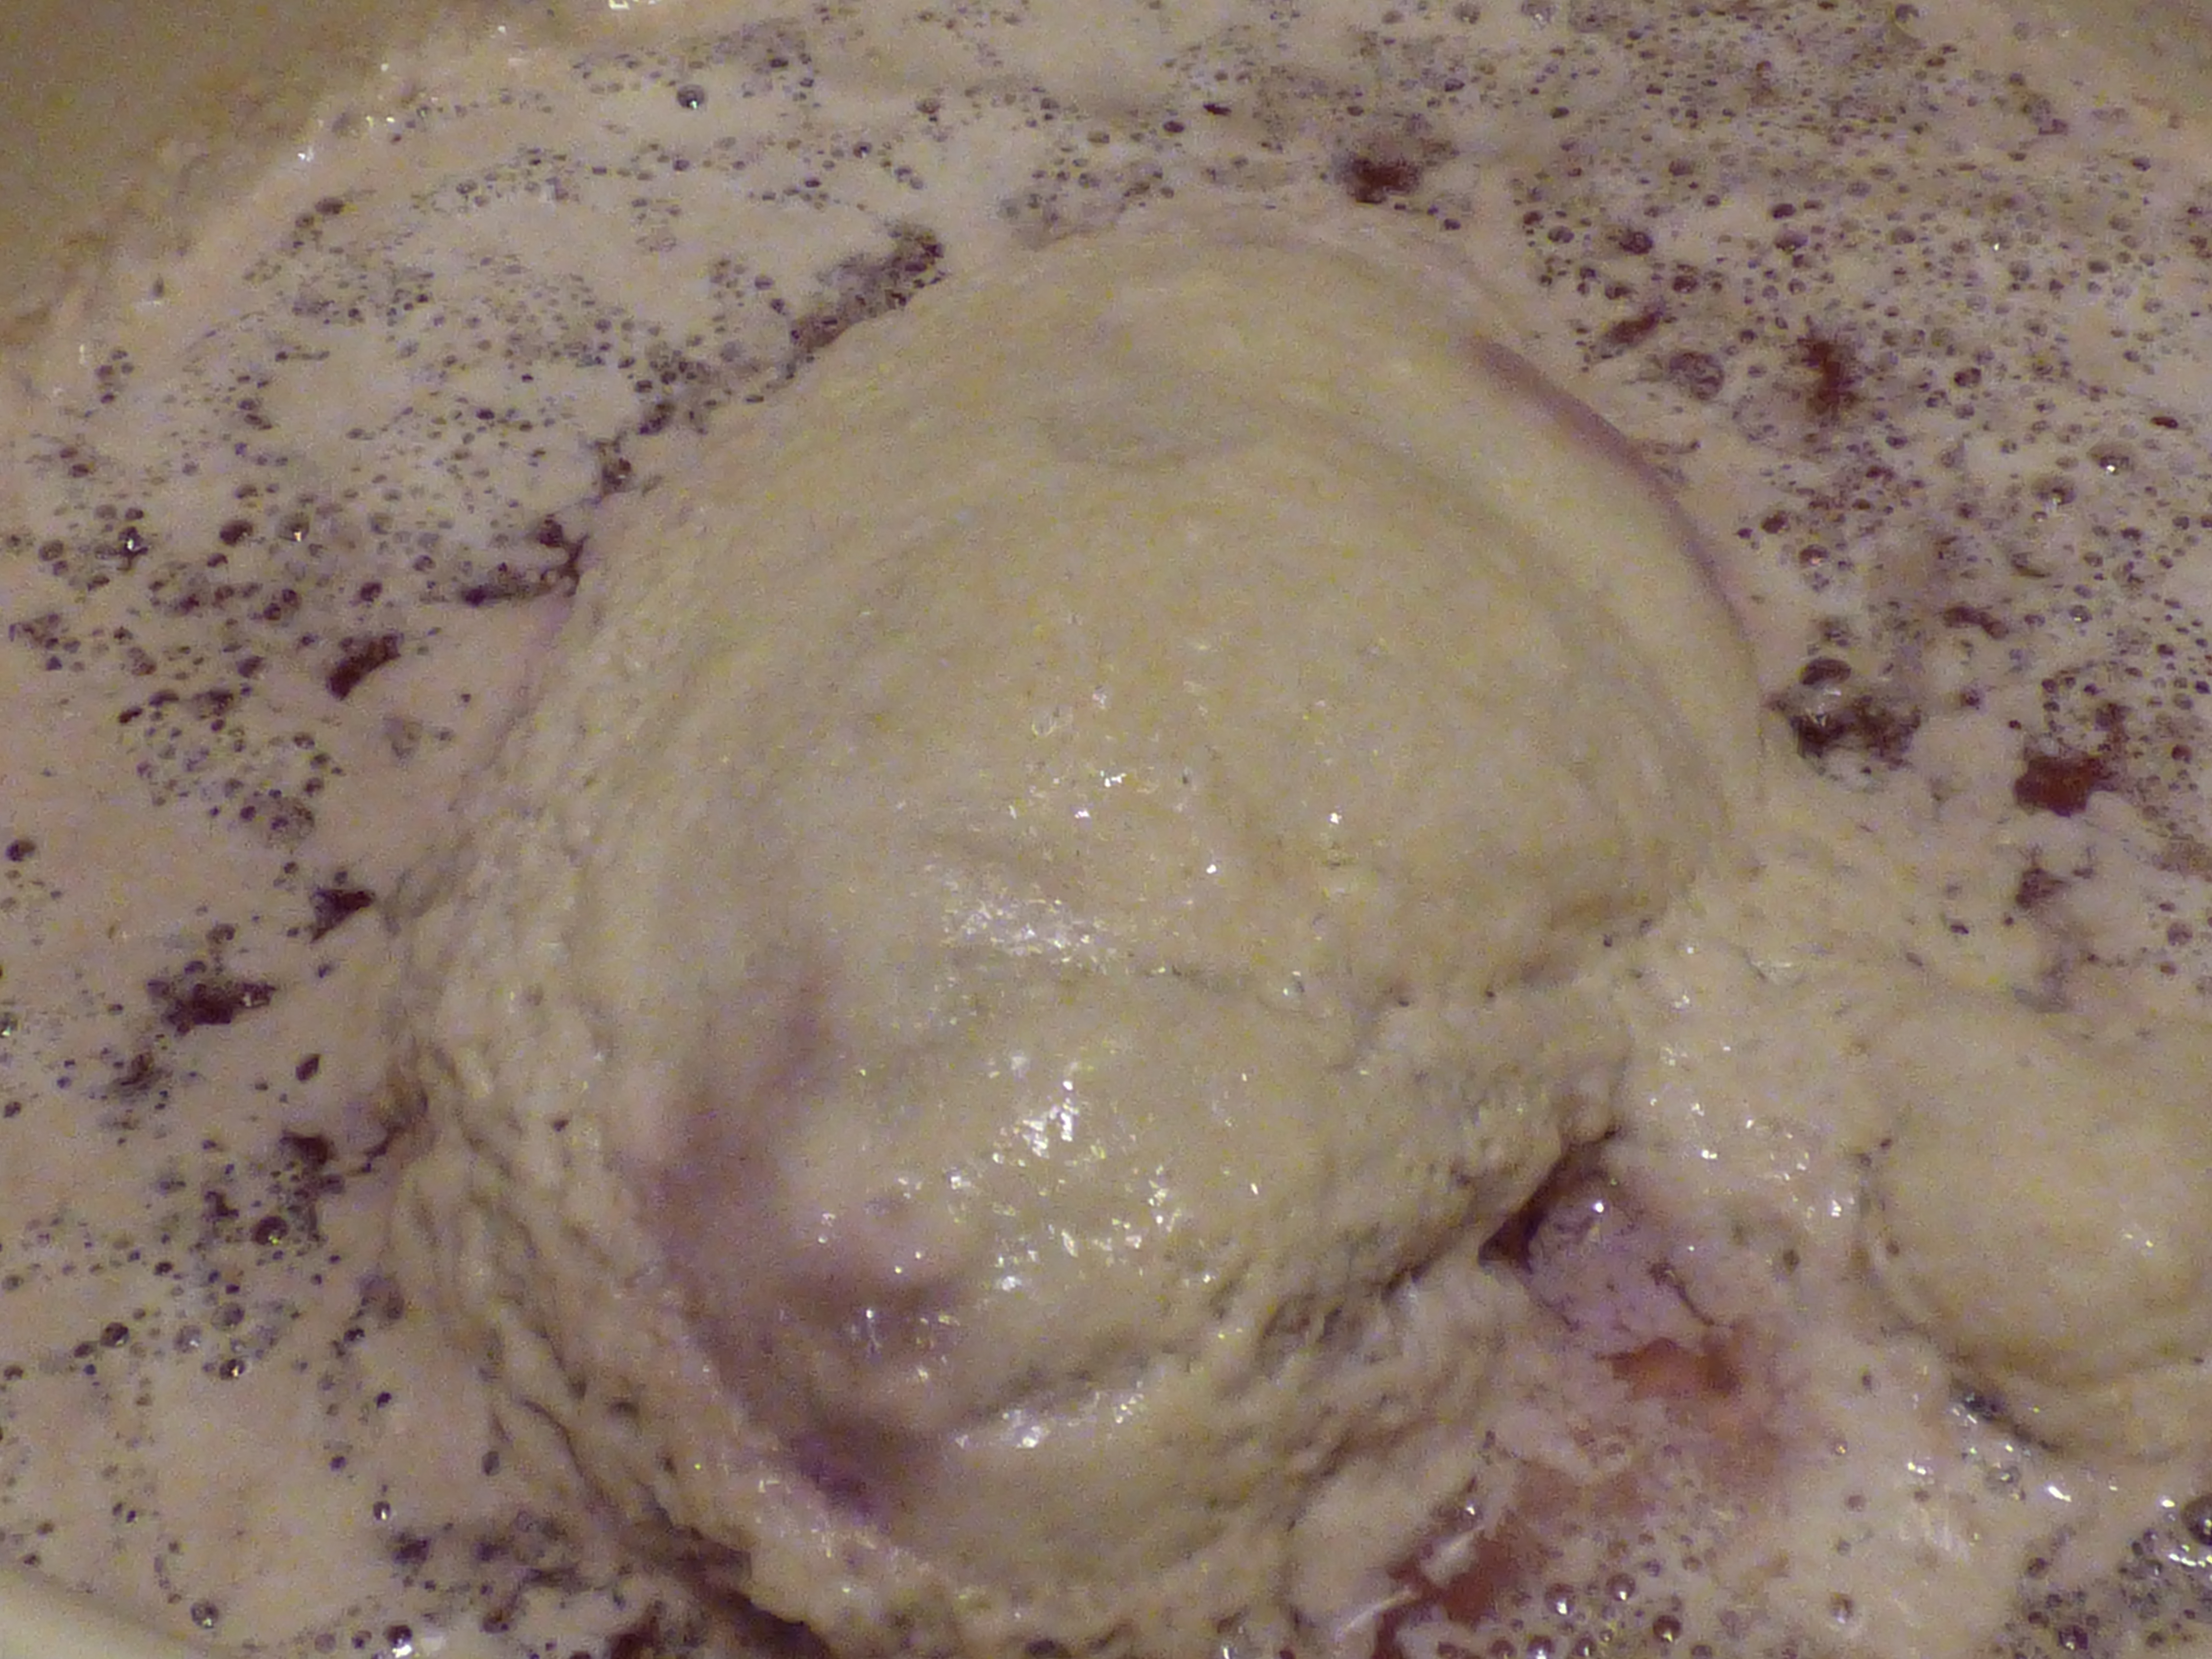
- Mixture should form bubbles.
Day 4:

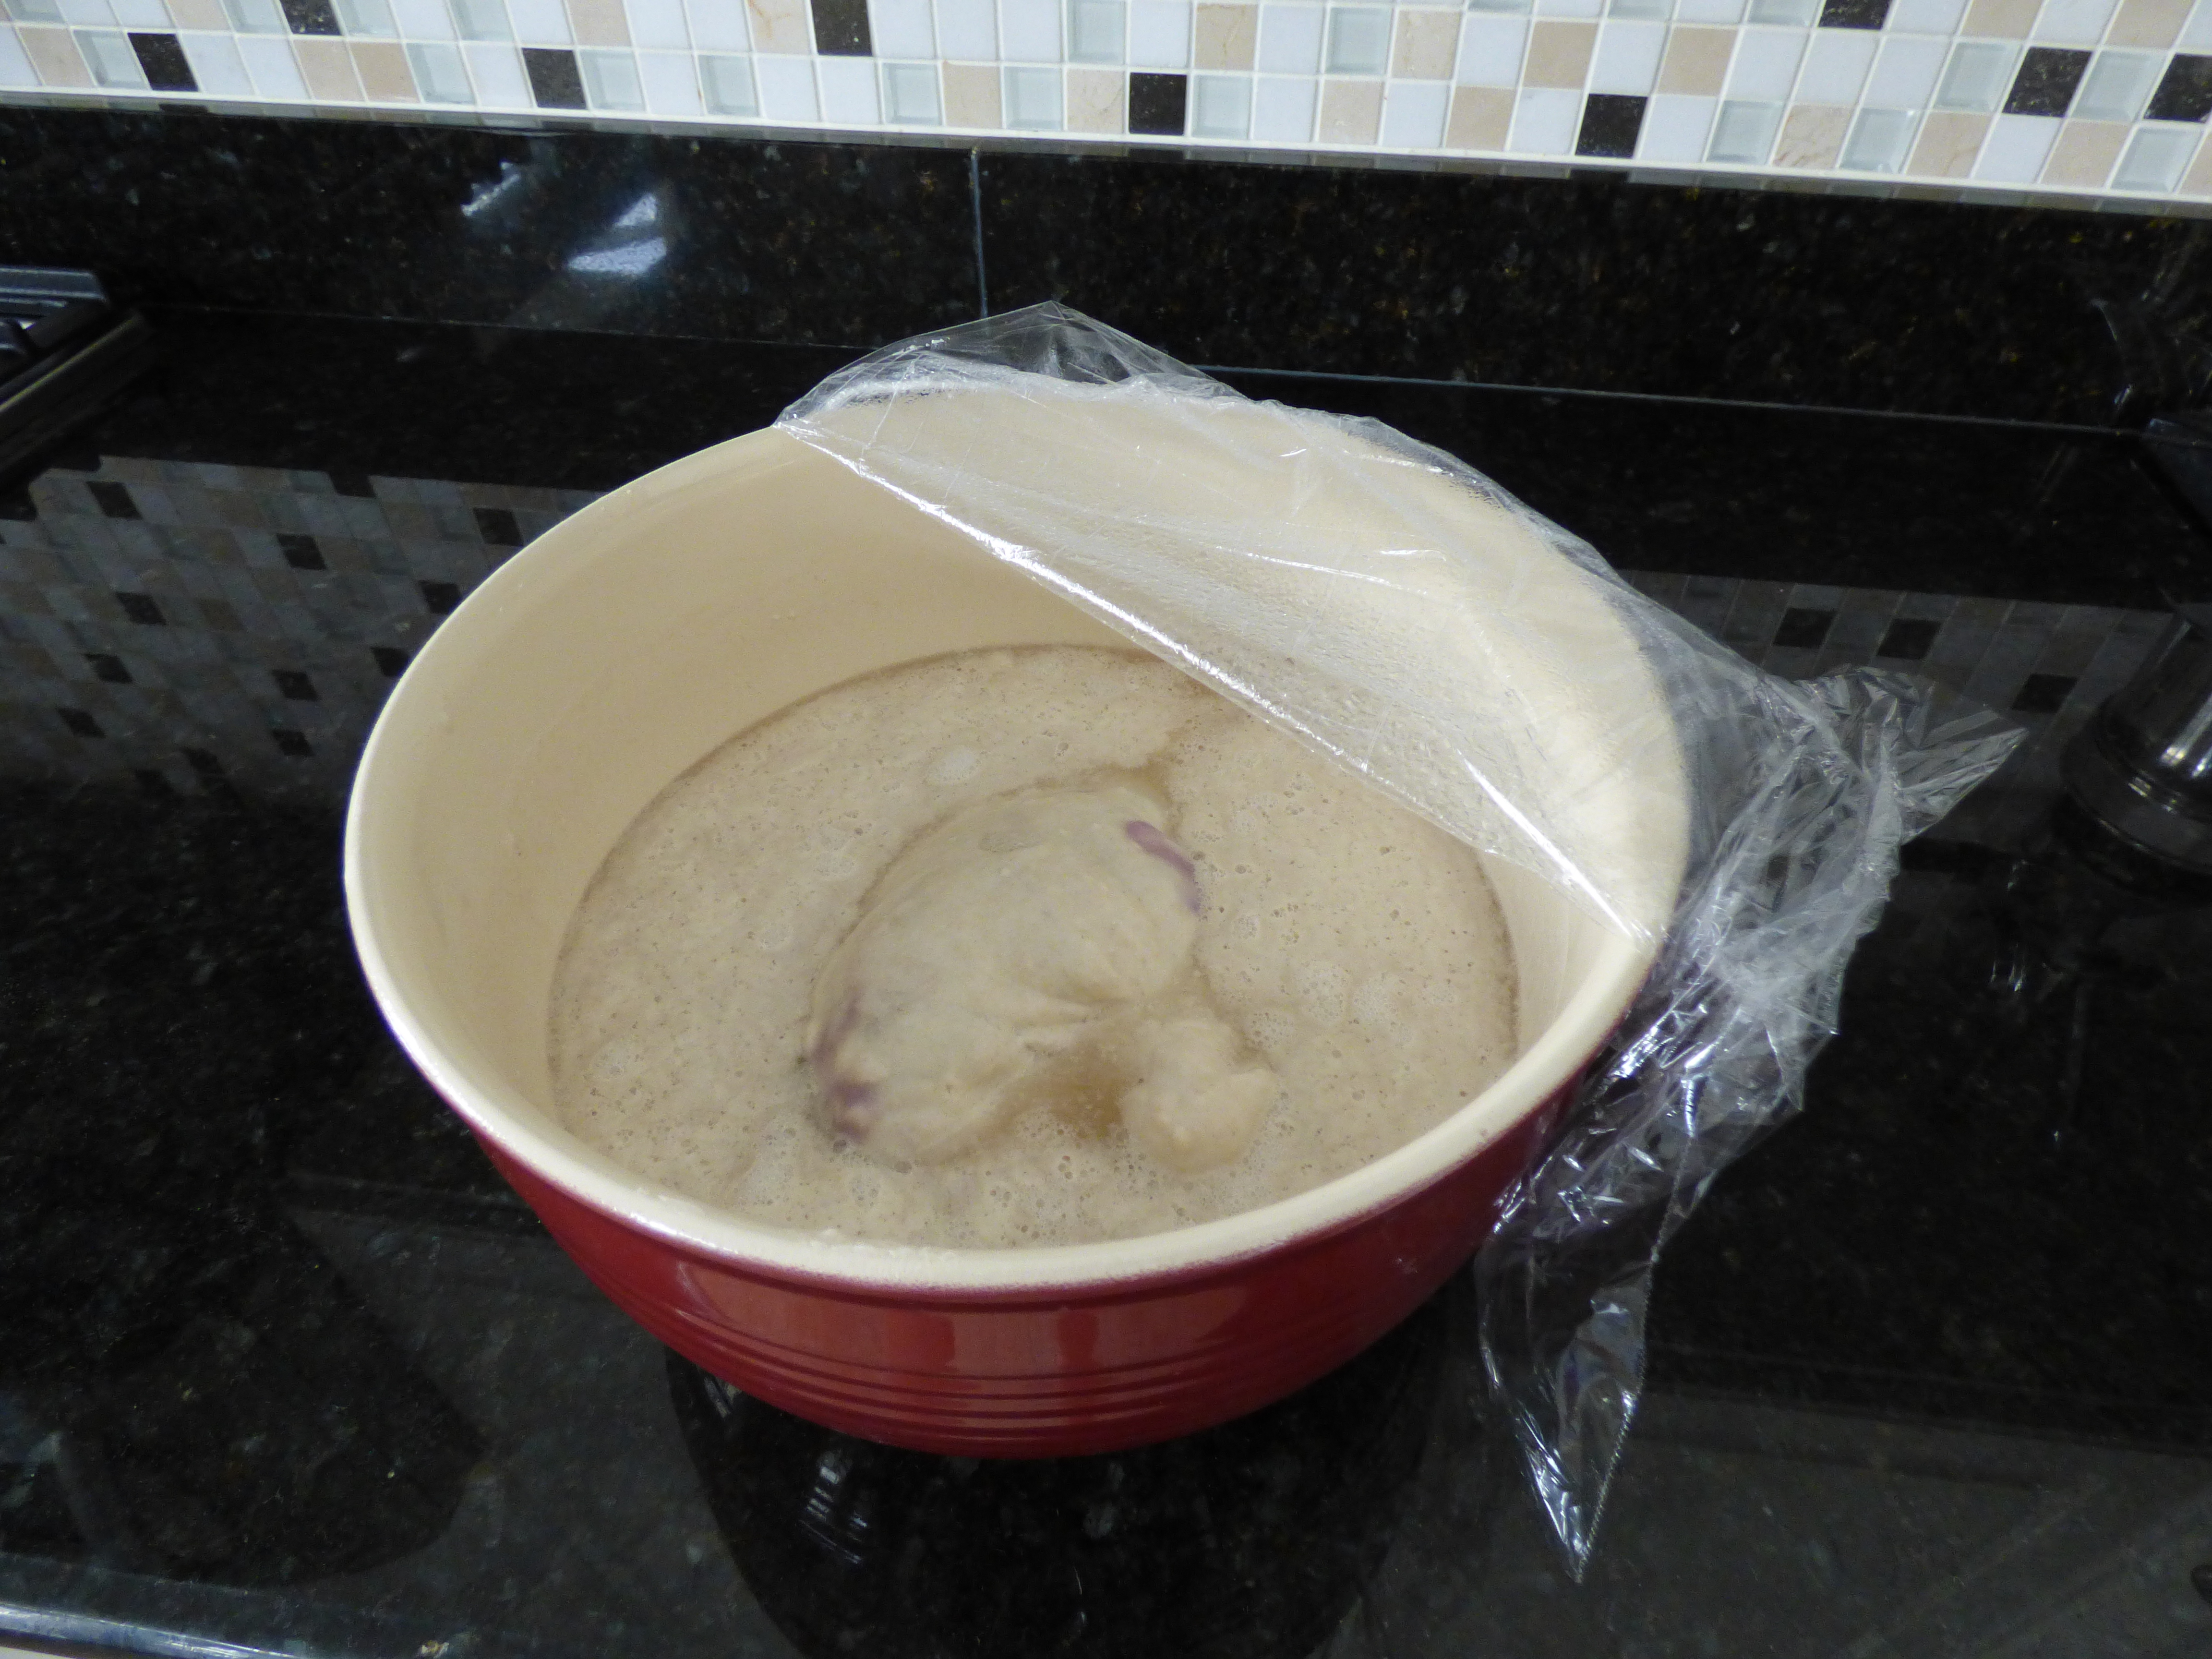
- Mixture should form large bubbles and smell alcoholic. Refresh mixture by stirring in 1 cup flour and 1 cup water, about 78 degrees. Replace cover and continue to let stand at room temperature.
Days 5 to 9:

- Mixture may appear separated, with liquid rising to top. If mold forms, remove it, then stir in 1 cup flour and 1 cup water.
Days 10 to 14:


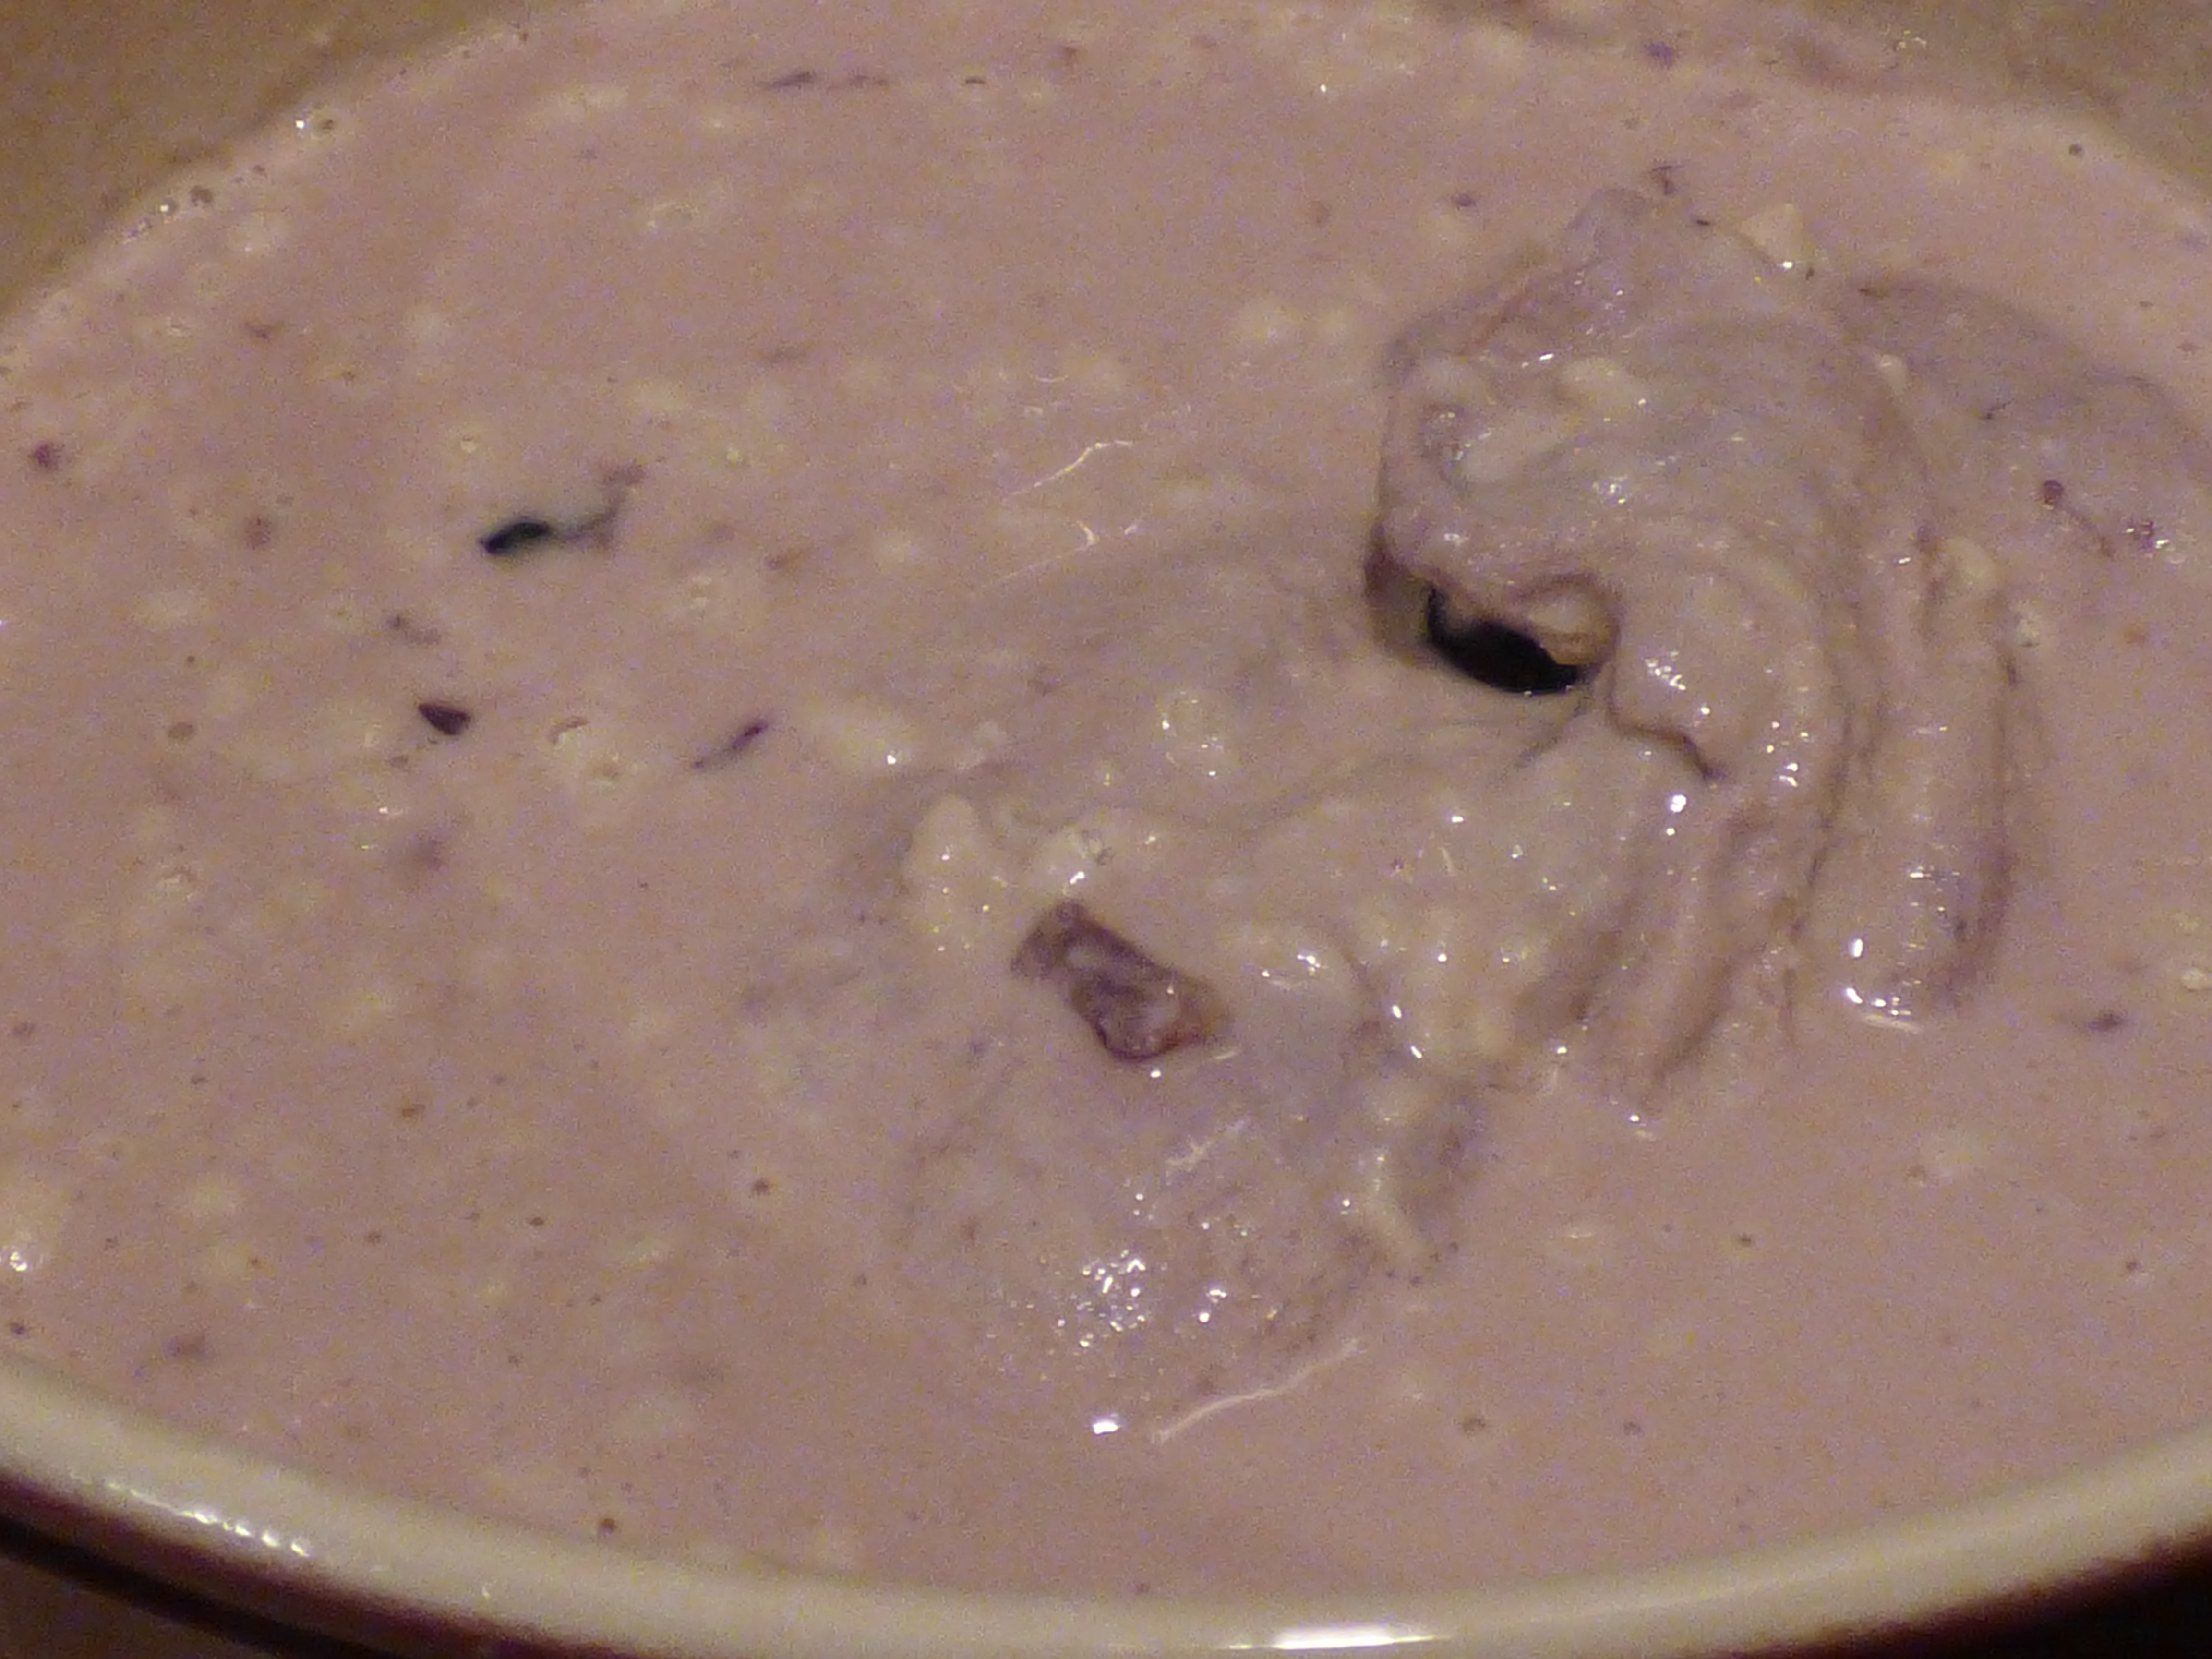
- (Triple daily feeding begins.) In morning, remove bag of grapes, squeezing to extract liquid; discard grapes. Stir mixture well, then pour off and discard all but about 2 cups (amount you discard can be reserved and turned into additional starters, if desired). First feeding: Stir in 1 1/4 cups flour and 1 cup water, about 78 degrees. Cover and let stand at room temperature 4 to 6 hours. Second feeding: Stir in 2 1/2 cups flour and 2 cups water, about 78 degrees. Cover and let stand at room temperature 4 to 6 hours longer. Third feeding: Stir in 5 cups flour and 4 cups water, about 78 degrees. Cover and let stand at room temperature for 12 to 15 hours. Repeat process next 4 days, pouring off all but 2 cups before feeding begins.
Day 15:

- Starter is ready to use; it should form bubbles and should smell yeasty and nutty.
Here’s the good news: once you have the starter, you can store it away in your refrigerator until you have another summer off or perhaps until Christmas vacation when you’ll have a couple of weeks to devote to the feeding schedule again.
If you’re still with me after day 15, you’ve only got THREE more days until you get your first loaf.
Up next, Rosemary-Olive Oil Bread…


I detect some gluten… yum!!!! I would like Raj to bring me some this week! I’m not afraid!!
I love it! This is exactly the sort of project I would have dove into back in the day. I hope to try this eventually. Nice job!